Remember double clicking your mouse button on any picture will give you a bigger version of the picture. Clicking the back button or arrow on your browser will return you to the post.
I haven’t done a battle report in ages, frankly for a couple of reasons, they are a lot of work and unless you were there can be a bit boring. I’m putting this one up because the occasion was a special one, a gathering of the “clan” so to speak to “honor” one of our long-time gamers and a gentleman of the first order Steve Gausche!

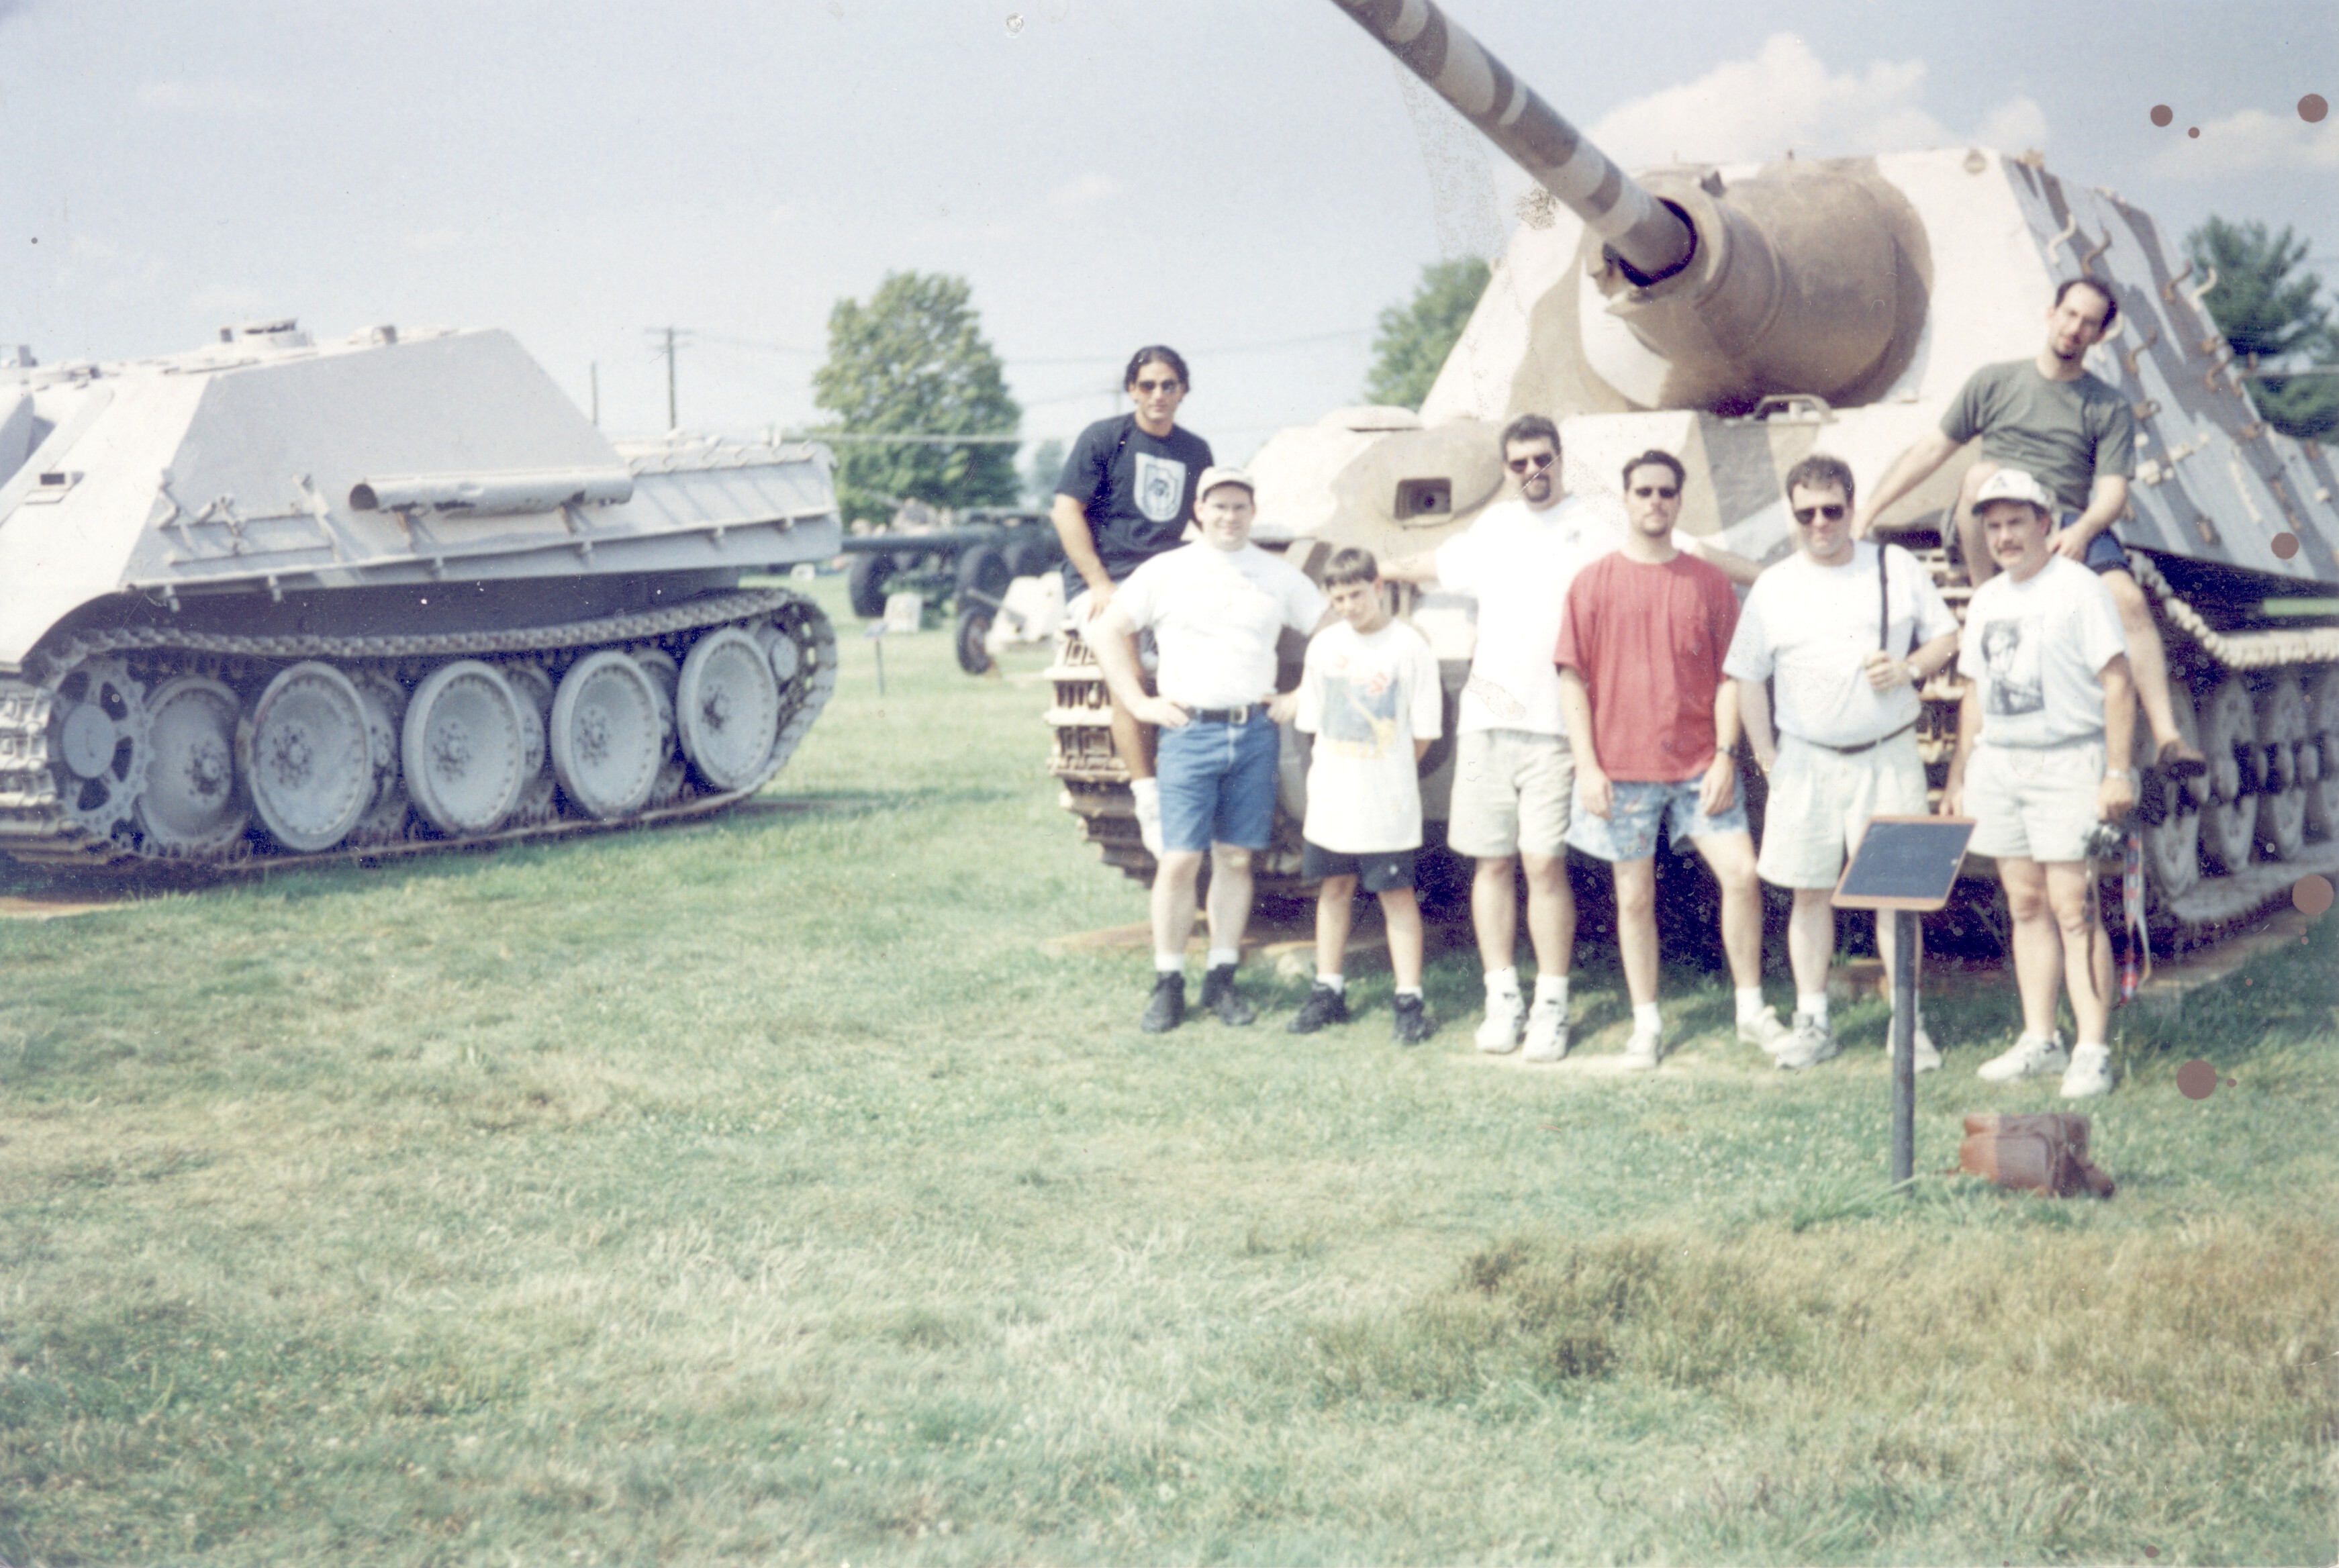
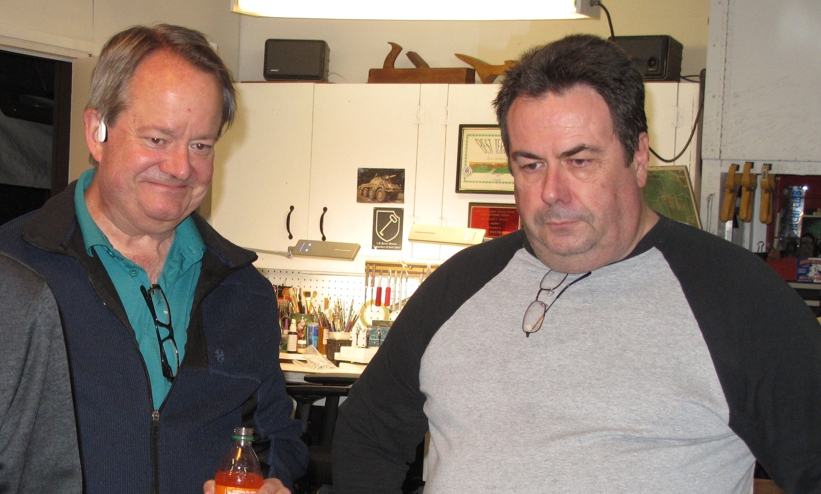
Joe N and Steve G back when we played WWII 20mm at the “Dogs of War” clubhouse in Burbank, California. Great times! Circa 1998?
Steve has been around the Southern California historical gaming scene for as long as I have or longer, from the early 1980’s, so 40+ years! I met Steve at the last Grenadier in Burbank California and discovering that not only did we have a love of playing with toy soldiers and history we both worked in the movie business and had the same job on different “sets”! This led to a friendship and work relationship of over thirty years! We worked on many of the TV shows and Movies familiar to you all, Startrek, Profiler, Charmed, Magnum PI, Arliss, and more for long hours made bearable by talking history, miniatures, games and even doing a little painting on set waiting for makeup, hair, or special effects to do their thing.

Steve Gausche life long gaming pal! We had just re-based his ACW troops on magnets! We did this at a time when most others still hauls their mini’s around in old pizza boxes! Circa 1992!
These days Steve’s gaming has become limited because of health issues, yes none of us will last forever. I resolved to give Steve something to remember, a showing of the love and respect he had earned over the years in our gaming community. Steve and I had been talking and lamenting the fact that we hadn’t been able to game much over the last year with Covid, and other commitments and I said “well let’s do something now, no more waiting” when I asked him what he would like to do it was “American Civil War” his favorite period.
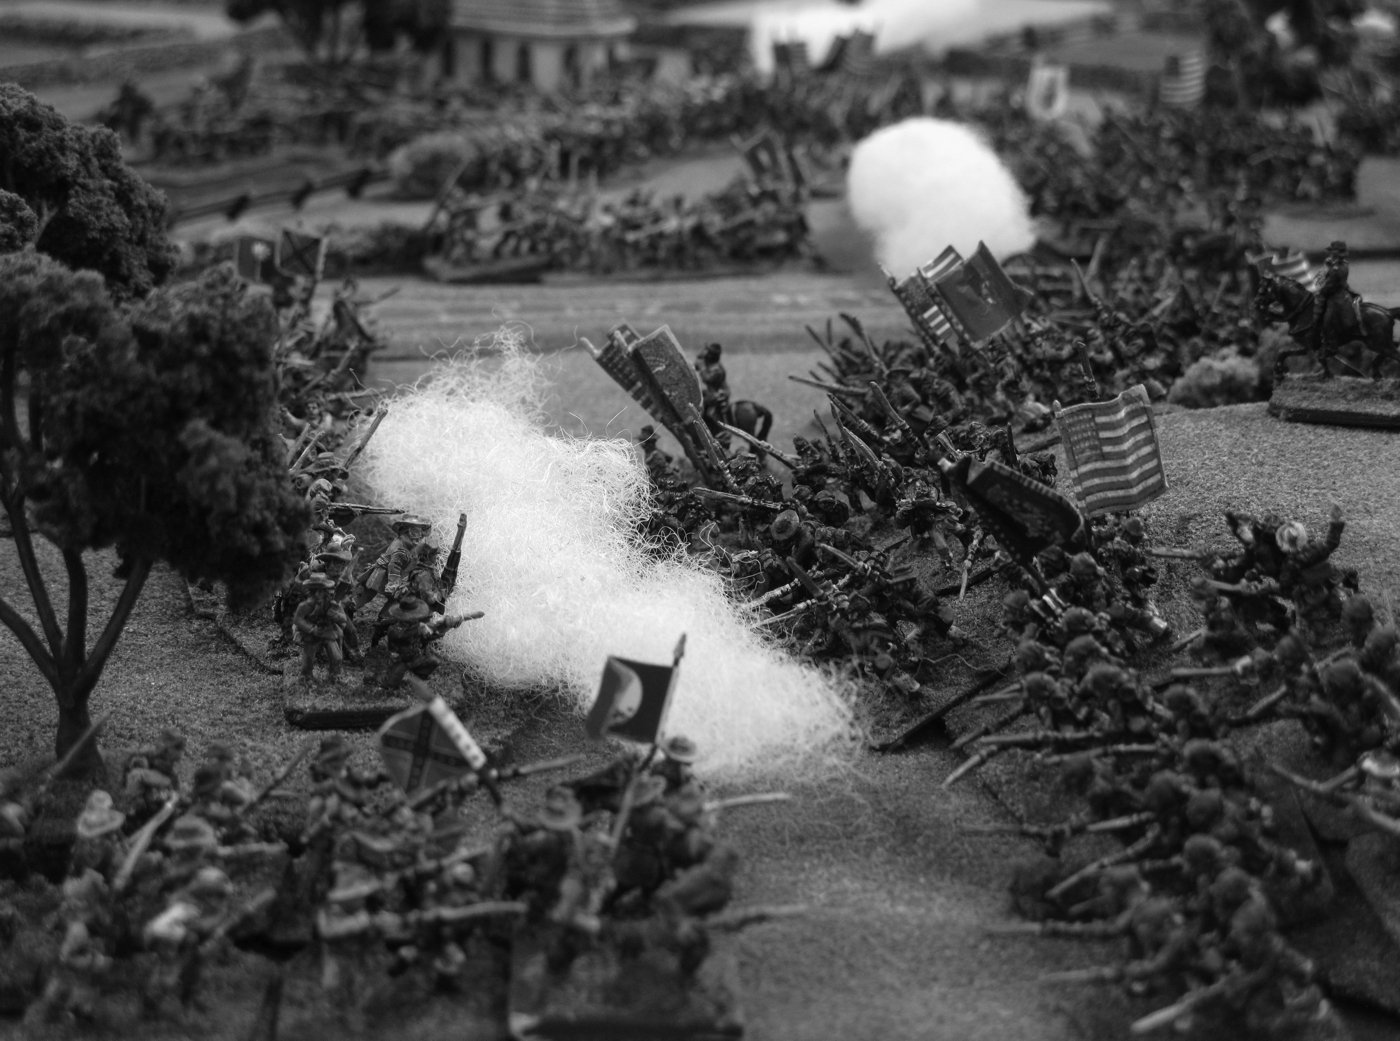
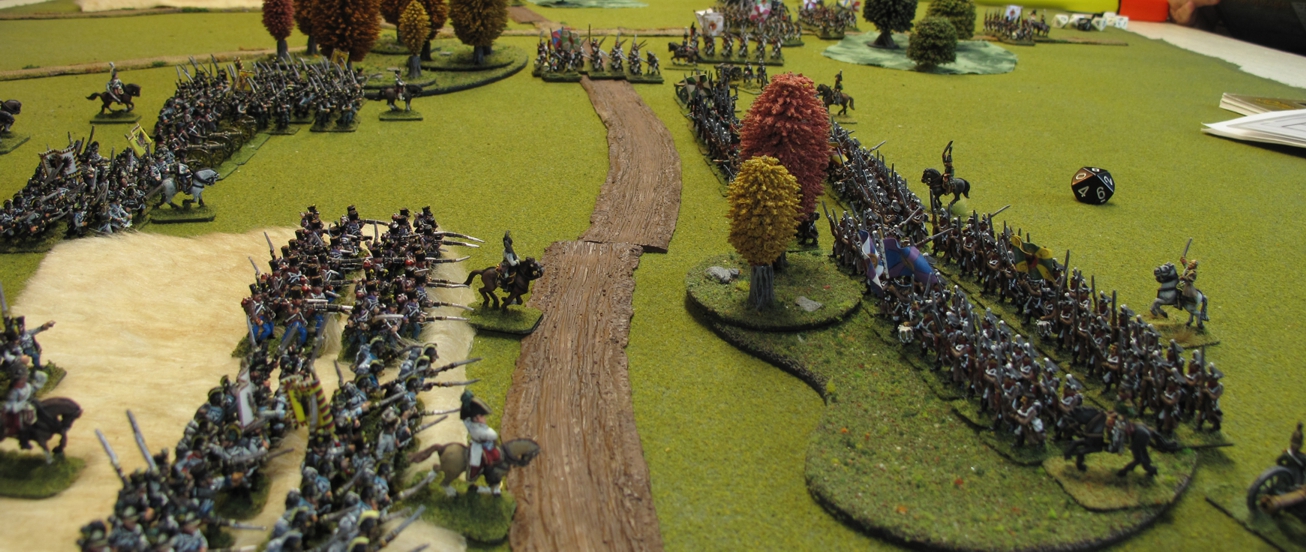
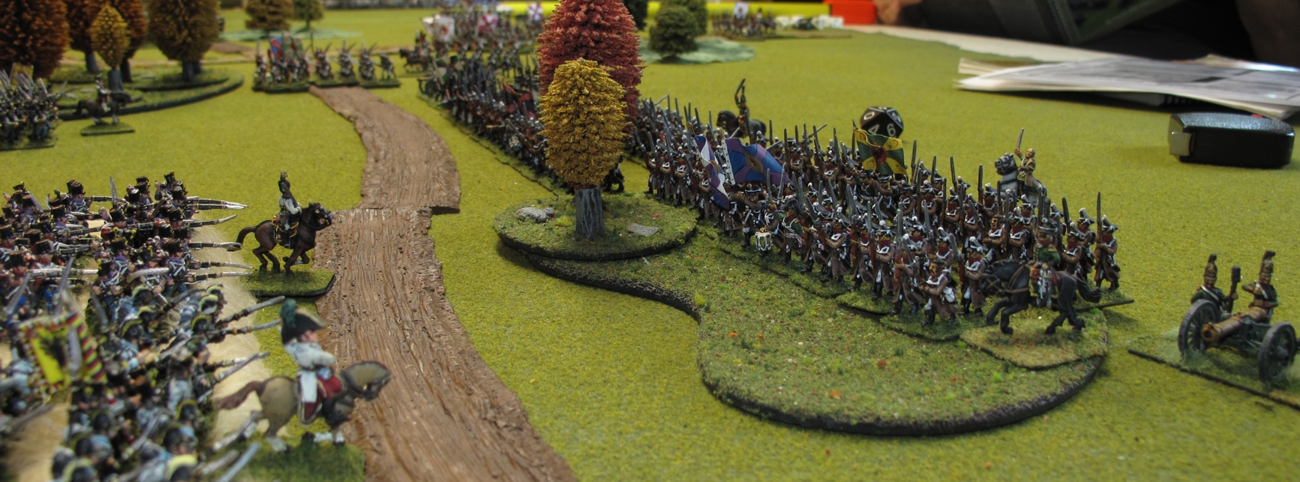
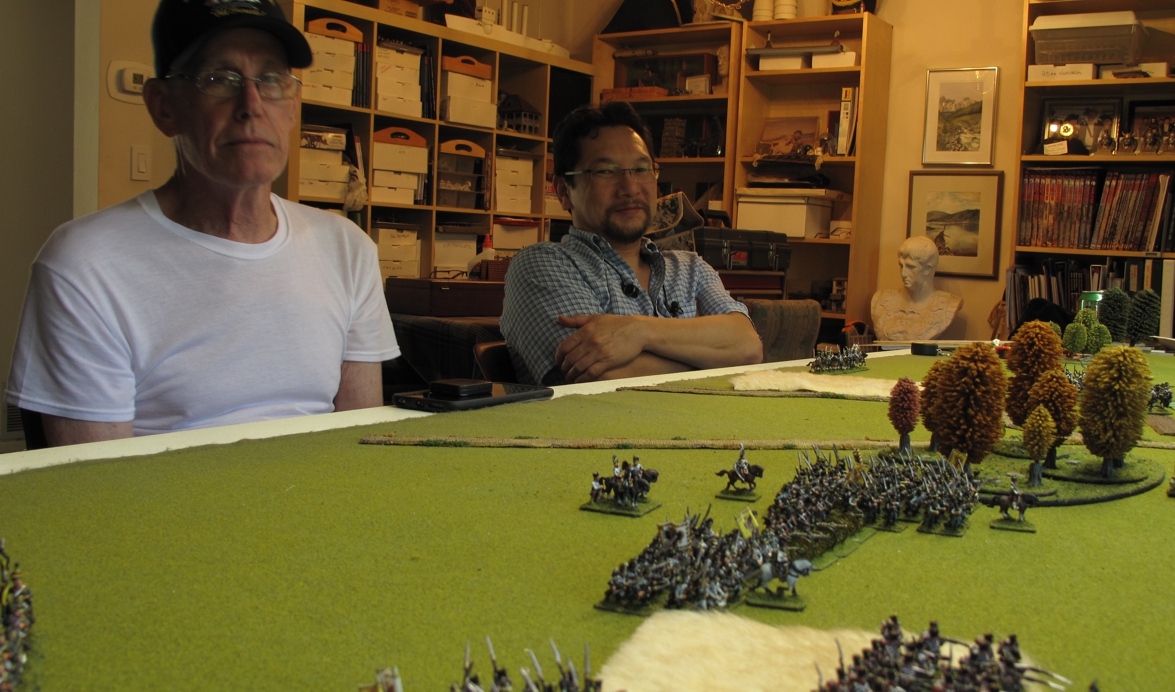
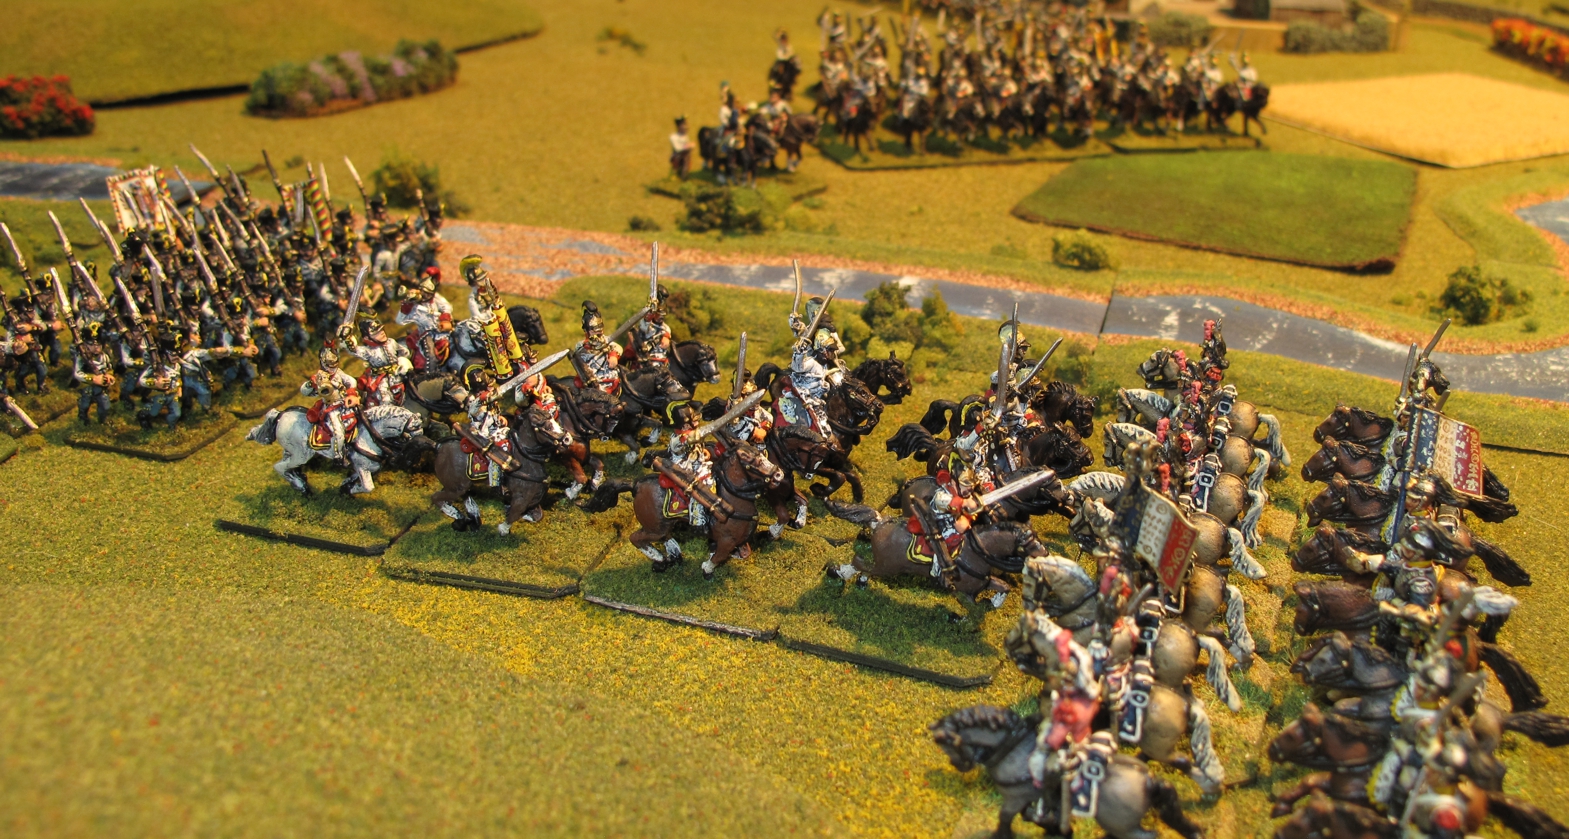
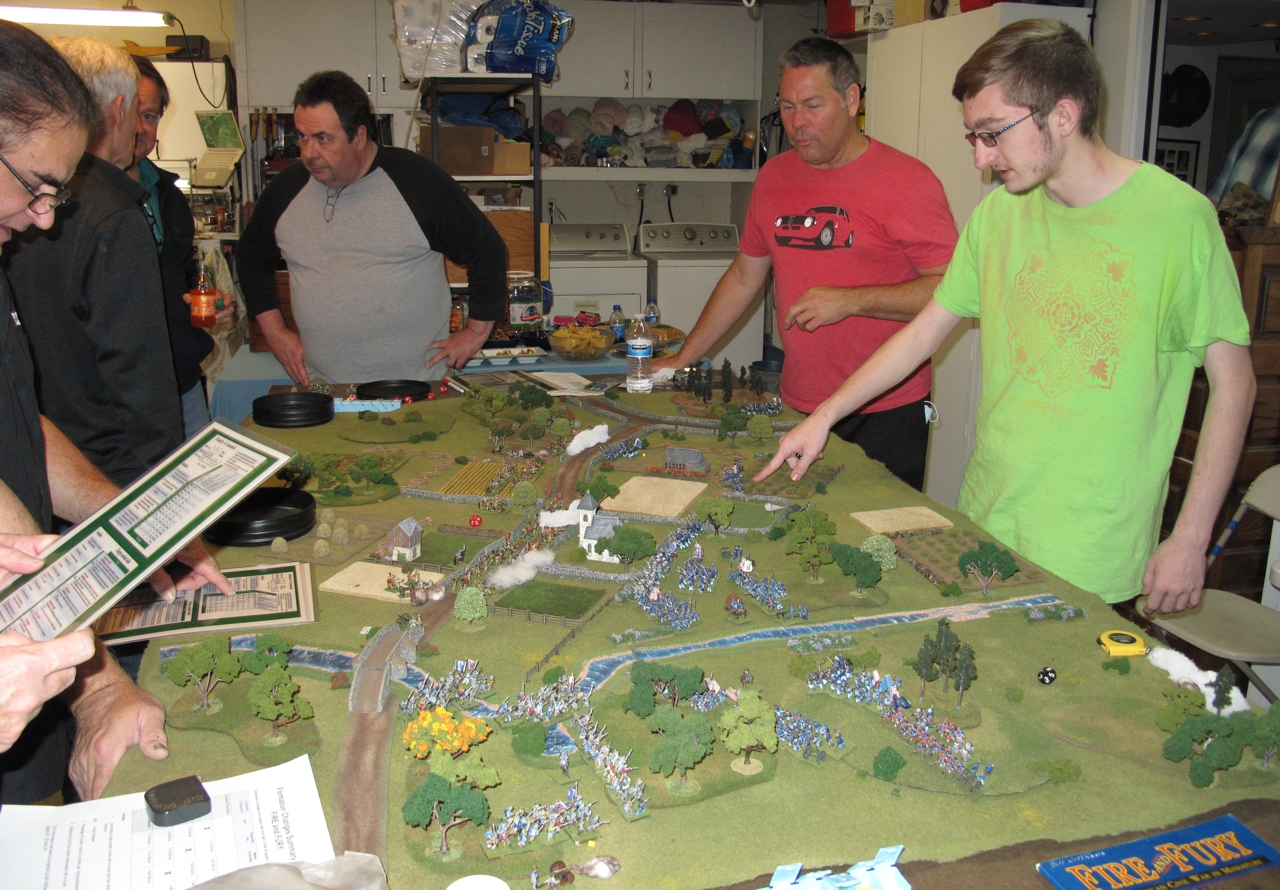
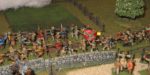
The shear number of troops on the table made for a great looking game!
Really at first it was just going to be me, Steve, and a couple of others on a Friday night at my place, nothing to complicated or special, however I thought I might just send out an email blast to others who might want to join. I figured that since I live up north of Los Angeles and it was a Friday evening game the traffic and logistics would have few people joining us, boy was I wrong! I ended up with an outpouring of support that touched me and made the night very special for Steve! Over a dozen gamer’s committed to coming up with many more sending messages of love and support for Steve! Friends in other states wishing they could be there, some of the players drove 4+ hours, all through the LA traffic, some even taking the day off to get there early for dinner!
Truly a gathering of the “Old Guard”
Thanks to all who attended and to my lovely wife who gave us a great after dinner spread of munchies! On to the game!
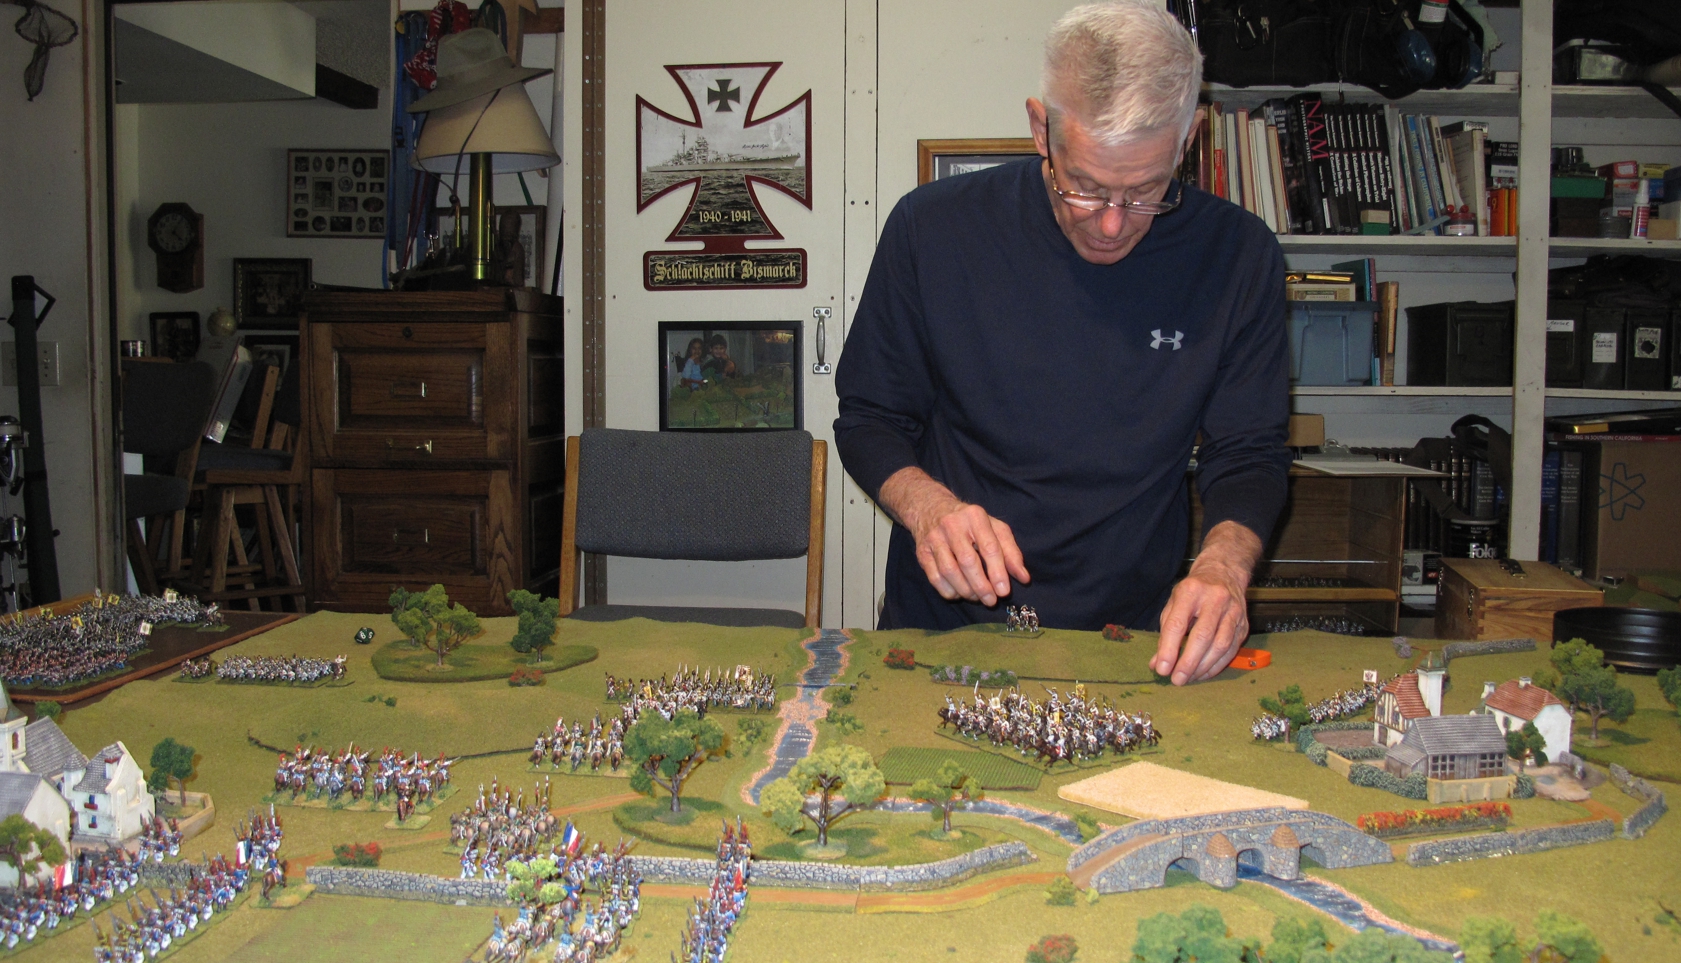
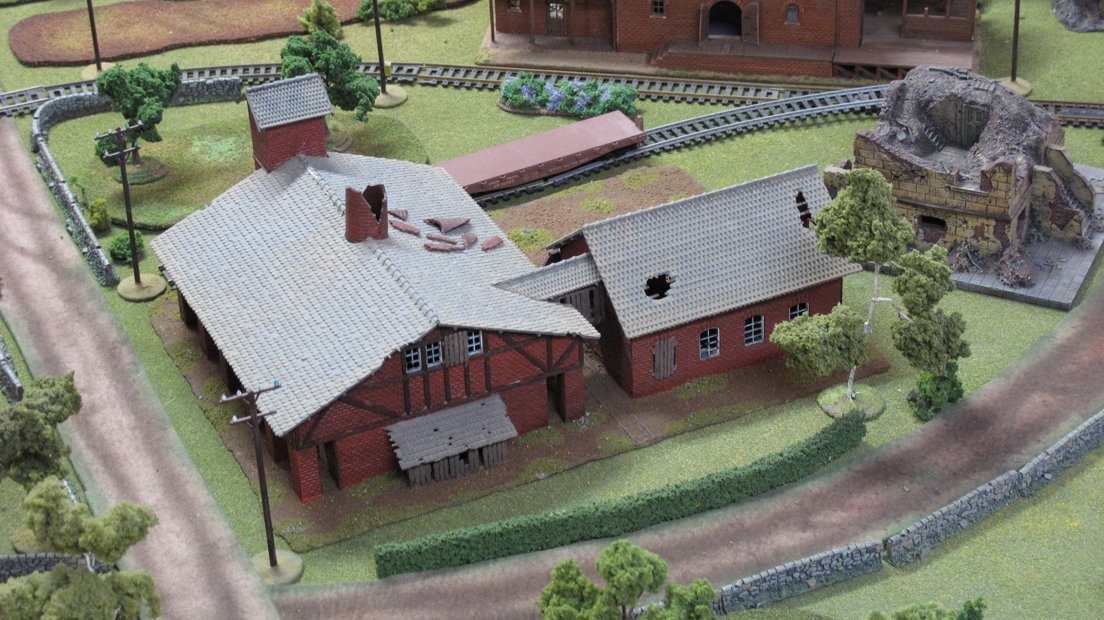
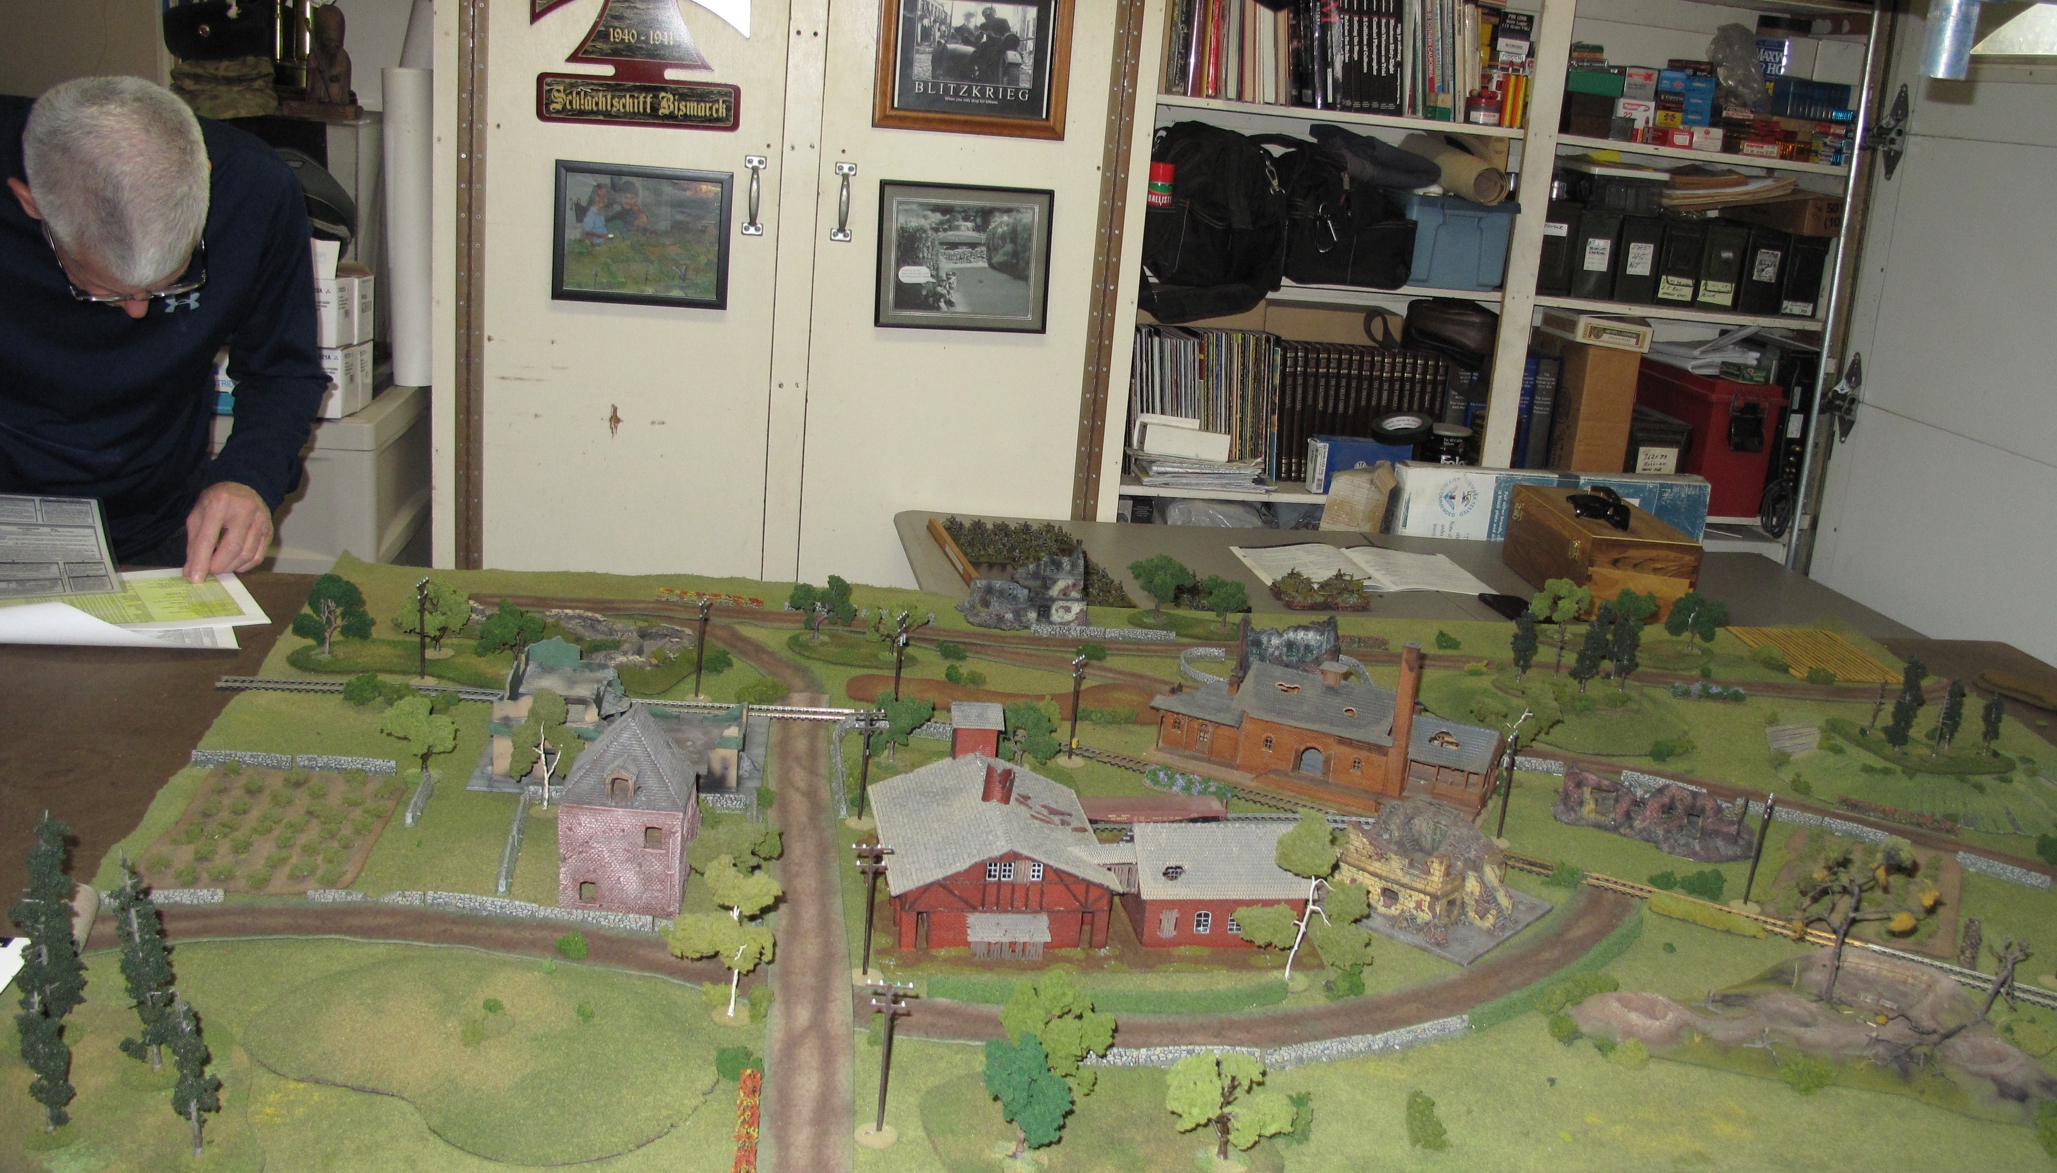
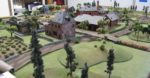
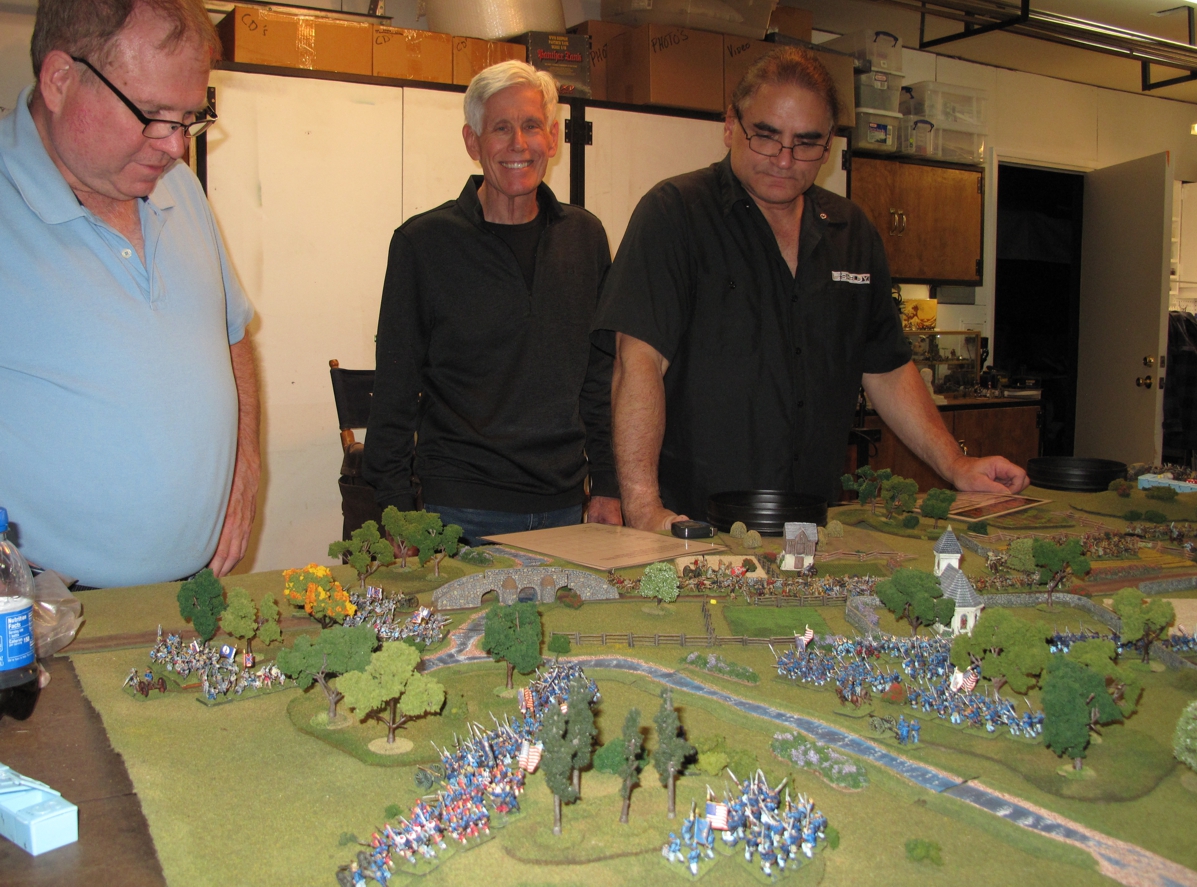
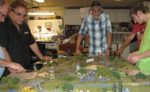
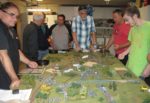
A good game always starts with good preparation. Terrain laid out, troops assembled, and rules, reference sheets, and all needed gaming aides at the ready!
With large groups, impromptu games, and limited time, fairly balanced forces and a meeting engagement is often a better choice than a historical battle. We went with a Corps per side, each player having command of a division and its artillery batteries. Mike Estey and I umpired as many had not played the Fire and Fury rules before, I helped on one end of the battle and Mike the players on the other end.
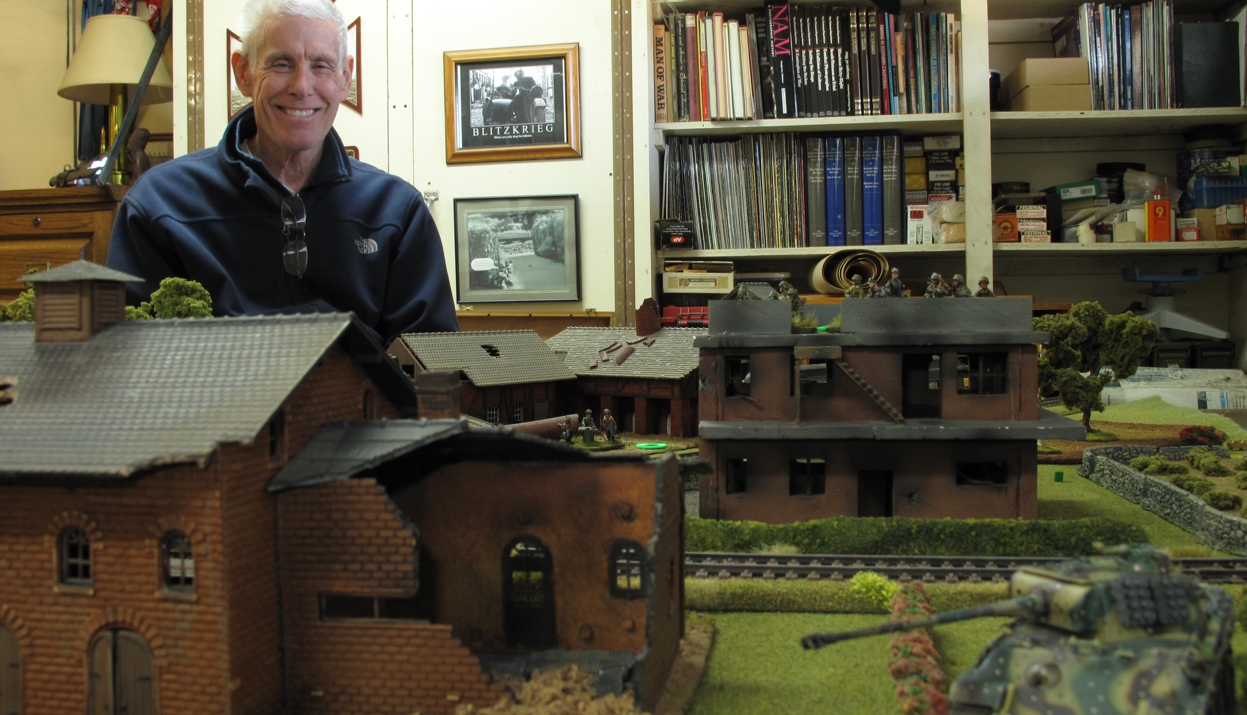
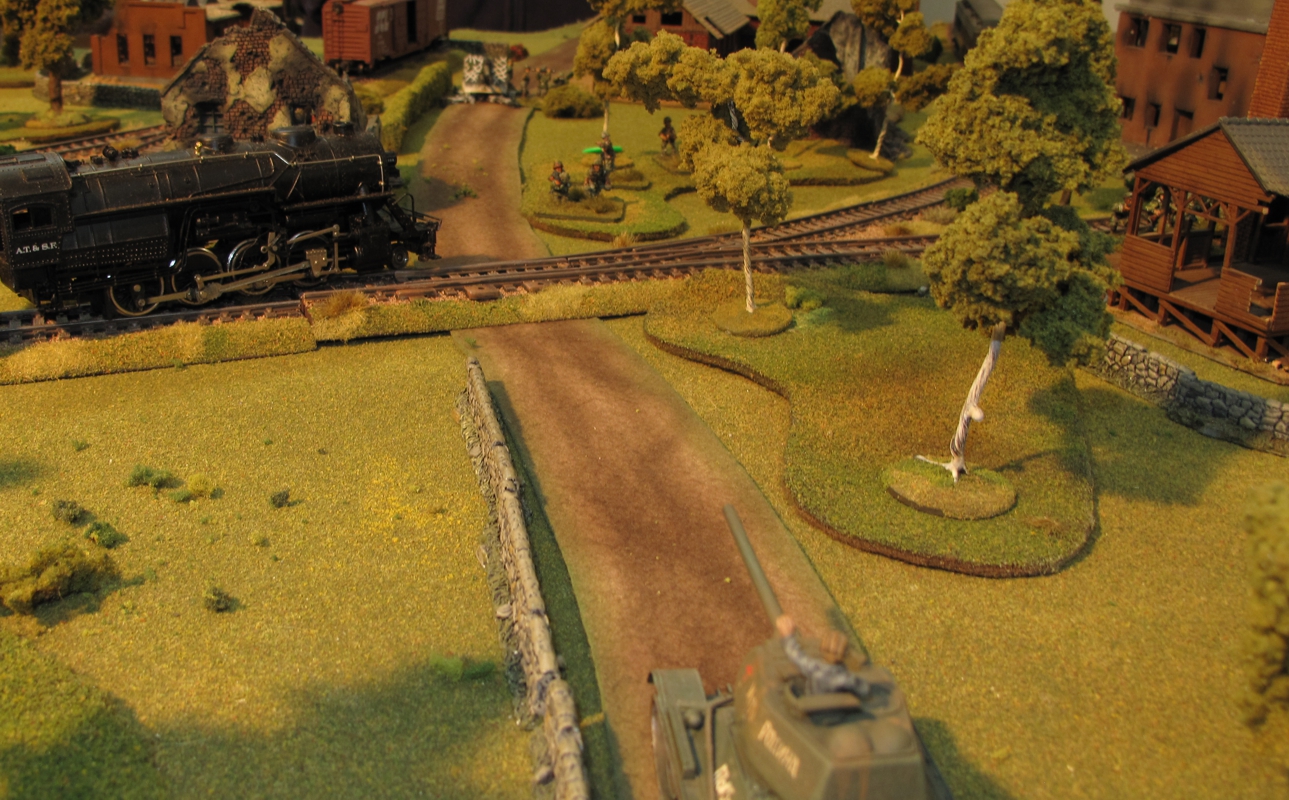
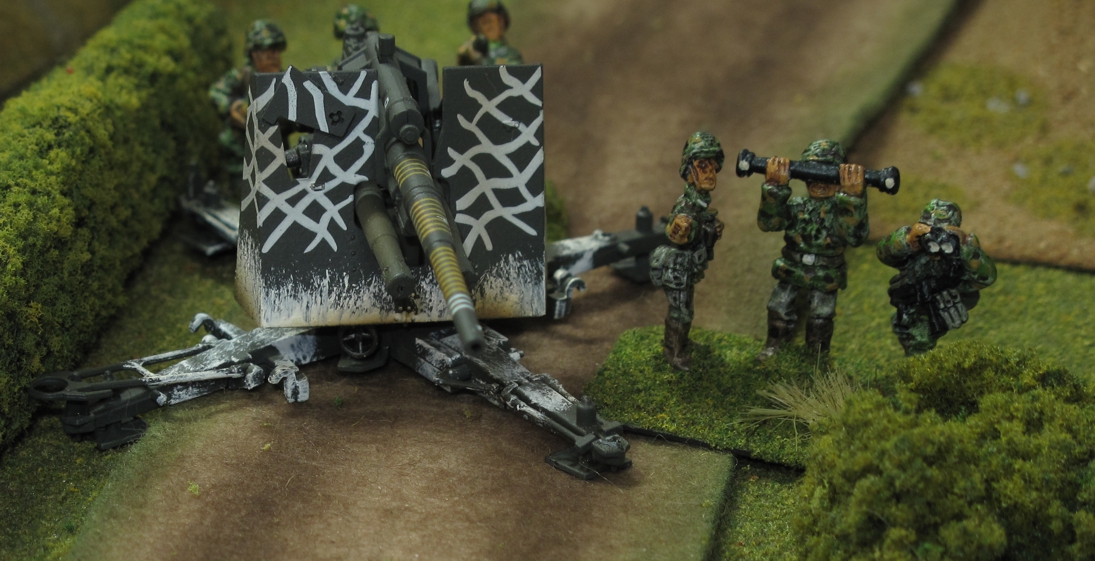
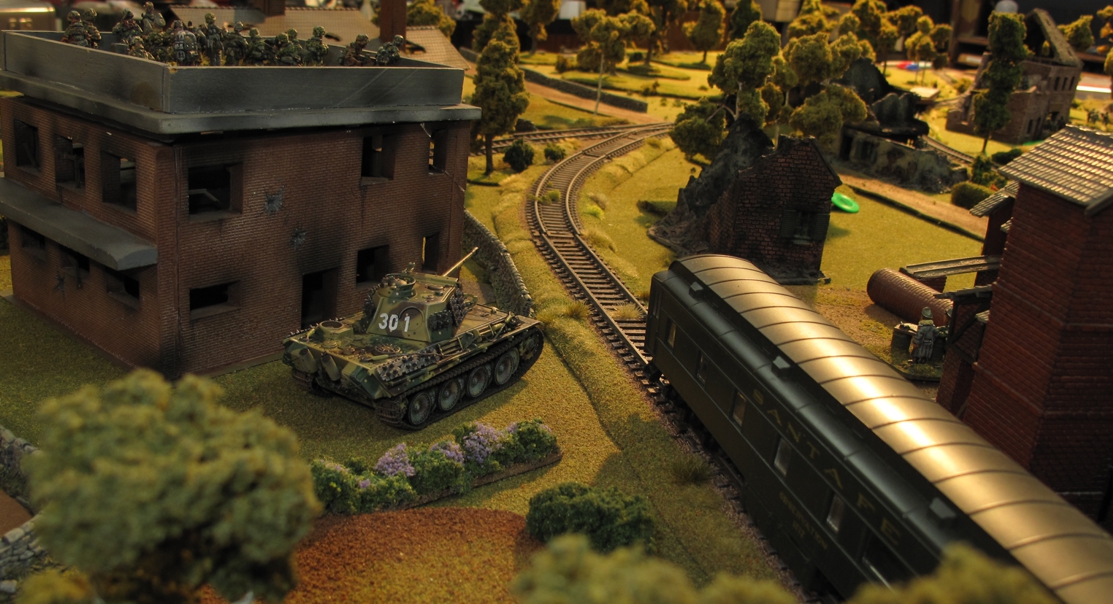
A little side note; ALL the figures on the table are Steve’s and all painted by him, they are beautiful as well! All the terrain was built, painted, and provided by me and it’s OK I think….
Thanks to Mike for spending much of his time helping to explain or answer questions from players, this made the game the success it was!
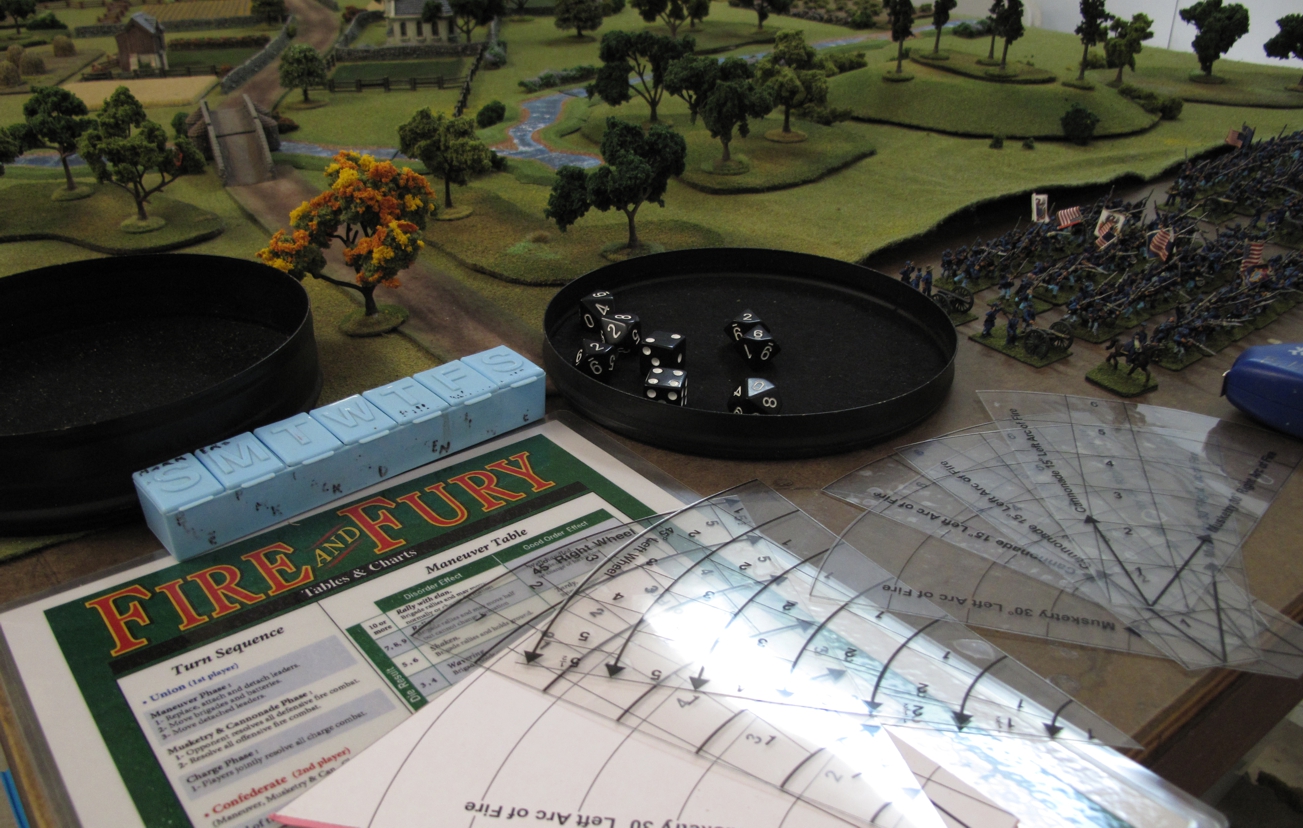
The original “Brigade” Fire and Fury is a great, classic, innovative rule-set, easy to learn and quick to play, perfect for this evening! Just enough detail and feel to be fun but not cumbersome.
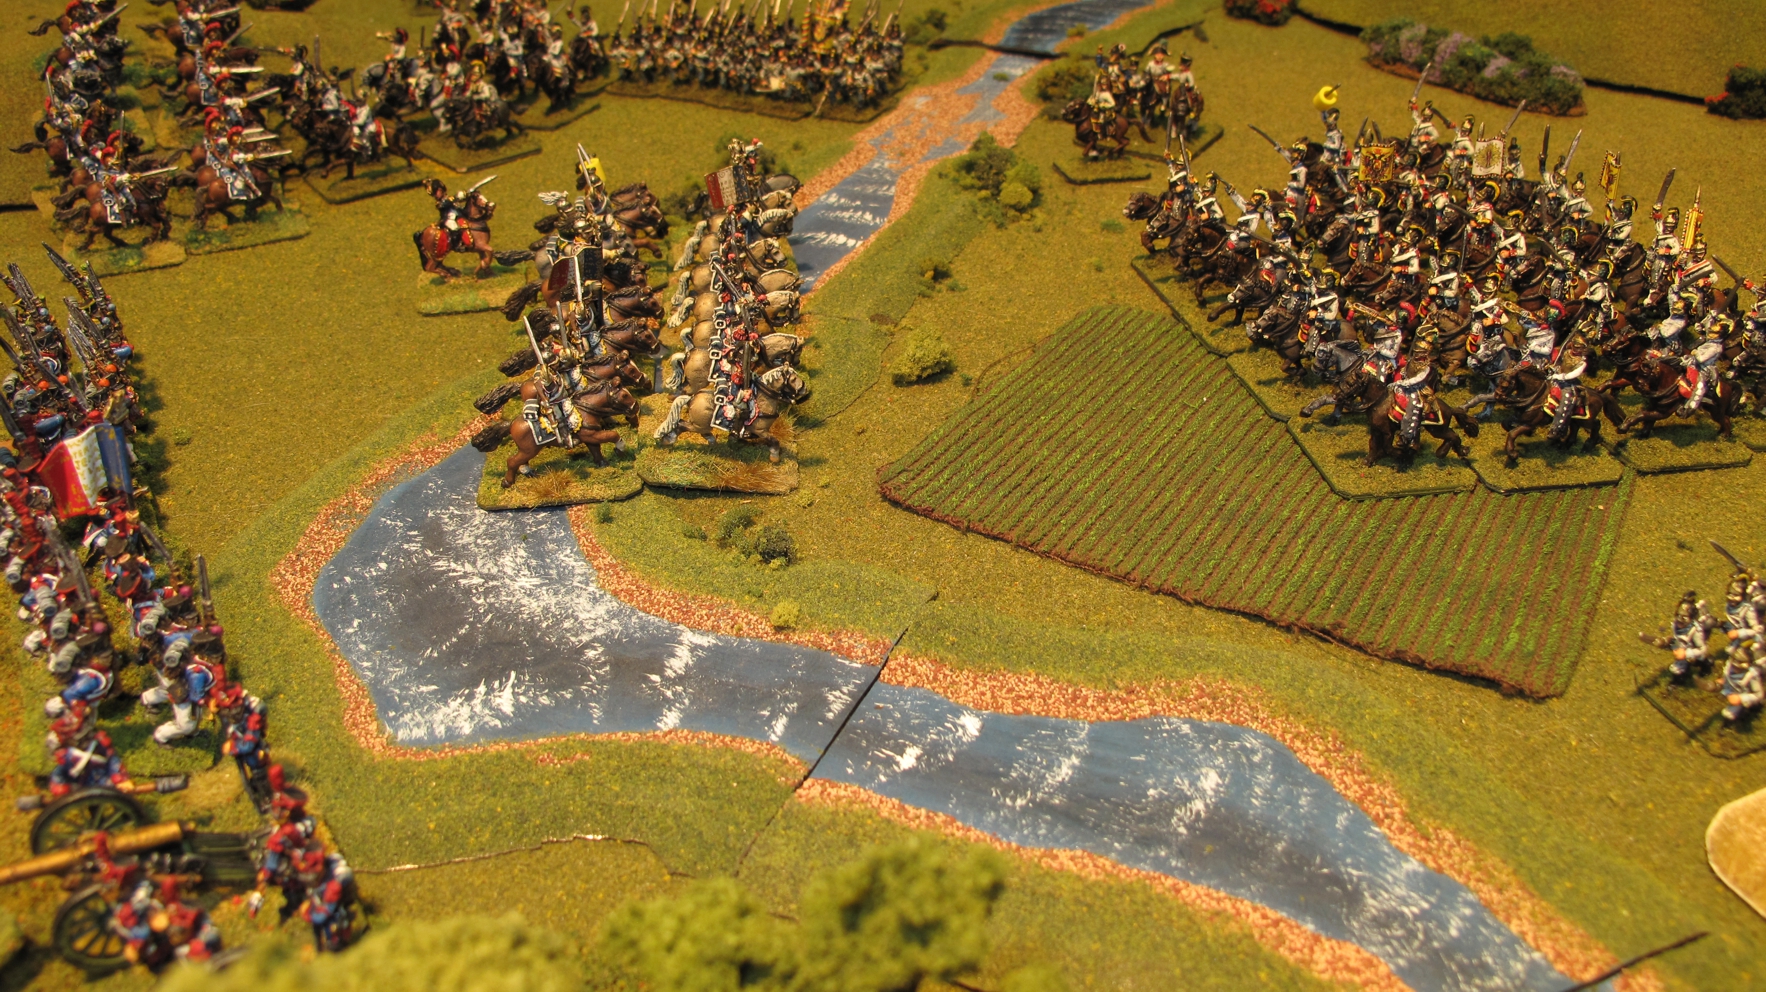
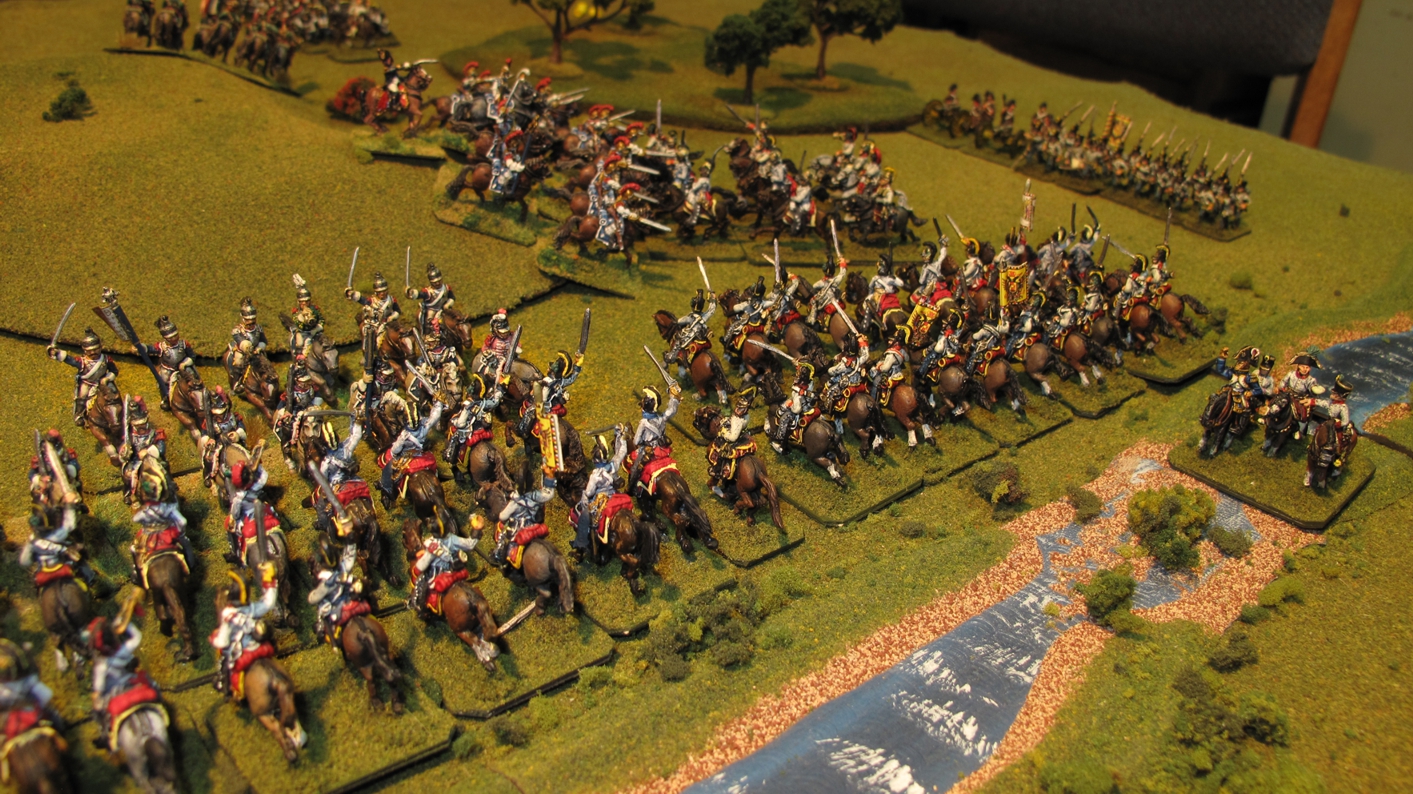
The Battle opened with players rolling their entry positions. The table was basically divided diagonally following the main road stretching the length of the table. Each player rolled for entry at one of 4 points, 3 on their long table edge, and one on their short side. Rolling ended up with each side having one division coming on in the center and 2 on the southern edge. Classic example of two army’s who while searching for each other unexpectedly bump into each other resulting in a “battle”
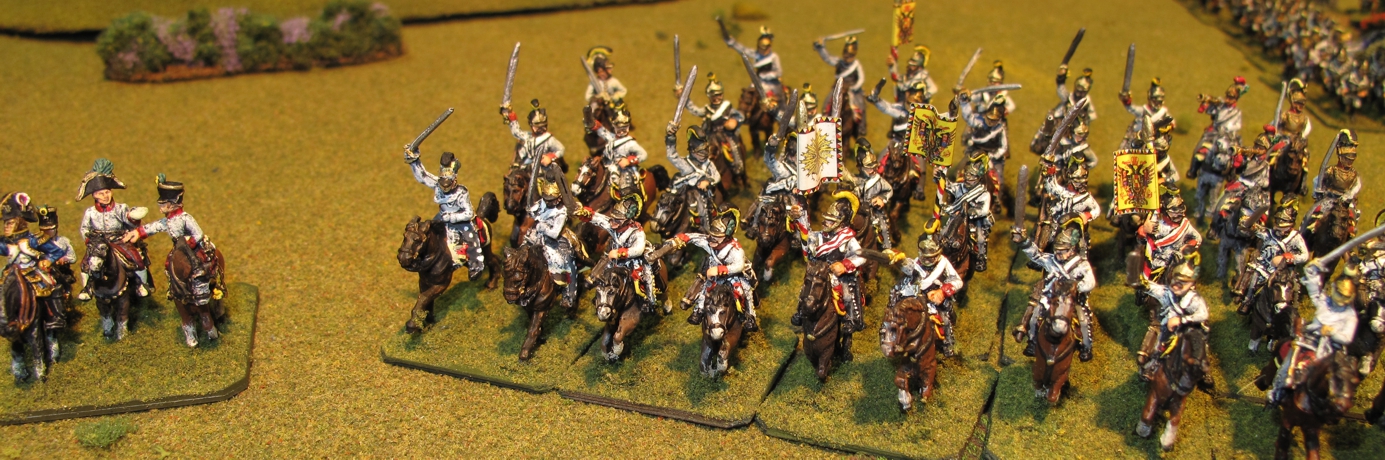
As troops poured onto the battlefield both sides rushed to deploy into position while commanders struggled to come up with a battle plan! As happened in the Civil War the “eye’s” of both army’s, their Calvary was out gallivanting somewhere else!
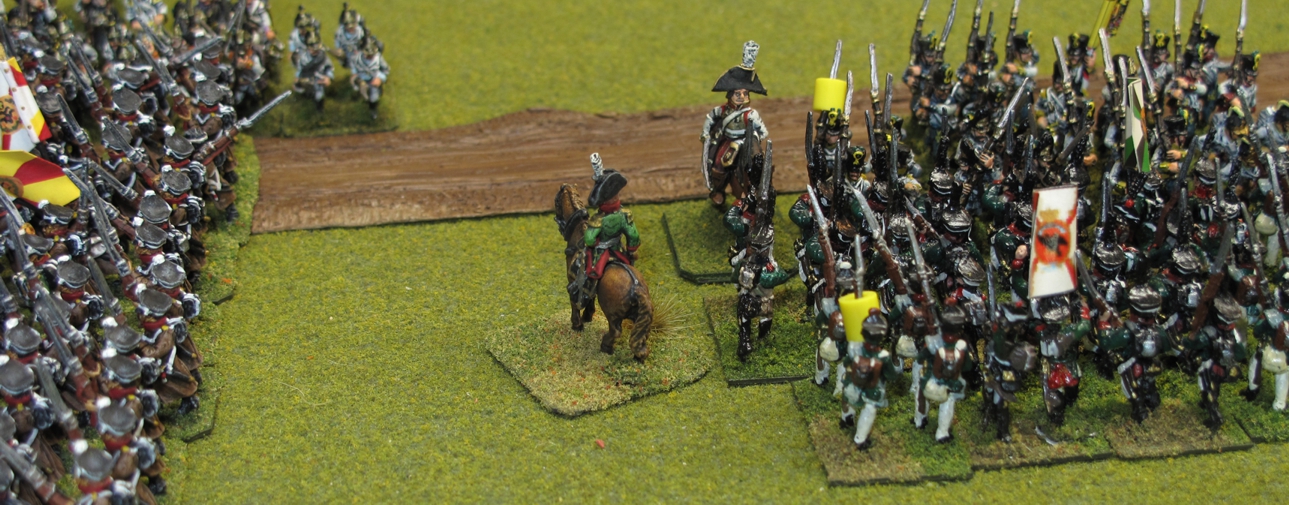
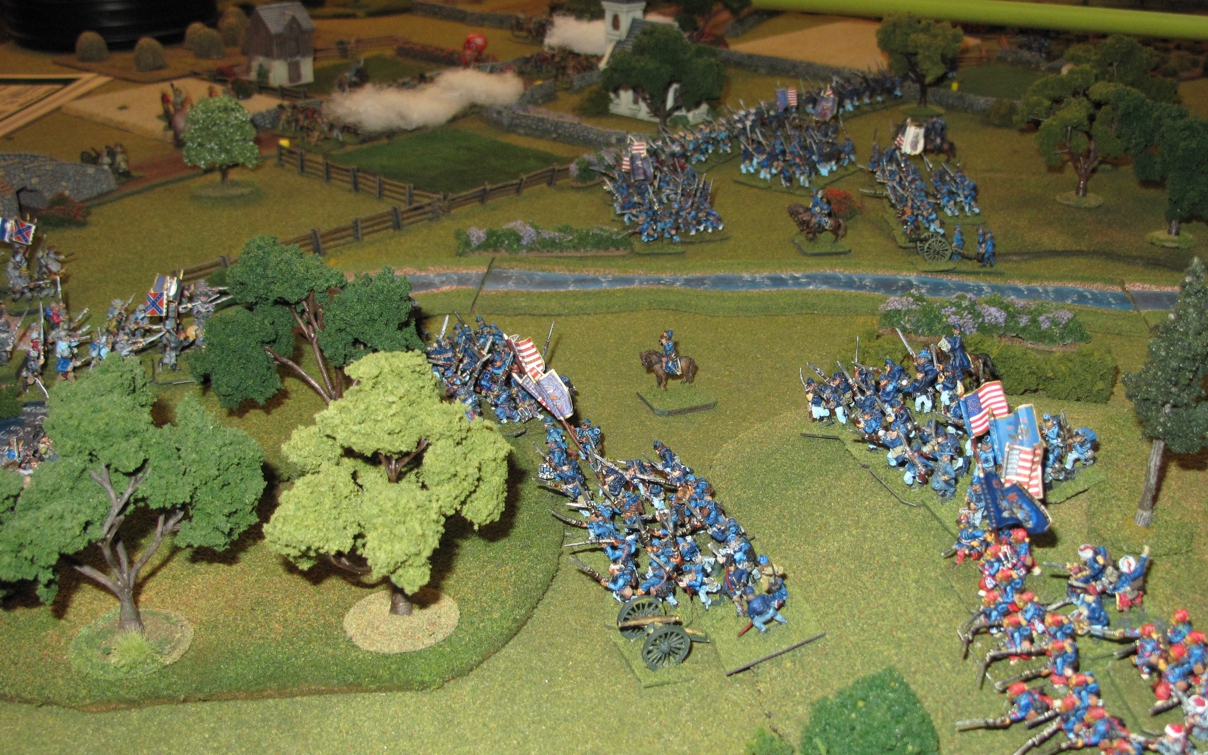
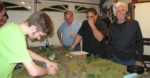
Both side rushed units North to avoid being flanked, the Confederates had the advantage of controlling the road but were a bit slugish in issuing orders getting the troops moving down it. Union General Clark Dandridge commanding the Union right flank (on the northern flank) pushed his units hard and got into good defensive positions before Confederate General T. Daun could get his attack organized. The opening shots came from this flank with General C. Dandridges forces artillery battery pounding the assembling “rebels”.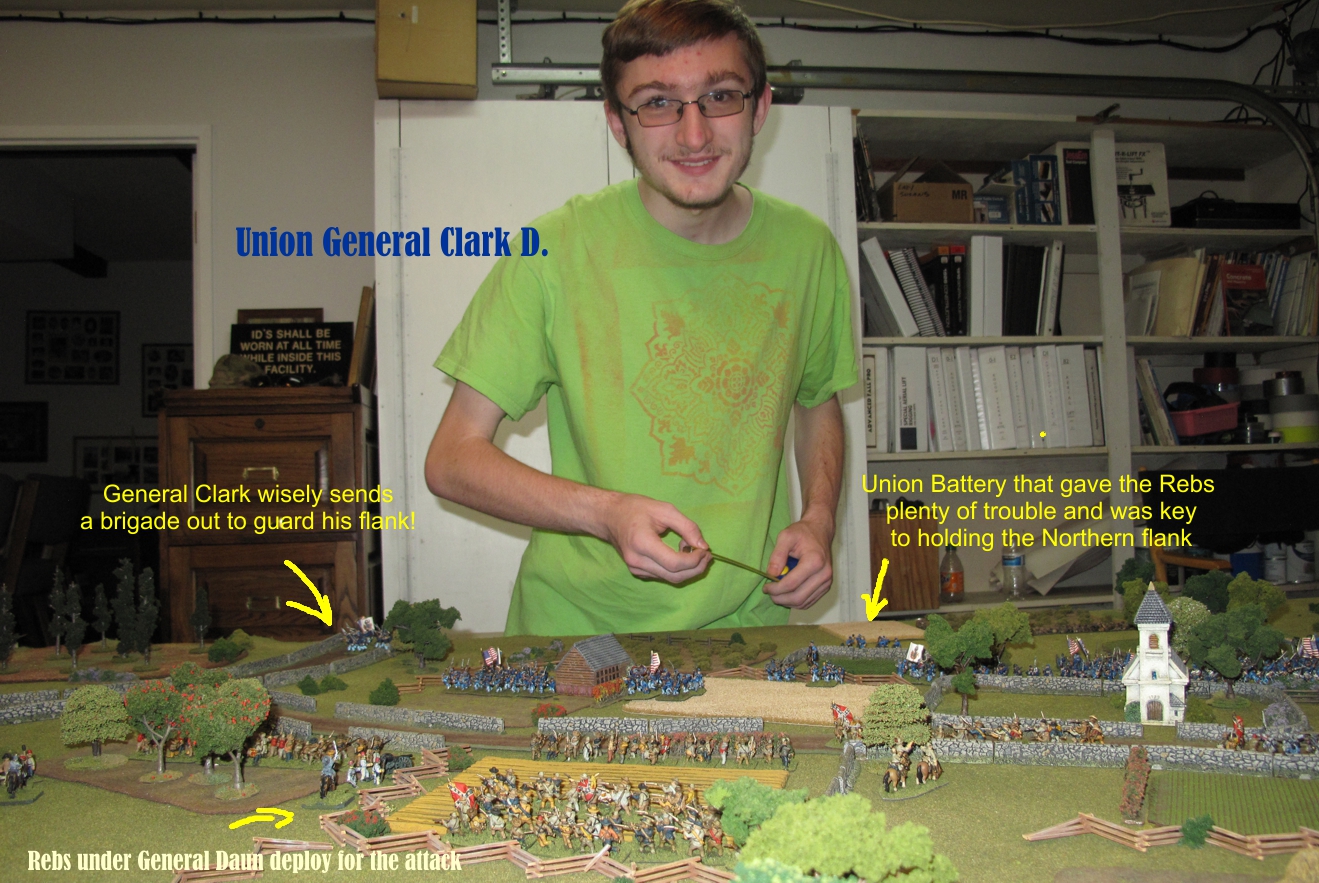 Unfortunately for the battle report I was to busy to pay much attention to what was happening on the Southern section of the battle field or even in the middle where the largest concentration of troops were located on both sides. I have to rely on the bits and pieces learned after the battle from those who survived….
-

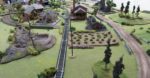
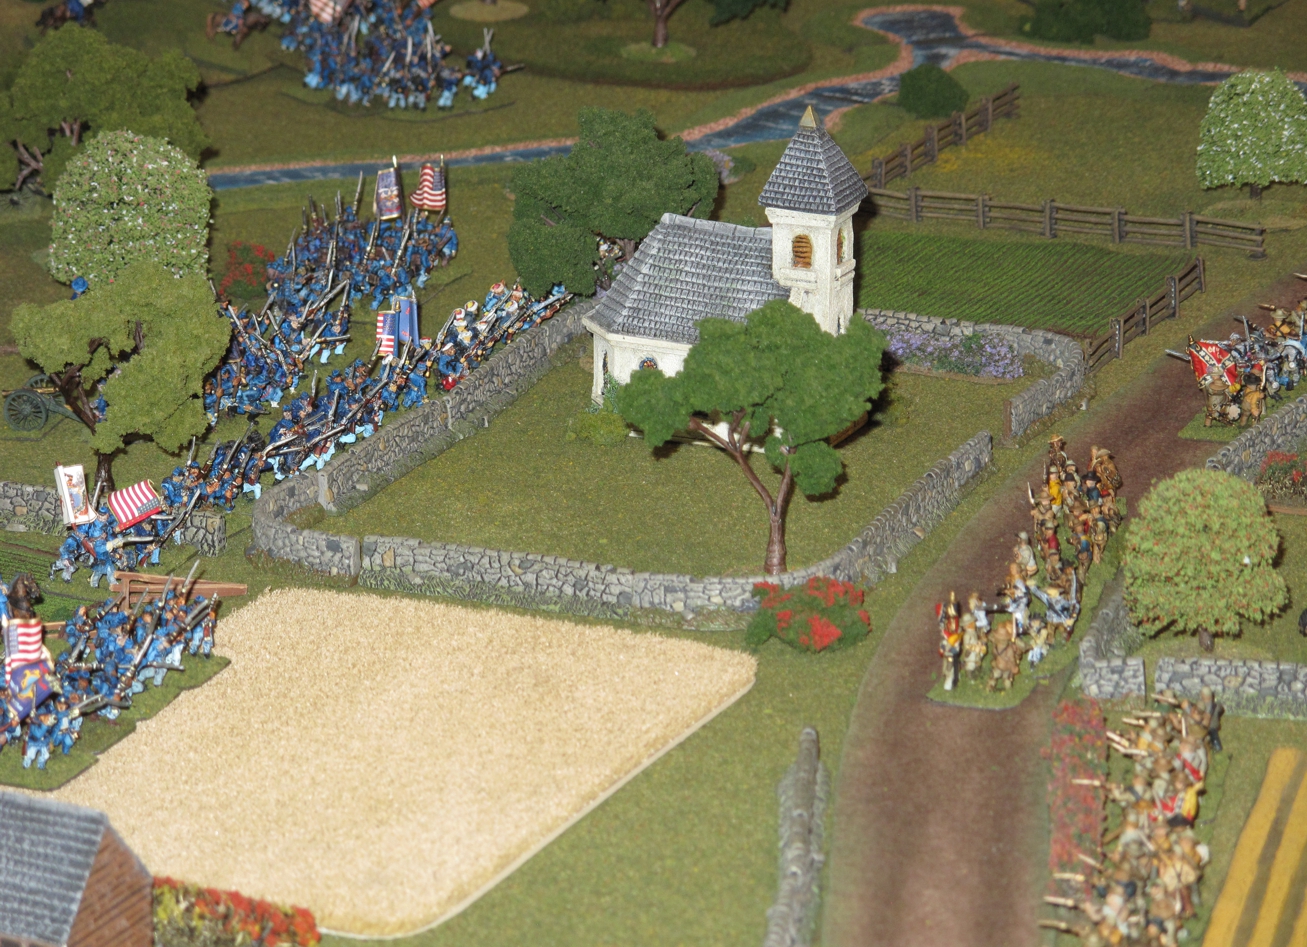
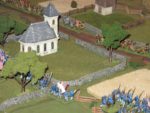
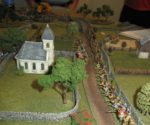
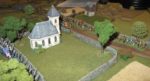
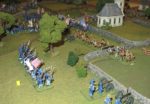
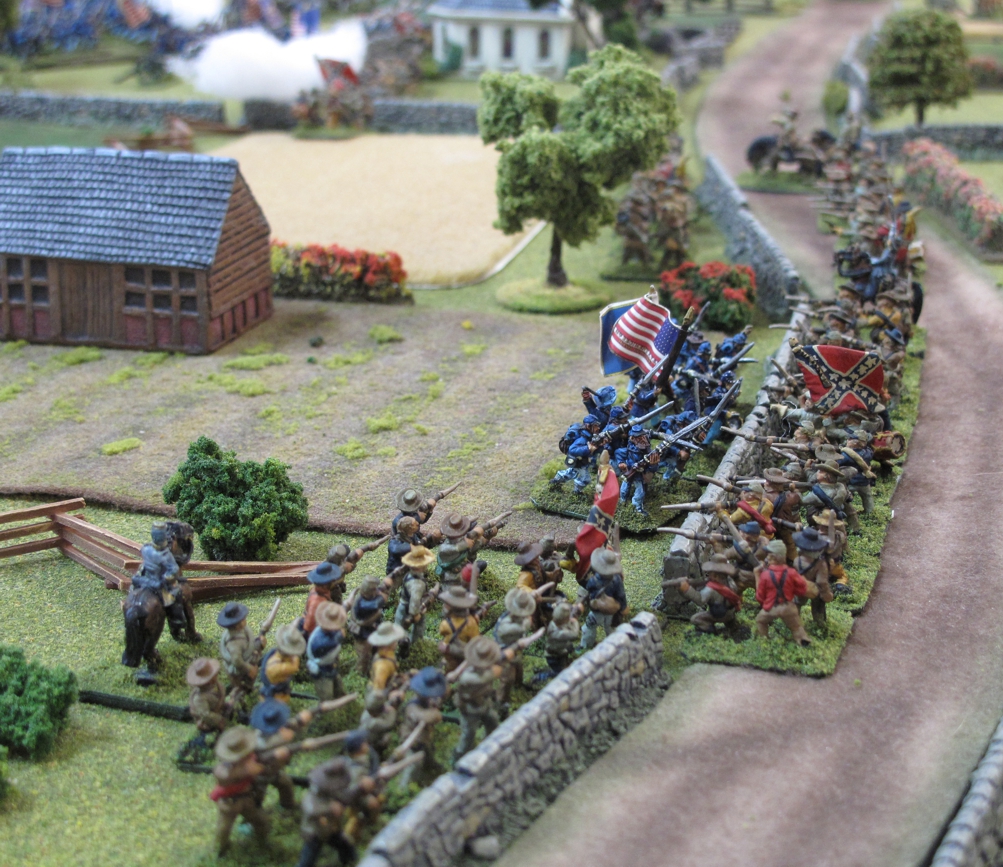
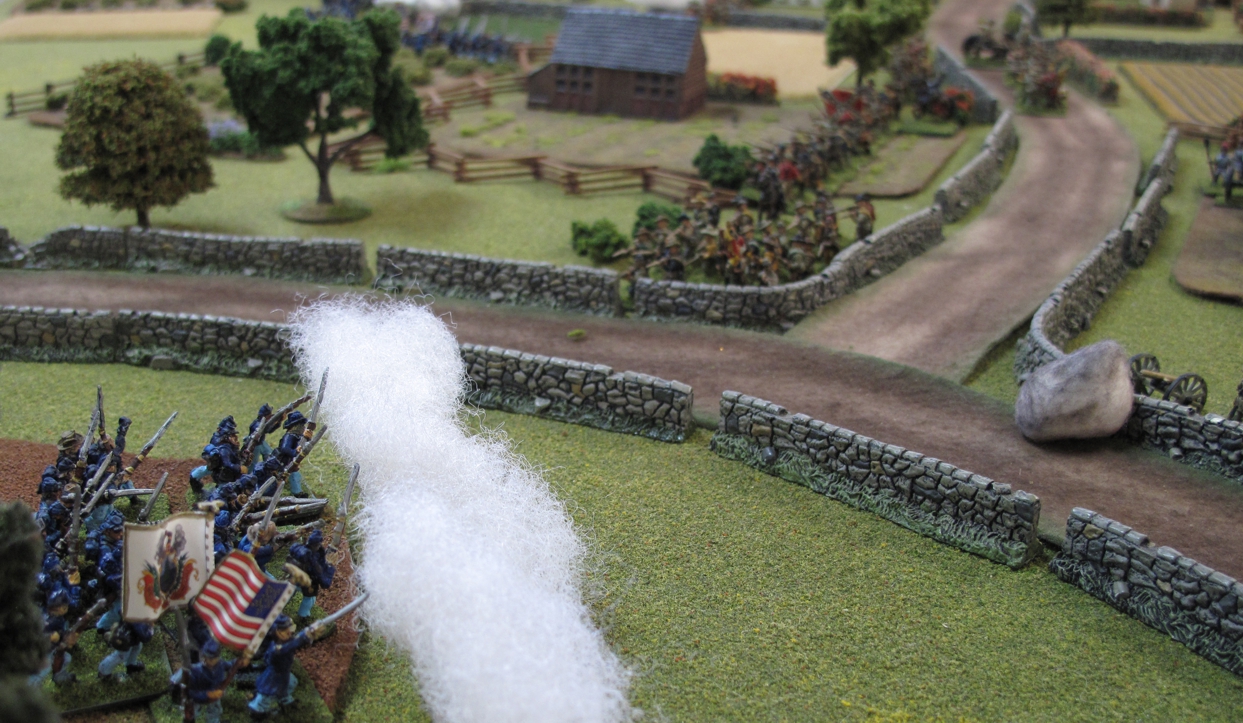
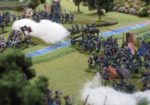
- Both sides tried to gain an advantages position in the center near “Stones Church”
-
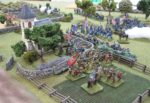
- Union troops gather at the wall behind the church. Many would say their last prayer here!
-
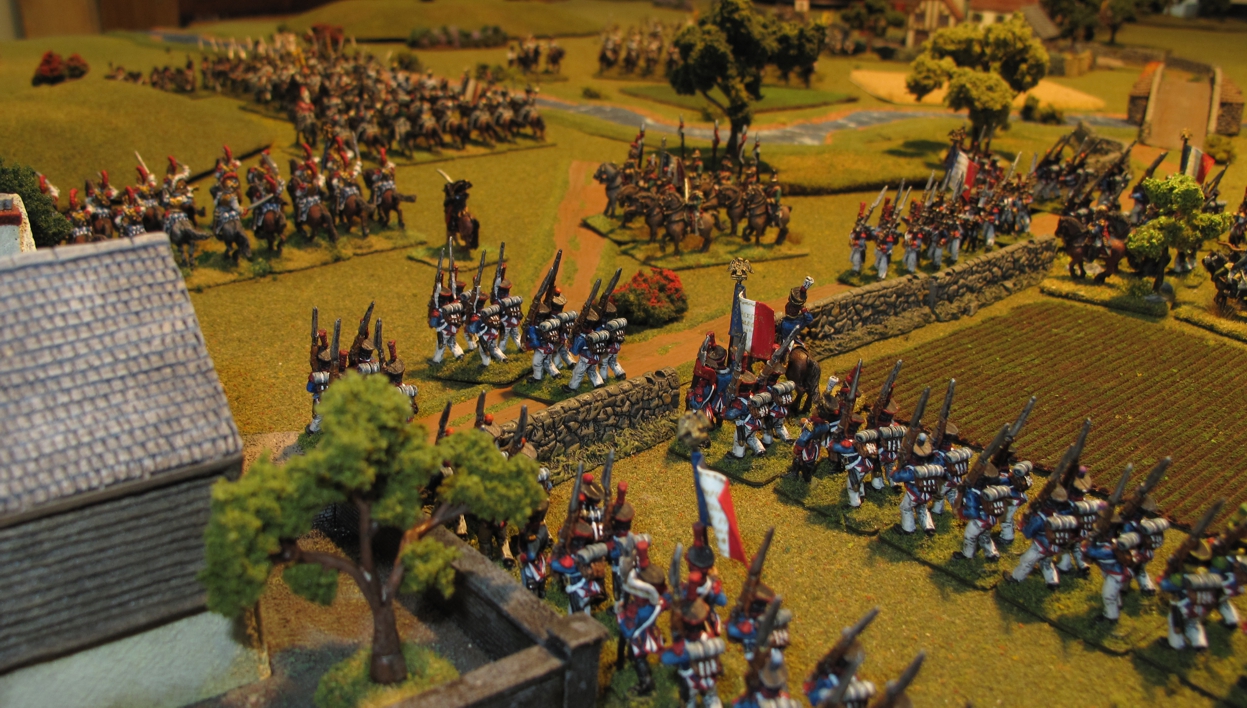
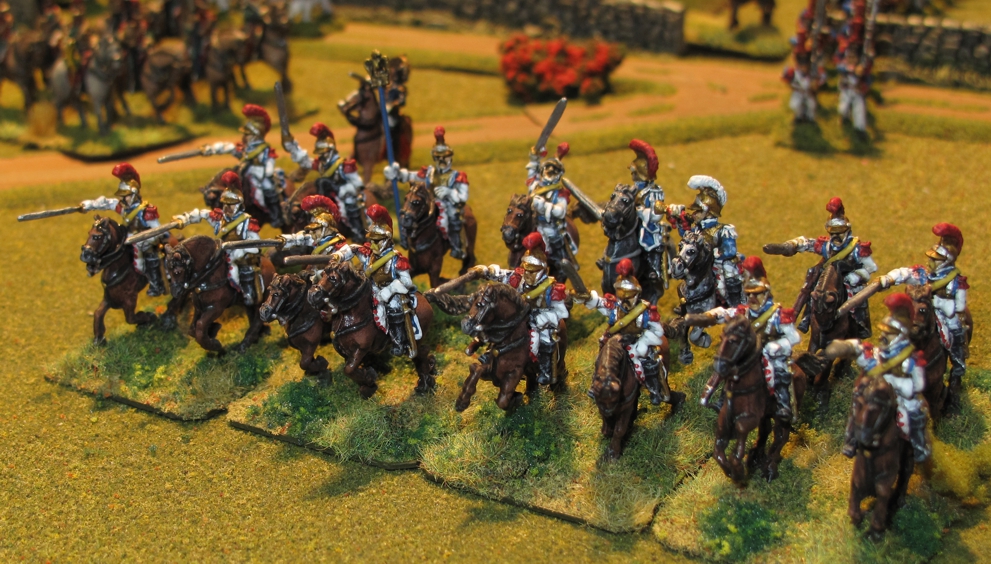
- Lines of “Greybacks” in their often “butternut” colored clothes crossed the bridge into battle.
-
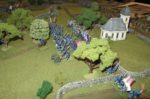
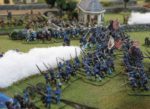
- The Union manages to deploy into position faster and begins to move to the attack.
-
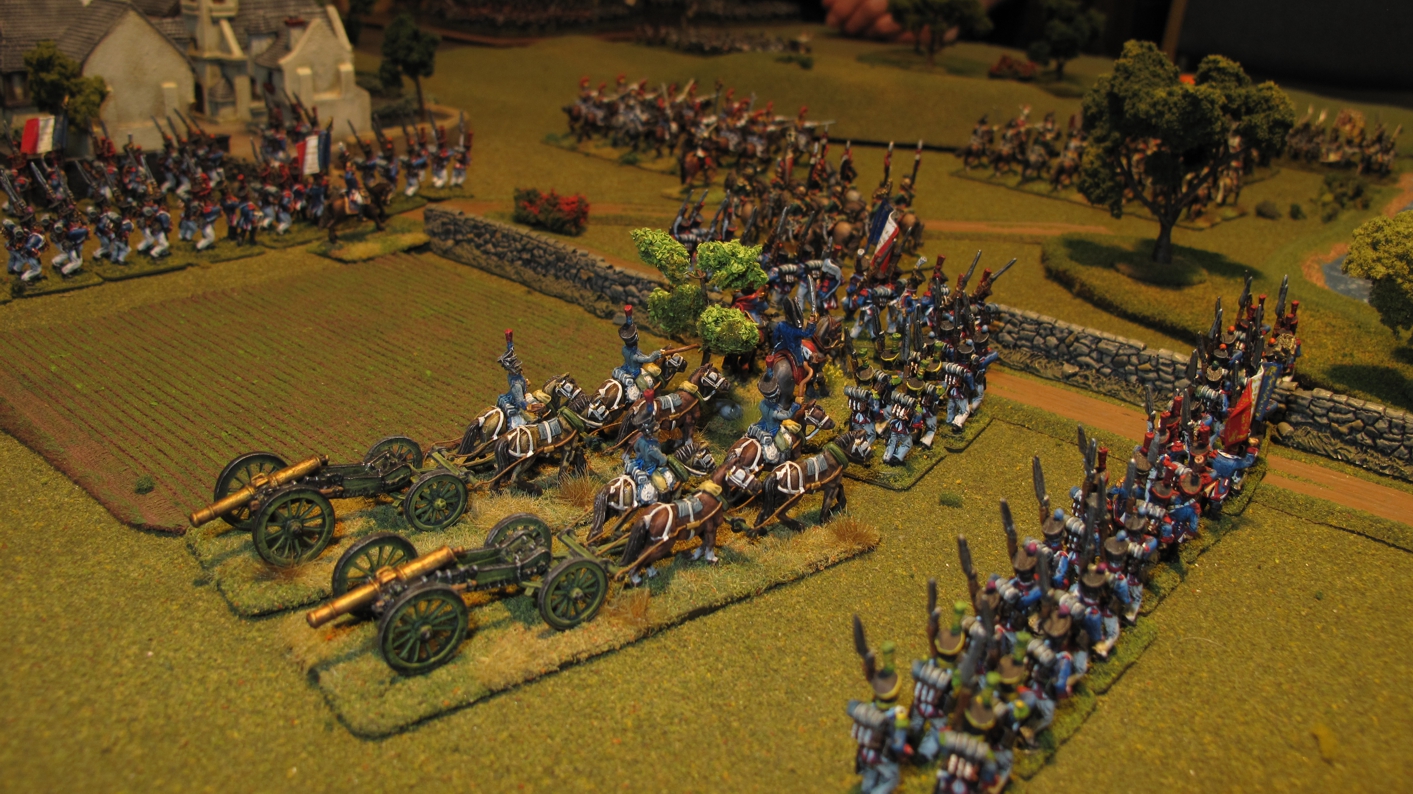
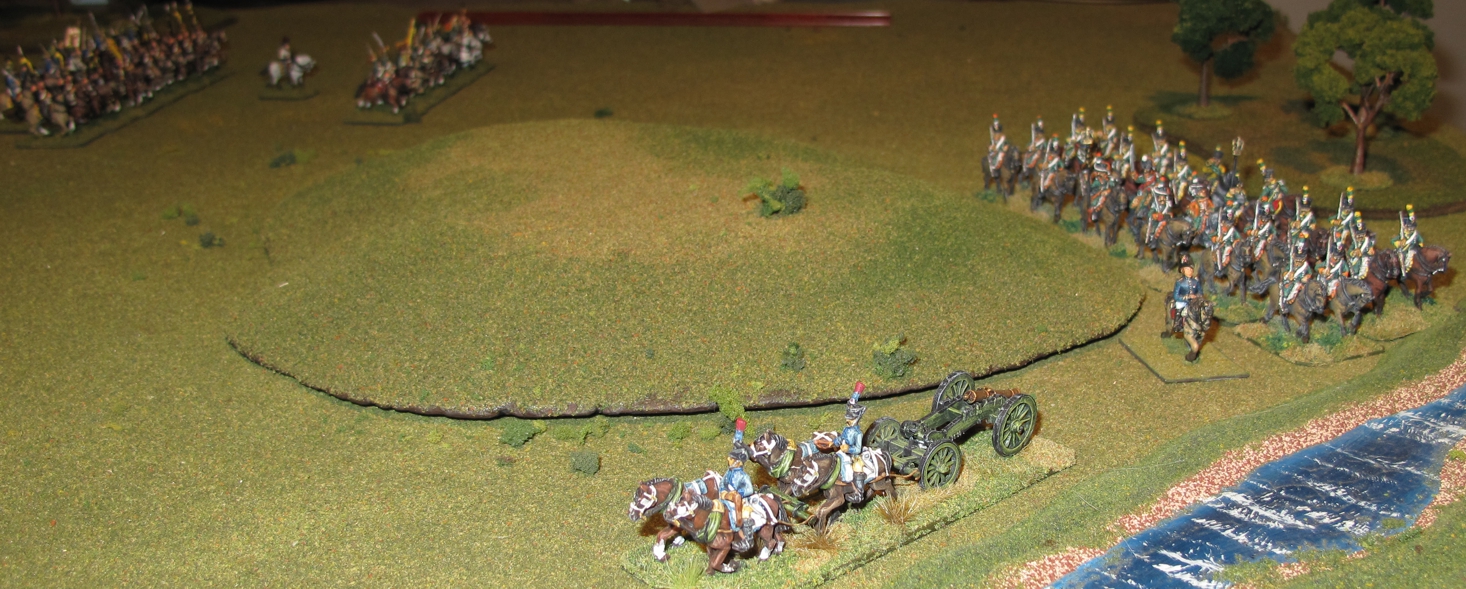
- The Union seemed to make much better use of their artillery battery’s, keeping them in close support of their infantry. The Rebel artillery kept its’ distance hampering the effectiveness of the confederate push in the center.
-
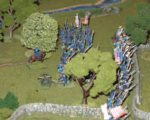
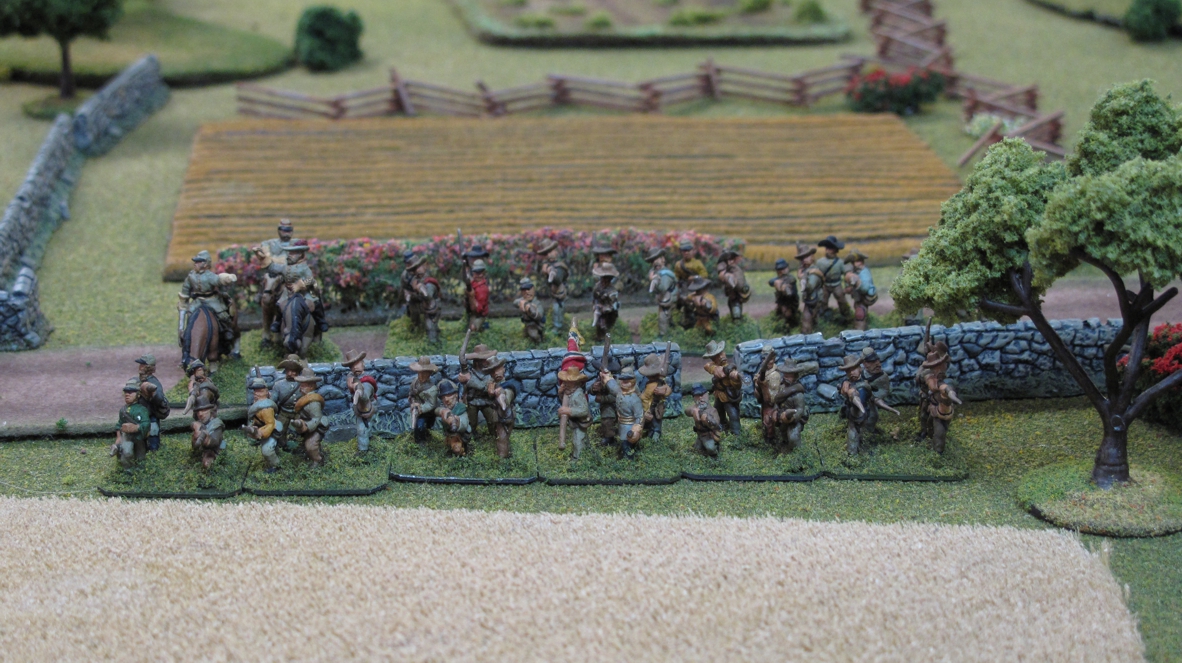
- Some of the 5′ of “split-rail fence” I made for the game. This is on the Confederate left (northern section of the battle) and Rebel General T. Daun’s brigades moving into position.
-
- On the other side of “Stones Church” the Reb’s form line.
-
- After the battle this grassy area next to the church would be the final resting place for troops from both sides…
-
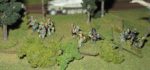
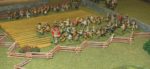
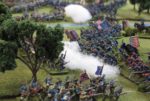
- With a “rebel” yell the southern brigades move into the attack. the Union troops await them with a stony silence!
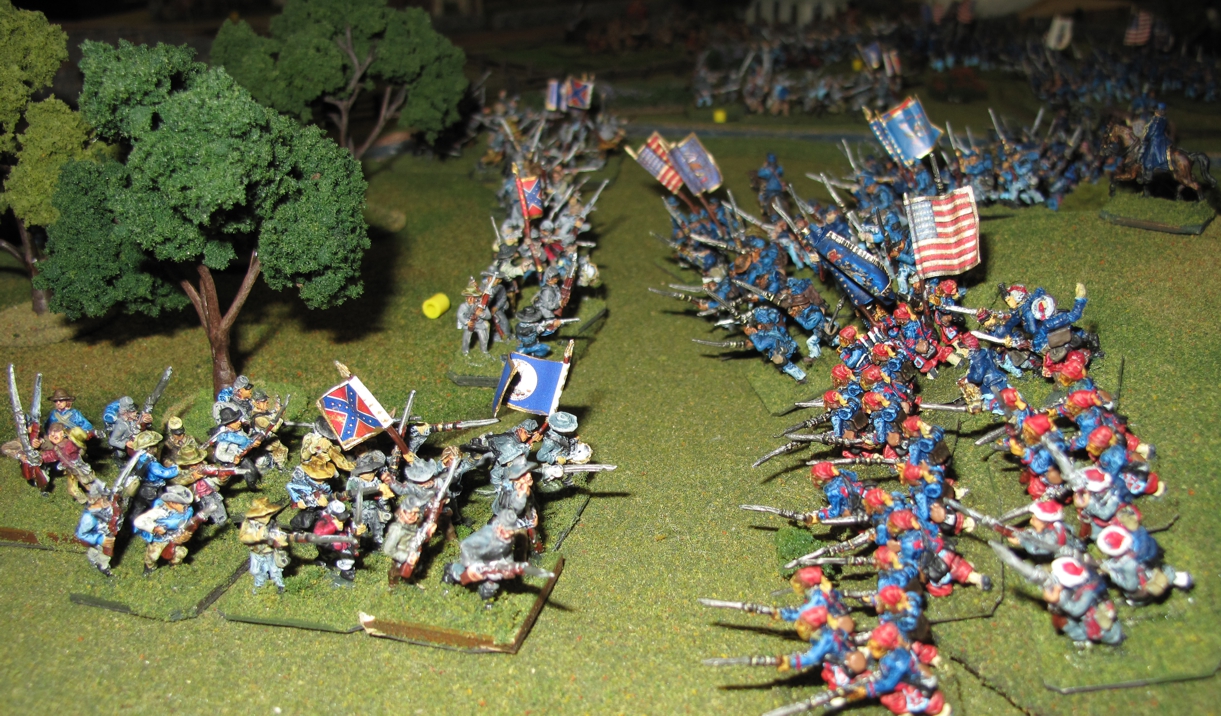
Seeing the lines of blue clad Union troops already advancing on them the Southern commanders dressed their lines of battle and pushed in to meet the “yanks” It seemed the southern Generals had finally aroused themselves!
Right wing Southern Commanders (pun intended) Chris S, Stevie G, and Joe N.
Pictures of the battle are a bit lacking because of the photographer (me) having little time and not wanting to slow the game down. Everyone was having a ball and with the limited time for the evening I chose to pay more attention to moving things along than taking pictures and gathering information.
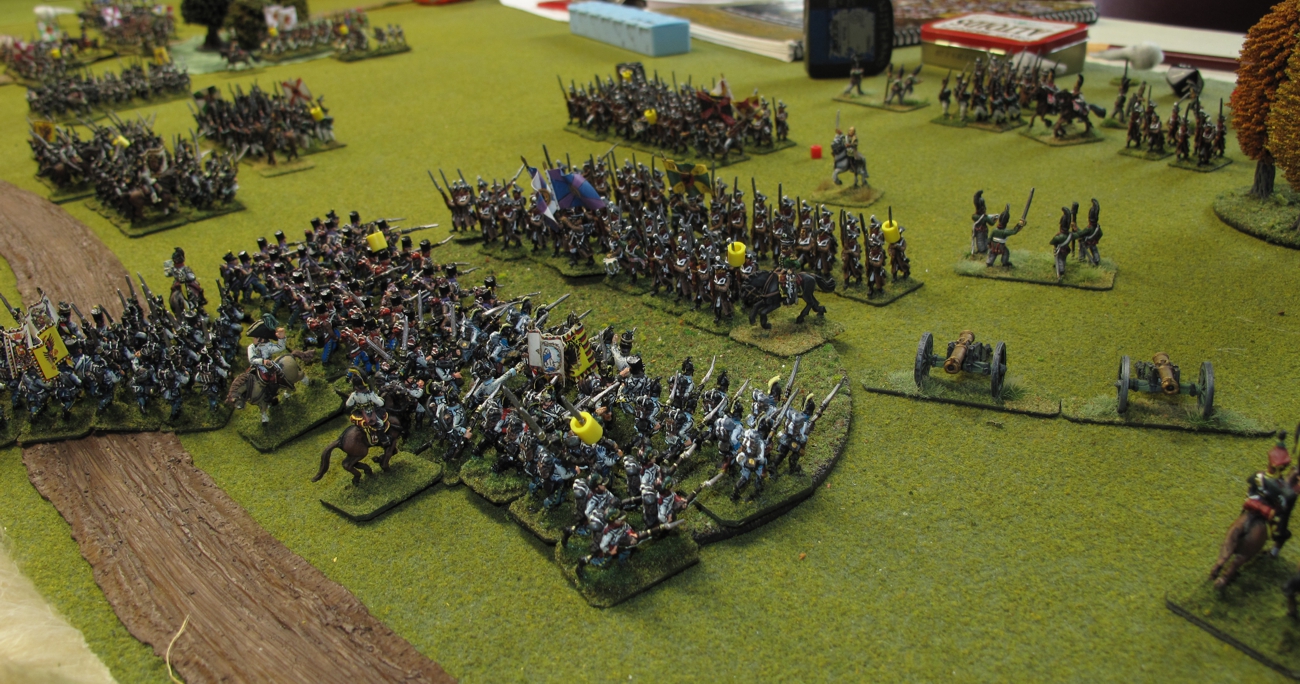
Around this point the various artillery duels settled down, a general push began, and firing erupted along the entire line of battle.
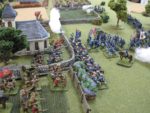
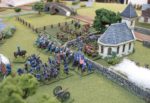
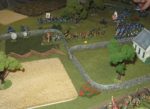
The far southern table edge looking out into the middle of the battle centered around the church where some of the heaviest fight would take place.
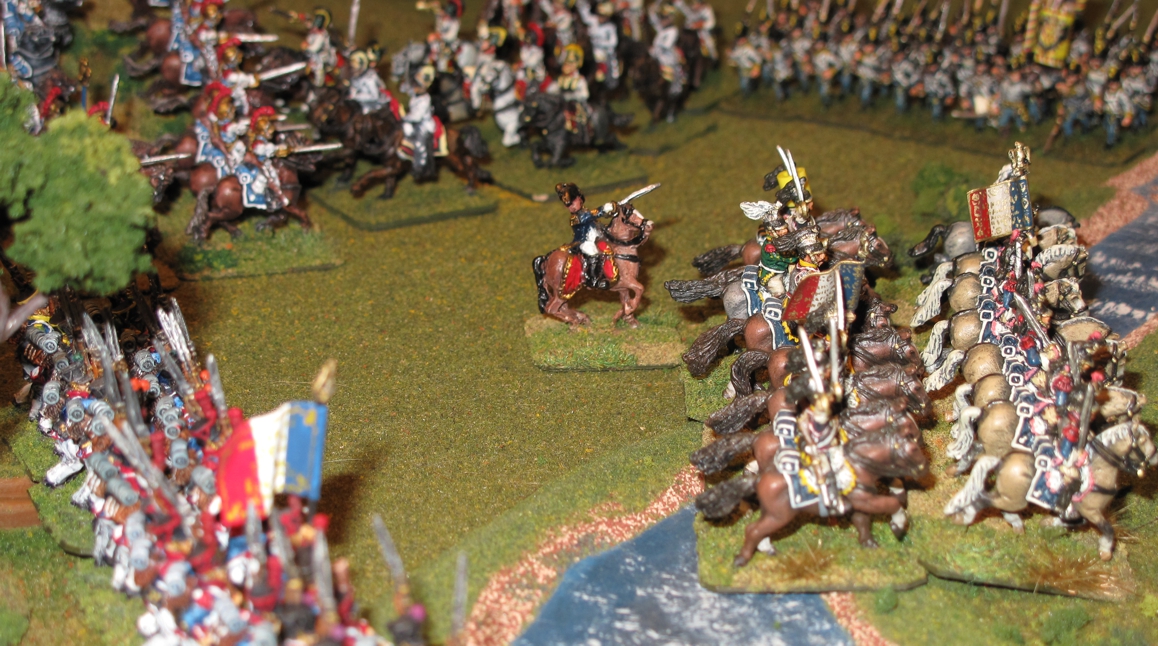
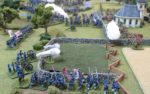
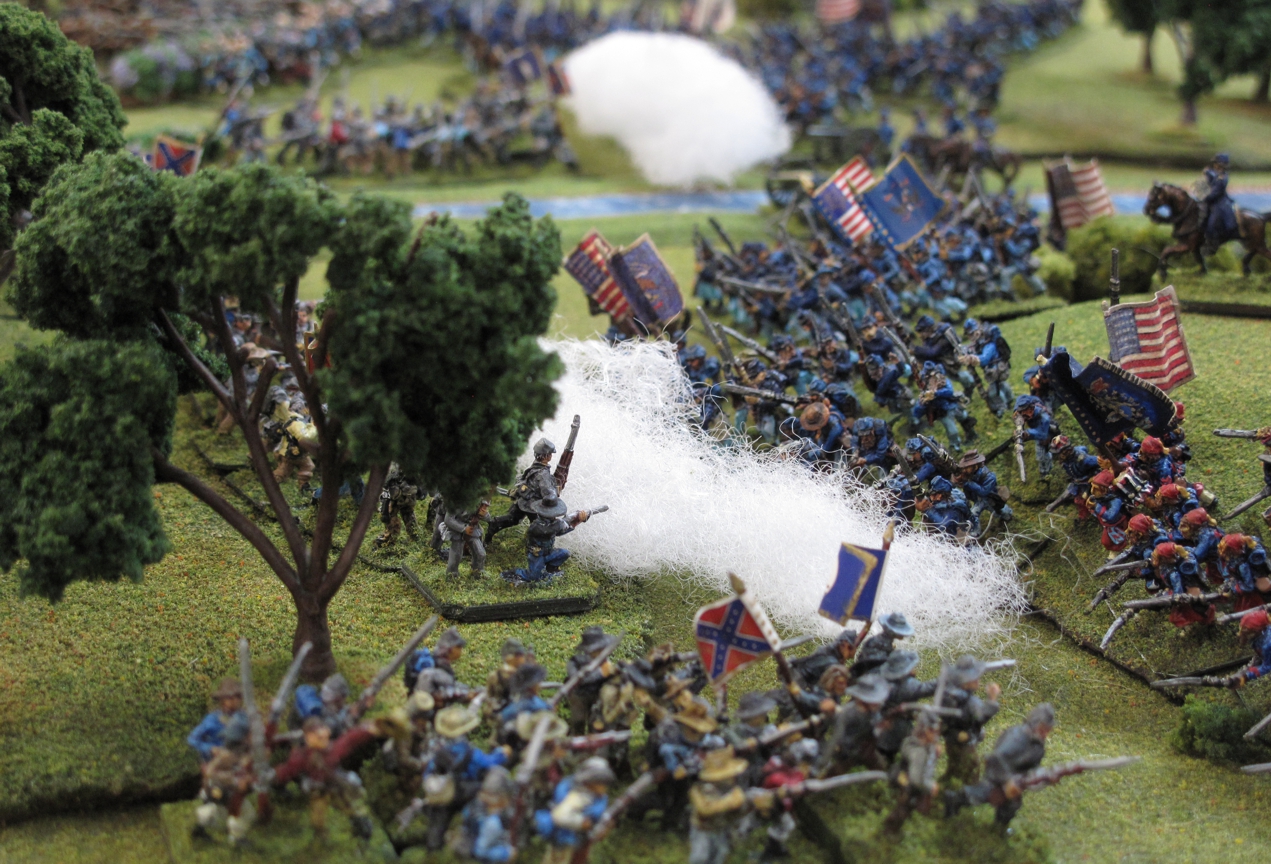
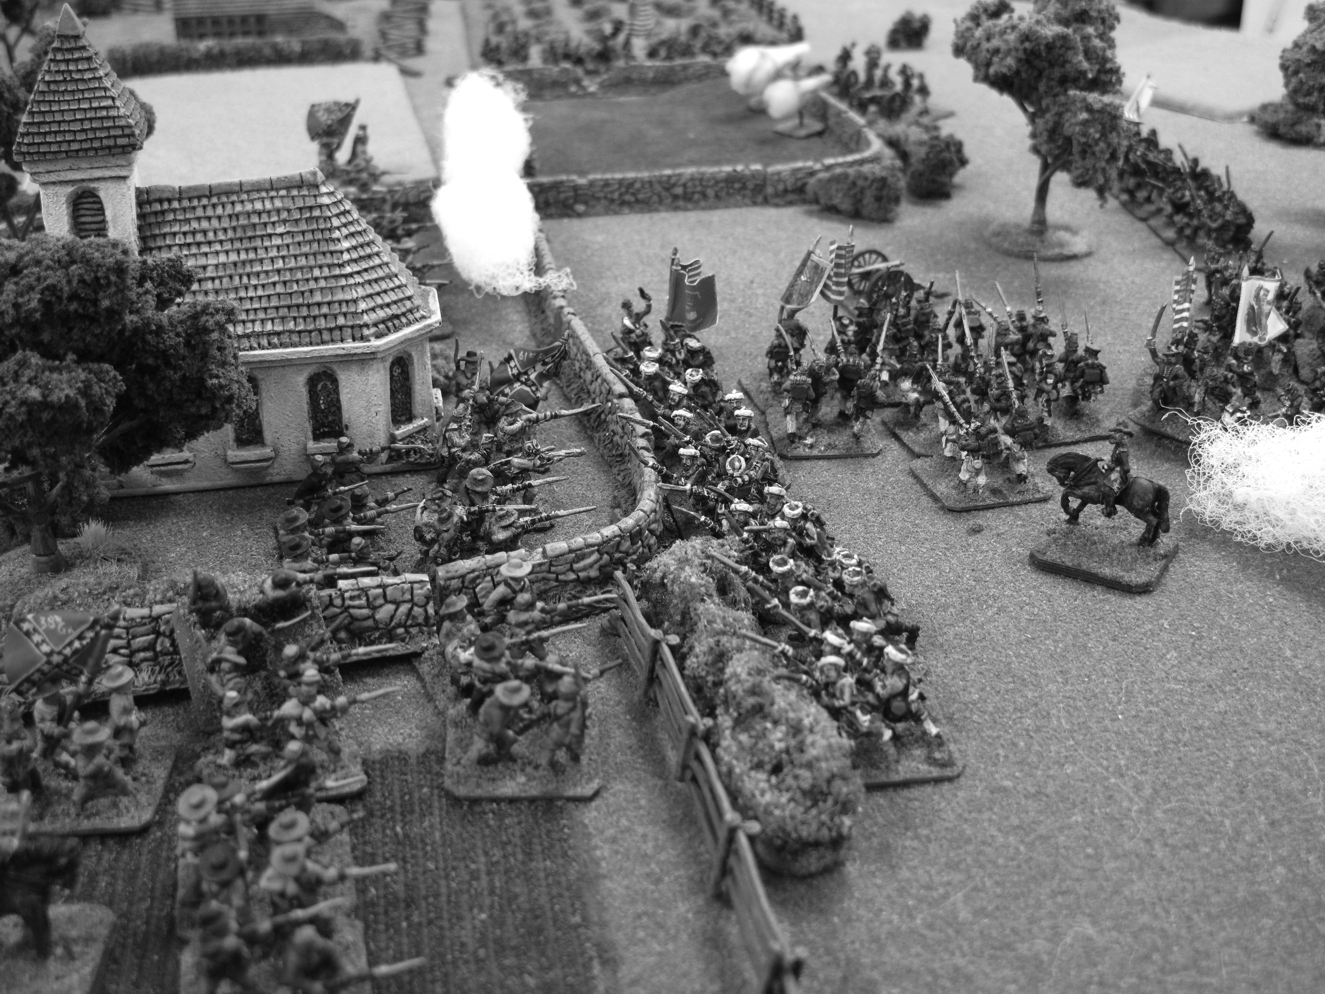 This gallery is from fighting in the center around the church. It was here that the legendary miracle of “Stones Church” happened! When called upon to roll the dice for the resulting firing and melee’s Confederate General S. Gausche rolled like never before with 4-5 consecutive 10’s, a few 8-and nines, but never less than a 5! This feat of die rolling just couldn’t be matched by the Union Generals Clark Dandridge, his father General Dave Dandridge, or General Estey. Union Brigades were pushed back with several colors captured and battery’s silenced or forced to retreat.
-

- Feeling confident the Union presses in.
-

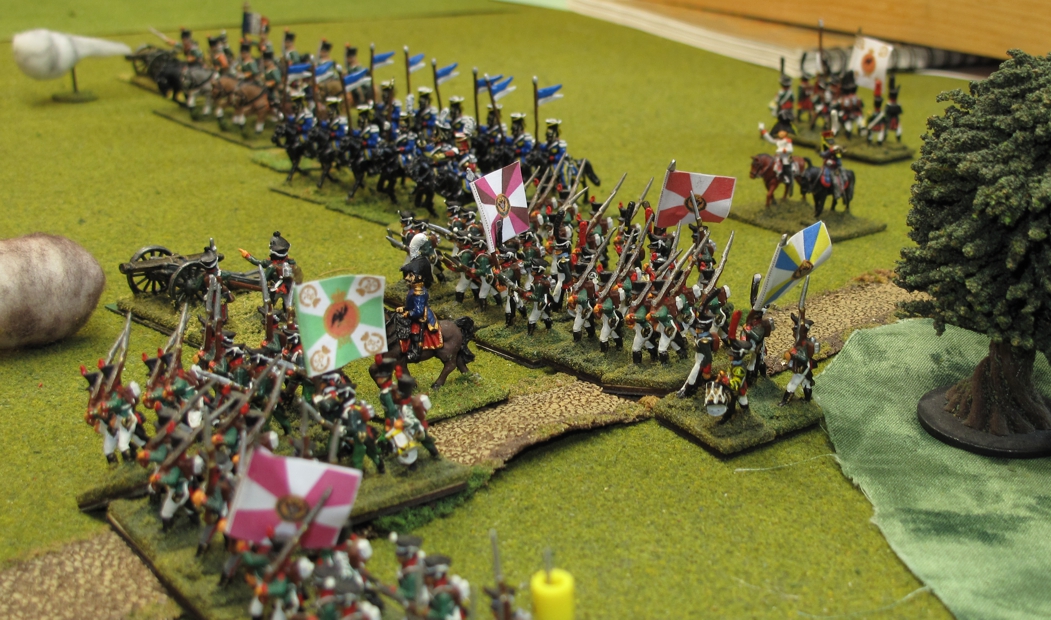
- With another mighty Rebel yell Confederate troops surge forward into the Union forces.
-
- With the Southern commanders “fighting Joe Nacchio” handling the tactical movement and the beloved “Our Old Man” General S. Gausche directing fire (rolling dice) the rebs crashed in.
-
- A devastating volley from the Rebs on the right of the church (hidden in smoke) forces a Union brigade back with heavy casualties and wrecks a battery of guns. Rolled by Stevie G!
-
- The Rebs are up and over the stone wall in pursuit.
-
- Excellent rolling when it was needed most by Stevie G made the game even more memorable for him!
-
- These Union Battery’s and infantry brigade was all that kept the Rebel push from splitting the Union center.
-
- I cant remember another game where Steve’s dice rolling was so hot! Steve and Joe made a great team!
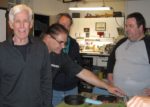
Matt Denny and Mike Estey of the “Bengal Club”
About 2/3rds the way into the evening Matt Denny of the Bengal Club group made it (late nite doing peoples taxes) and being another experienced Fire and Fury player grabbed a beverage and offered his services to the Union!On the Confederate left flank the Union had been holding it own and in fact General Clark’s artillery was causing concern with Confederate General T. Duan’s infantry, disordering them and causing light casualties. General Daun was heard to tell his brigade commanders “let us push forward bravely and clear out this nest of vipers!”
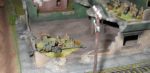
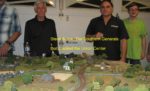
I failed to get many pictures of this action but you can see the initial deployment in the picture I used at the top of this post with the pictures of the resulting action here.

Union forces sent to guard the flank under the young “give them the steel” Union commander General Clark fix bayonets and surge forward. Rebel General Daun struggles to get his men in position.
The Union brigade managed to reach the stone wall but a withering blast from the Reb gun batteries and the muskets of their infantry disorders and causes much loss of life to the Union brigade.On cue, sensing the moment and following General T. Dauns order to give them “the steel” two rebel brigades crash into the remnants of the Union brigade, killing or capturing what was left!
Going down fighting this union Brigade is attacked by two full rebel brigades, on of which is in brigade mass and hitting them in the flank! I think the difference in final numbers was negative 14 for Clark’s troops! Resulting in “Swept from the field”
With little opposition the Northern wing of the Confederate Corps looks to roll onto the Unions flank and finish folding the Union center.
A Union brigade suddenly finds its self alone, out of command, and facing more than 3 to one odds including a rebel battery to its front.
Meanwhile the Southern flank was like a pot beginning to boil over. An early push by Confederate General Christian Adolphus Snell (his father fought with the Prussians at Waterloo) was checked by large Union forces under the commands of General Dandridge and Estey. Dense woods and hilly terrain made maneuvering on that flank difficult but it was about to explode as night fell, this combined with the bad news from the Northern section surly would have caused the Union commanders to retreat, regroup, and not risk destruction of their forces in a less than advantageous engagement. Besides think of all that fine Tennessee Whisky we captured yesterday, certainly wouldn’t want that to fall back into Rebel hands!
General C.A. Snell pushes his brigades into the attack helping to give the northern C.S.A. brigades more time.
Fierce fighting was breaking out in the dim shadows of the wooded hills. The outcome was never a sure thing for either side.

Muddy “Catfish Creek” divided the forces of the Southern edge and the center. However it was fordable along its entire length, it being the end of summer. The Unions superior artillery and their Generals ability to keep it close in supporting the Brigades had a telling effect on Rebels ability to close in.
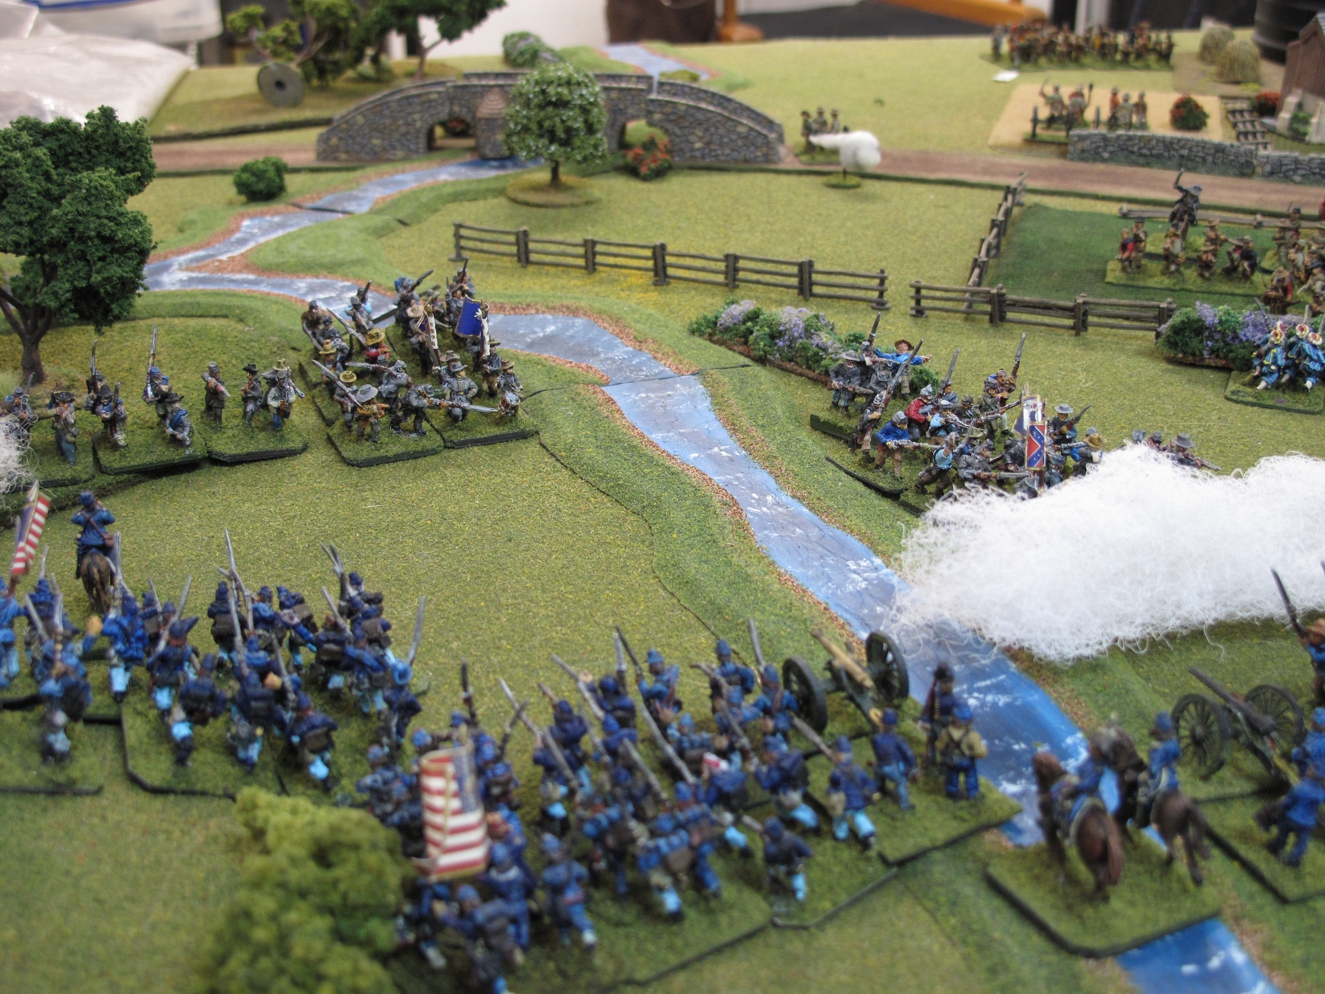
Another view of the left end and the center from the Union position (we captured Matthew Brady and all his equipment) showing again the perfect positioning of Union battery’s to support the Brigades.
With the Northern flank of the Union army turned as well as the Union center cracking and under pressure by having to redeploy forces to meet the Northern attack soon to come it’s the opinion of this reporter (known Southern sympathizer) that had darkness not begun to fall (it was 10:30 and many had long drives) the South would have carried the day! Not a resounding victory but certainly barring a lot of great die rolls would have forced the Union off the map. At the end every one was smiles and Steve with the biggest smile of all, being the “Hero” of the game!
-
- T. Daun, Confederate General commanding the successful attack on the Northern flank surveys the battlefield.
-
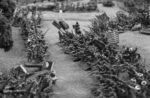
- Converting to “greyscale” gives the pictures a peroid feel.
-
- A better group would be hard to find, players who care about playing and coraderie more than winning, well ok we still all like to win sometimes!
-
- good to see Joe using his well known tactical prowess once more!