Several months ago, my son mentioned he was playing Warhammer 40k on his PC from time to time and asked me to paint him a Space Marine to sit on his computer desk. This sort of touched my heart as in all the years of seeing me play wargames and paint miniature army’s he never really got the bug for that part of my hobby. He did get a love of history, gaming (on the PC), just never really picked up a brush. It reminded me of my father and I, my dad loved the outdoors, history, and hunting. I picked up his love of camping, history, but never became a hunter.
Well, I took up the task and decided to not just paint a figure but do something that would challenge my skills and give him something to not only enjoy but become a keepsake to remember me by.
I’m not a Warhammer player and haven’t painted any Space Marines but I was familiar with the game and the figures, in fact I had some hanging around awaiting possible conversion for other games. One of them was an old “Beakie” space marine from the 1990’s that had been kicking around my painting area for 20+ years! Plans started to formulate for the project;
- It had to be impressive, make a statement, inspire.
- It had to be something you wanted to display, not get tossed in a drawer later.
- It had to last….
- It had to have a personal attachment that meant something to both of us.
I decided I was going to do a diorama something that would have multiple facets of interest for the viewer and maintain interest over time. I had the one figure but my son wanted a figure with a banner and after scouring the internet settled on Warhammer 40k Primaris Space Marine Ancient Adeptus Astartes figure off Ebay. Now having both figures I formulated ideas for the vignette. I almost included a 40k Space Marine speeder with four other figures that would be dropping the Space Marine officer on some ruins seeming to plant the banner, but realized this would be way to big (after I have already bought the speeder set of course). I also started thinking of how to enclose the vignette and protect it from dust and damage.
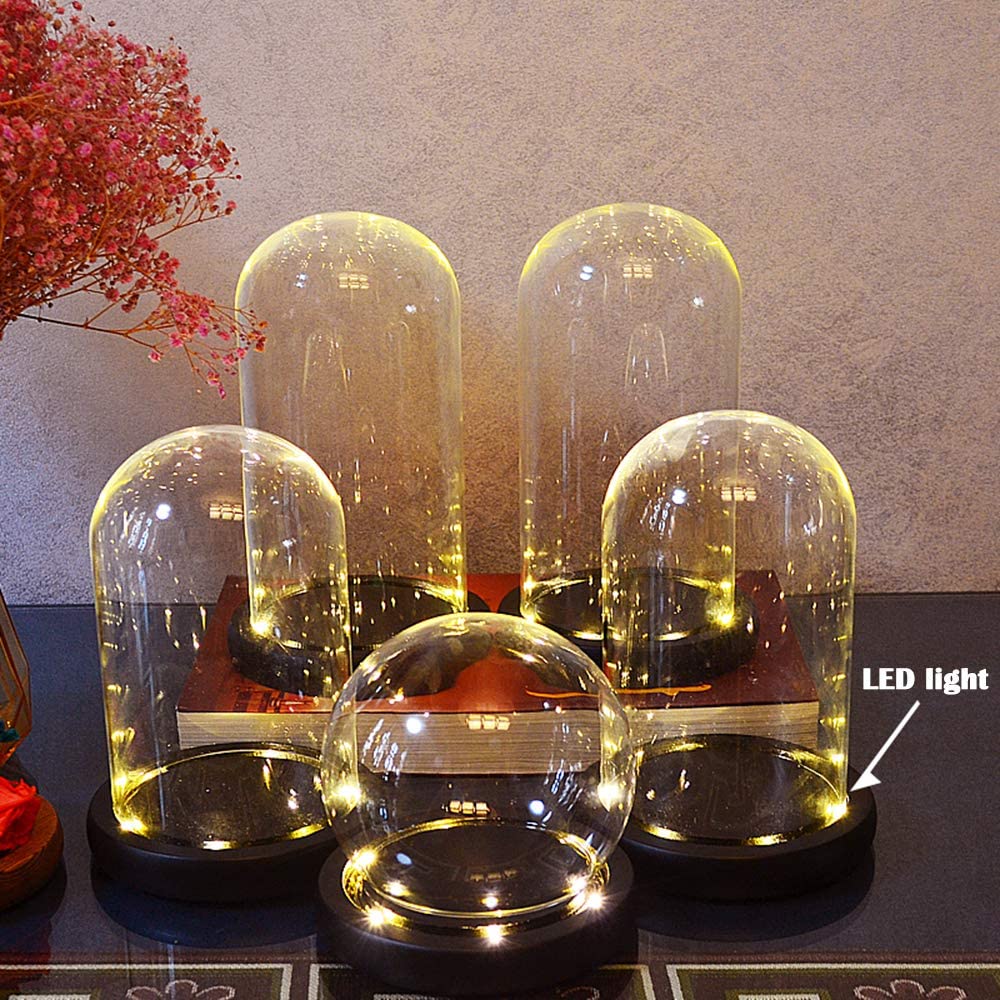
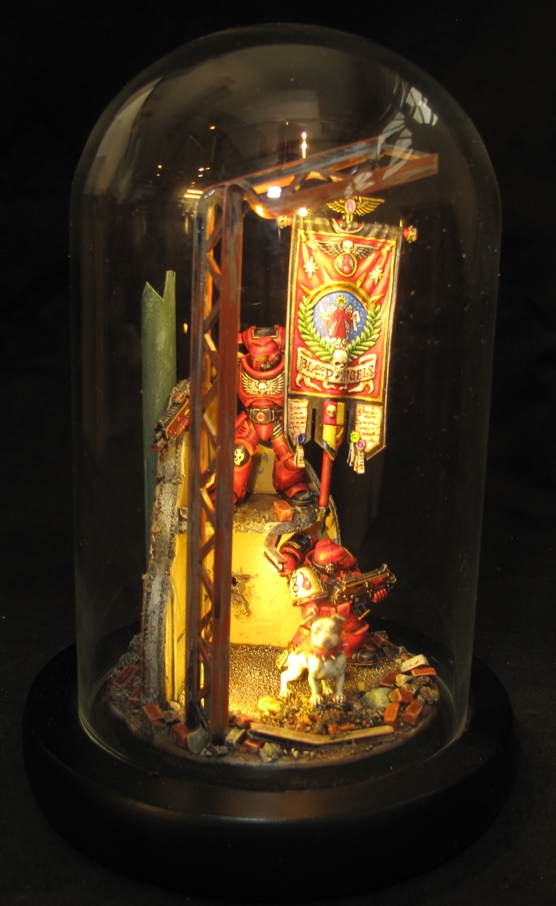
There are all types and sizes of these little display cases called “Bell Cloques” and they are great for displaying Mini’s!
This led me to looking at Bell Cloques to house the vignette in. If you aren’t familiar with these, they are simply a glass dome set on a base that allows 360 viewing of an item while protecting it. I found one on Amazon for around $25, 3 ½ “ wide x 7 ½” tall, and it had LED lights in it! I thought that would add a whole other dimension to the project and make it display better. It would be a perfect size for his computer desk. Having the two figures and now locking down the space the project had to fit into allowed me to start working out the scene, structure, and figure pose.
It was about this time that I get tired of thinking about a project and start just doing it and letting things progress, discovering problems and working out solutions as they arise. So, I started by cleaning up the two badly assembled miniatures figuring out how to paint them. The old beaky Space Marine was left in his original pose while the Officer/bannerman was chopped up and reposed to look more dynamic. I also decided to not paint these as “Ultra Marines” in their striking blue armor, but go with “Blood Angeles” and their very vibrant blood red armor.
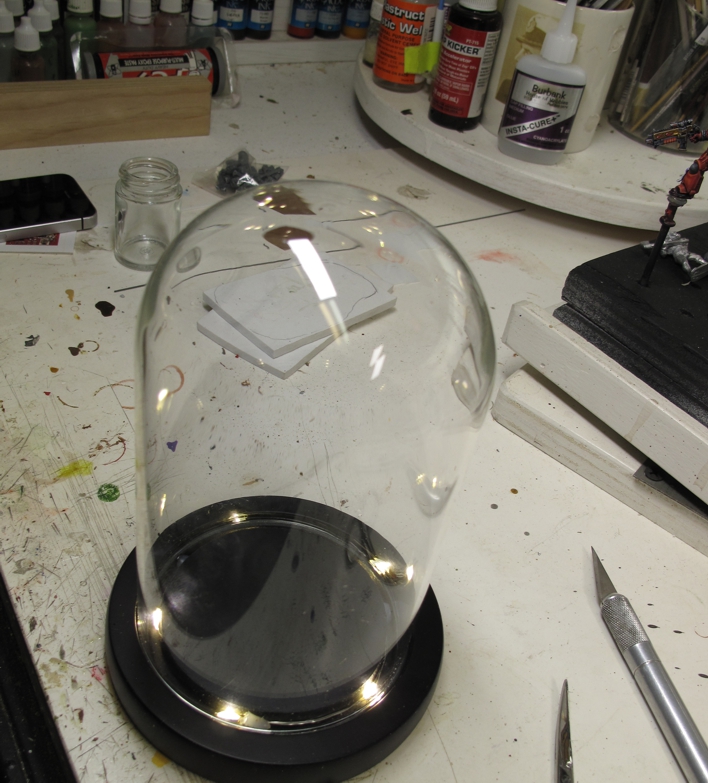
Disappointed that the “LED” lighting did nothing to light up the miniatures in the display!
Once I got the display, I was excited to check out the “led” light function but was disappointed that the LEDs being set into the base under the glass bell really only light up the glass not the interior and frankly were more distracting than helpful. I decided to just work on other parts of the project while pondering the led situation.
I decided to put the two figures in an urban firefight situation and created some two-level building ruins for this. I put a separate round base under it for strength and so I did not have to build directly on the display case in the event it had to be replaced at some point. I was also still a bit unclear on positioning of the figures. I also made a decision to rip out the LEDs, drill a hole in the base to allow me to bring the LEDs up into the vignette area and perhaps use them to actually light it. Once done I played around with position and lighting.
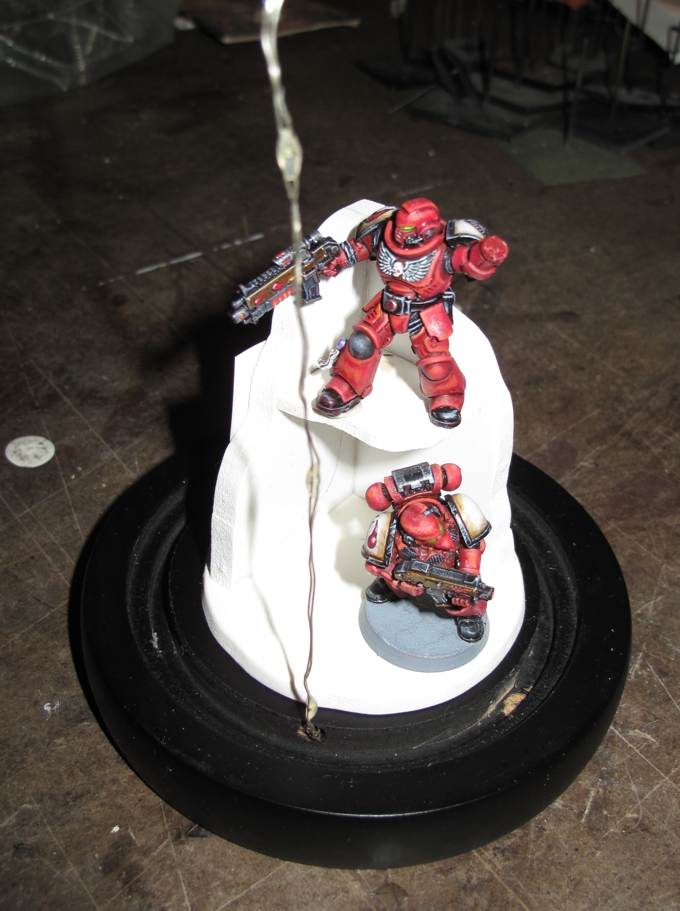
The basic structure formed. The LED’s were gently removed, and re-routed through a newly drilled hole. Batteries and a switch for the are in the base.
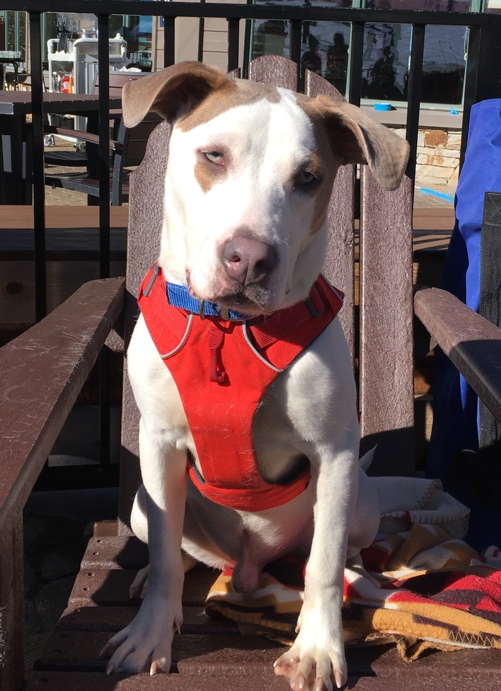
Me hanging with “Mr Bean” at Kirkwood ski resort while Paul snowboarded… His harness looks a bit like the armor I’ll put on the figure later.
Things were starting to take shape but there was still something missing, the “personal touch”, the thing that would make it connect with Paul and I.

I couldn’t have found a better match!
Now at the time this was all happening Paul had adopted a dog from the local shelter during a visit at Christmas, an 8-month-old Pit, Labrador mix, a real sweetie! we had both spent some time training and caring for the dog we named “Beans” and the idea struck me to find a miniature that resembled “Beans” and put him in the scene. It was surprised to find the spitting image of “Beans” in 28mm from a company called DarkSword Miniatures and ordered a pack.
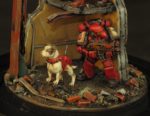
The scene now had a theme of an advanced scouting party establishing a forward observation post with their canine war dog!
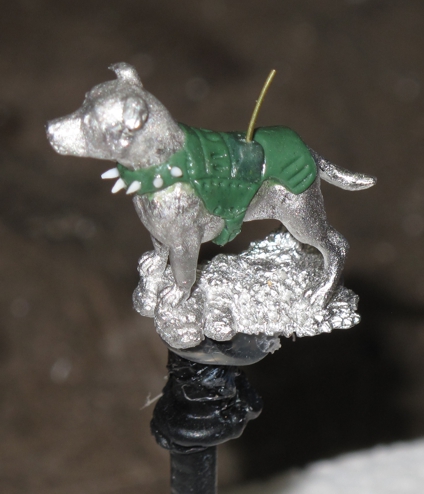 While I fooled around with the dog’s position, I felt that I needed to alter “Beans” a bit to more fit in as part of the Blood Angeles force. Out came the Kneadite 2 part sculpting putty. I used the putty to ad power armor to his upper body, held in place with a mean looking spiked collar and a belly strap. I also added in a small bump with an antenna on the armor to represent a tracking/voice/camera transponder system. I purposely limited the armor because I wanted to be able to paint and have the figure readily identifiable as “Beans”
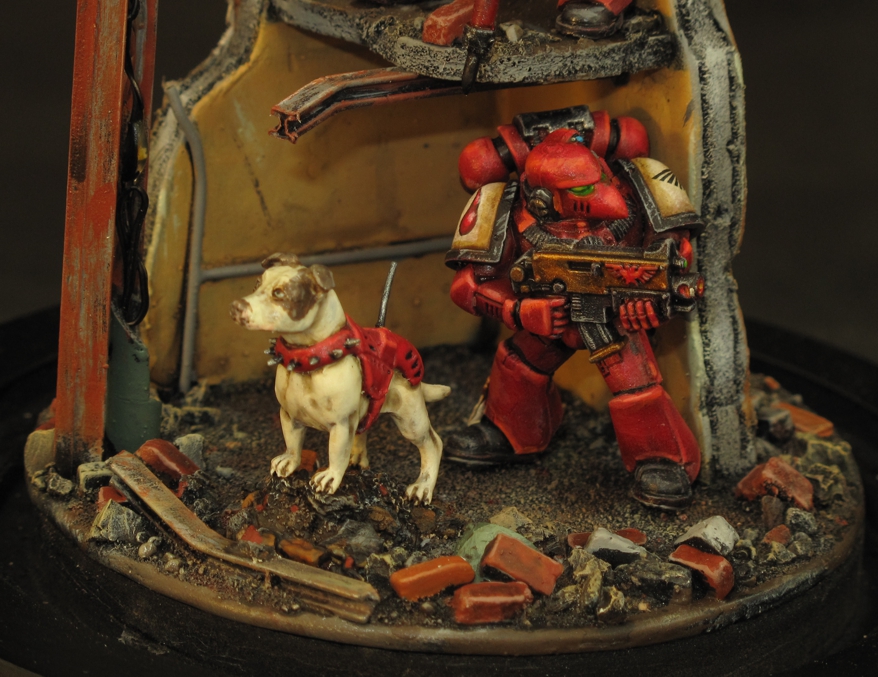
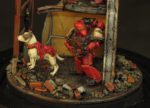
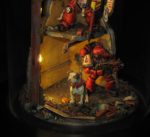
I think “bean’s” adds that touch of realism to the scene and shows that despite Warhammers claim that “in the dark future there is only war!” Space Marines still love their dogs!
It was around this point that as always, I get so wrapped up in the process and it’s coming together that I quit taking “in-progress” shots so will get to the finial “done” photos. I will say that I spent some time on working out the lighting effect and how to have it look as natural in the vignette as possible without taking over, or looking out of place in the scene. All in all, this was a real fun project for me done with a lot of love and dedication for my son Paul who is leaving his job in the corporate world with Patagonia (outdoor clothing) to become a pilot in the US Marines! I think his dog and the Marine tie in will give him years of enjoyment!
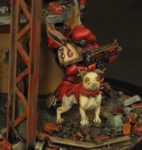
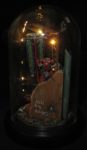
Picture with the LED’s on.
DOUBLE CLICK pictures to open a larger version!
-
-
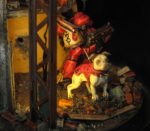
I wasnt sure when scupting the armor but like how it turned out!
-
-
I think “bean’s” adds that touch of realism to the scene and shows that despite Warhammers claim that “in the dark future there is only war!” Space Marines still love their dogs!
-
-
-
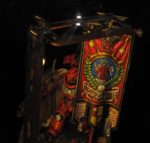
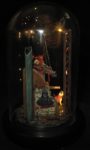
An Ultra Marine banner turned into a Blood Angeles banner.
-
-
The lighting worked out well once repositioned. I controled the direction and intensity with flat black paint applied to the LEDs.
-
-
Details like the water pipes on the wall and twisted support beams ad realisim and life to the scene.
-
-
-
More detail like the enlistment poster break up and add life to bland areas.
-

-