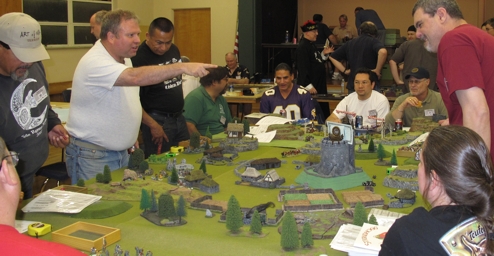
Steve Gausche life long gaming pal! We had just re-based his ACW troops on magnets!
For most of us the current situation has given us a change in schedule, for me working at home equals no commute time, less shopping trips, dinners out, visiting, trips, and gaming with my friends (booo!). When I saw this coming I vowed to try and use all the unexpected time to do things that have been put off in the past. If you have been following the post here (please subscribe! top right home page) you will know that one of the goals was to organize my website better and post more often! So while going through files I found several partially completed posts and articles that for one reason or another never made it onto the site. One of them was the “second half” of Stevie G’s “Byzantine Birthday Bash” article. Remember it was when I painted up some Byzantine Cataphracts for him and he accepted them with “wow great! but…I would rather have some plain old Viking archers”. Well I never finished the article “Stevie G Birthday Bash part two!” so here it is, finished.
Byzantine Birthday Update! In the last post “Byzantine Birthday Bash” I talked about Steve not being totally enthused with my gift of the Byzantine Cataphracts and while loving the figures he just felt he would not use them much. It was decided that I would keep the Byzantines and instead paint him up a 12 figure unit of “Viking archers” since his Viking war band was currently using a unit of spear-men to represent archers. I had gotten a pack of Gripping Beast archers from Steve months ago and was going to give them some custom additions to make them look a bit “cooler” on the battlefield. This would be the addition of bowstrings and arrows that are normally missing on molded figures. I have a very nice Viking Warband (even if I do say so myself) and I took great care to make my bowmen look realistic, like they were really firing their bows. My Viking warband uses all “Foundry Vikings” as I regard them as some of the best ever produced! The adding of bowstrings and arrows to figures can be tough since many sculptors have never shot a bow, or figure that the end user wont care about the missing parts.
When I opened the Gripping beast package of 12 “bowmen” I was somewhat disappointed in the poses and sculpts. First the poses are really only three, Standing firing, kneeling firing, and moving / drawing arrow. There is a bit of fiddling with the basic pose to try and make them look different but in my opinion it fails. I felt when finished this unit would look very much like a unit of “toy soldiers” no matter how it was painted.
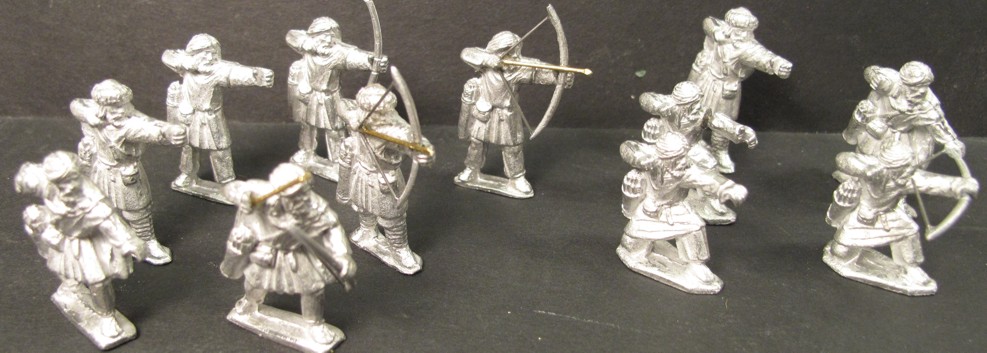
The GB figures with just a bit of preliminary modification to see what was possible.
Well me being me, I decided to do something in an attempt to remedy this by trying to give some uniqueness and variety to the figures. As I pondered how to do this I started to prep the figures for bowstrings and arrows. I quickly found that this was not going to be easy given the figures current poses. Many of the arms were at wrong angles, resulting in the bowstrings having to pass through the figures face or body.

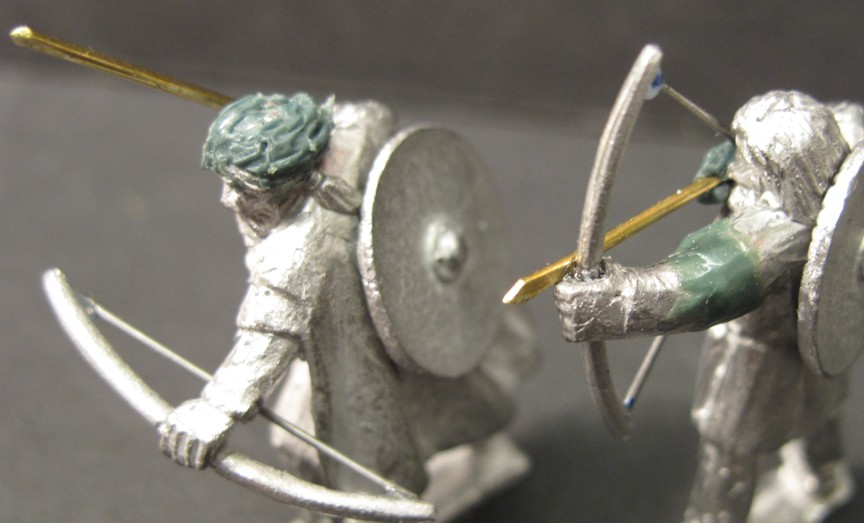
Arms were at the wrong angles or to short making major modifications a must! Three of the same figure. The second one shows original position with out bow, arm pulling back an imaginary arrow. First figure shows the bow installed and the attempt at adding the bow string. I would have to cut off his head to make it work and archers rarely held a bow in this position except when on horseback. The third figure shows how I corrected this by cutting off and repositioning the arm.
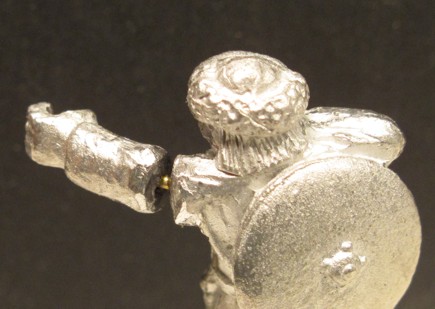
A small bit of reach was added to each arm to correct it’s proportion and angle. A brass rod pin holds it in position while filling and sculpting as well as adding needed strength!
Simply bending the arms would not work either since the arms were a bit short in the original sculpt. I resigned myself to the fact that to make this work I would have to extend all the shooters arms as well as change the orientation of the knelling shooters arms by cutting / pinning/ filling them for every figure. Even the moving figure had a raised arm and hand that made one wonder what he is supposed to be doing. I solved that by putting an arrow in his hand as if he just “drew it” from the quiver and was about to nock it up.
As I delved into the project I also decided on other small modifications to “individualize” the figures from one another with additional shields, weapons, and hair styles.
Pro Tips: To avoid damage to figures when trying to bend arms, legs, or other thick parts use a good quality pair of needle nose pliers BUT lay a small wrap of leather in between the pliers and the figure to avoid marring or damaging the casting! The compression of the leather will give you a better grip and allow more force to be used. Also the area is thick, hard to bend, and to avoid distortion, try making a few cuts with a hobby knife or thin blade saw on the side you will be towards. removing a small amount of material there will make the process easier and look better. Fill the tiny cracks with gap filling super glue.
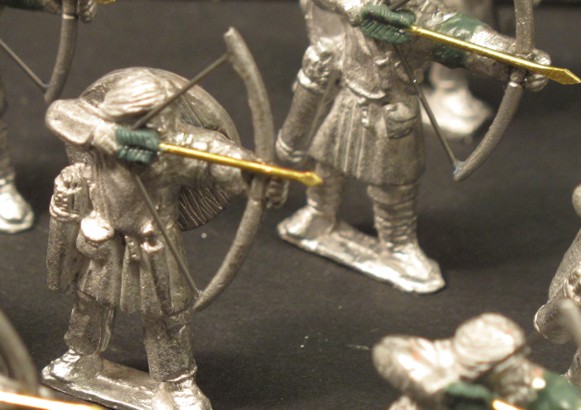
A bit of a change in hair and a shield creates just enough difference in the figure that combined with different paint schemes makes the group look much more realistic. The lengthened arm now works to create the right balance of dimensions between the arrow, bow, and arm. The first figure now clearly gives the impression that he has fired one arrow and is getting ready to fire a second.
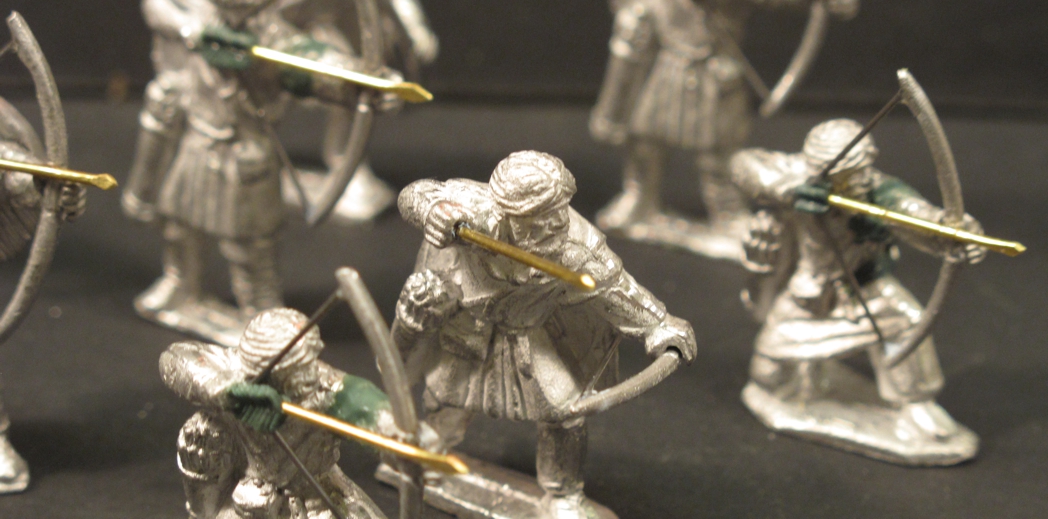
The “Bow Strings” were made of steel wire, cut, and super glued. I thought I might add a wrapping around were the bowstring is connected to the bow but decided that in this scale I could just paint that on and get the “effect” without all the work.
The arrows are made of thicker brass rod and “arrow heads” made by gently hammering tips flat then filing. I also sculpted “flutes”, the feathers you see on the end of an arrow that makes it fly true. They are a bit big perhaps but I think they will look right after painting.
The “fletches” or feathers on the arrows are rough and would be historically as arrows had to be made quickly and cheaply in time of war, they were also not expected to be used over and over. There were better arrows made but those were rarer and used more for hunting or when individual accuracy was needed. Dark Age bows in warfare were more of a massed effect weapon than a specific target weapon.
I wished that the figures were arching up a bit, they are all shooting straight and level. Most archers would have been used as a group and be kept back to use their range so their aim would be higher.
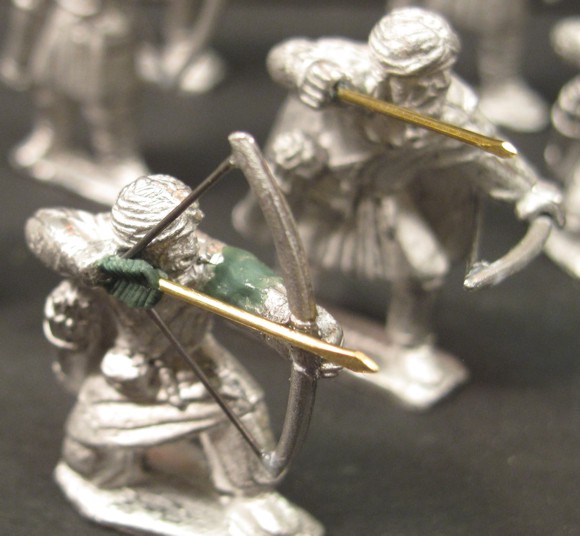
I have used thick industrial thread for bowstrings at times but it can be fiddly to do and not look that great. Using small steel wire is much easier and sturdier. Brass wire is used for the arrows as it is easier to shape and work with. Two part sculpting epoxy “kneadite” was used for the feathers.
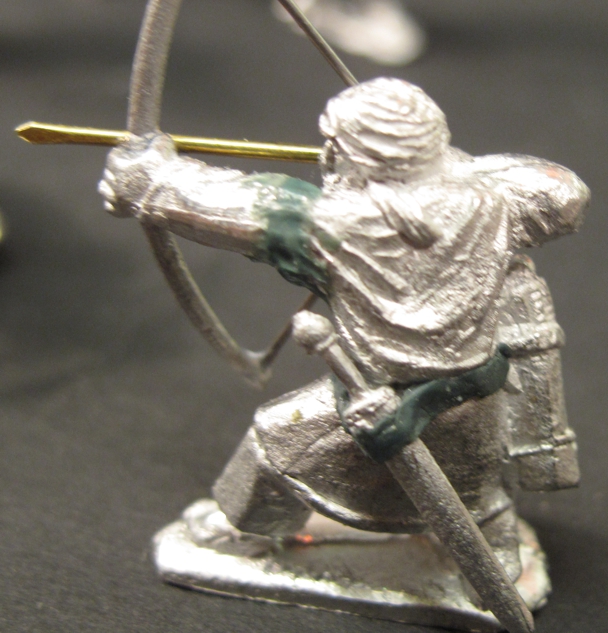
The other side of the figure shows where a sword out of the “bits box” was added and a belt sculpted on to make it look right! Shields and swords were added to many of the bowmen as they would have carried them for defense or when called upon for melee support!
The easy addition to the center figure of a arrow in his hand and the bow string make a huge difference!
Probably 3 or so hours of extra effort was put into modifying these guys prior to paint but the results are well worth the effort in my opinion.
These guys were actually rewarding to do and not that hard especially since I have done this for fifty to 70 others before in my warbands. It just makes archers sooo much better looking that for me it’s a must do!

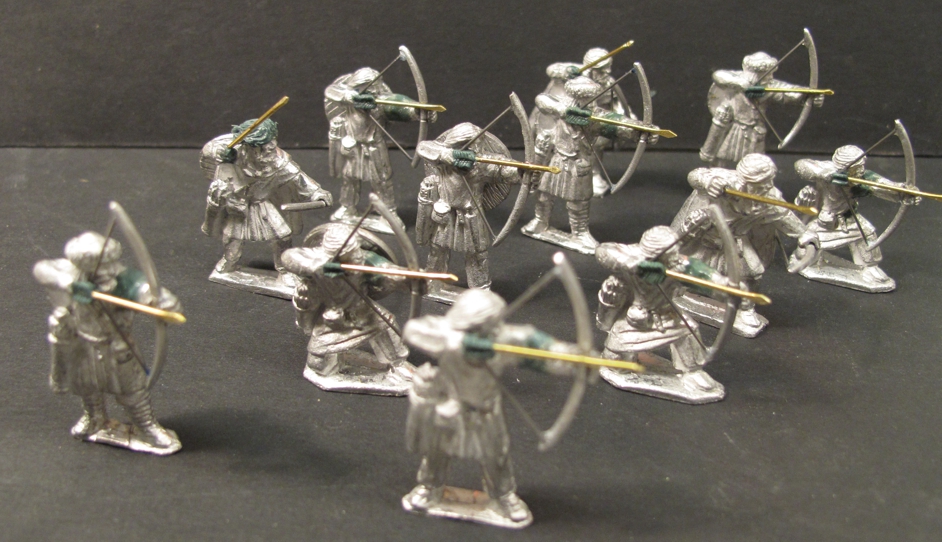
Yea! Now these bowmen look like a proper threat! Well worth the effort!
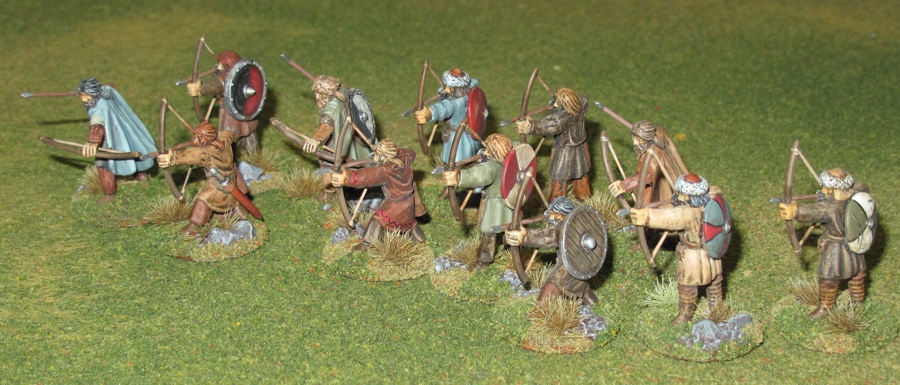
with the modifications, additional weapons, shields, and a some paint they look a cohesive yet individual unit.