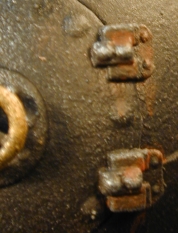
This is one of my first website articles on model conversion so please make a few allowances when you read an article almost 20 years old!
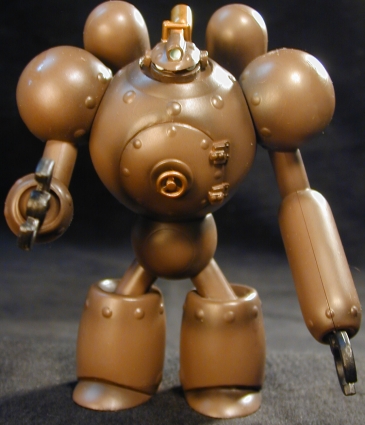
After seeing a picture of the Japanese animation model steam detective robot on the Yahoo Gaslight discussion board, I knew I just had to have one. I searched the Web and within a few days I had captured one for my own. I planned to use it as a robot created by an elusive inventor lost in deepest Africa and one of my upcoming Gaslight games.
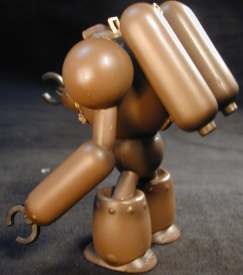
Upon its arrival I noticed several things, first of it was a bit to modern for me everything was very round and smoothed more a 1930s to 40s look. It did not have the feel of a truly Victorian era robot. I would have to change some things. Besides that anybody who knows me knows that I just can’t leave well enough alone. Modifying it has problems, the first being that is made out of two different mediums. One is a sort of tough foam like substance, somewhat soft to the touch. I had a feeling it was one of those materials that nothing would stick to. The other material was your typical hard plastic such as a model is made out of. There were also mold lines and two big rocket pods on his back that I decided to remove right away.
The model has several points of articulation, the arms at the shoulders, the torso midsection, and the claws at the end of the arms rotated. I started by disassembling the model and breaking off the pods on its back. The pods left two quarter inch holes in the back of the torso that I knew I would have to fill some how. I studied it for a little while and then threw the whole thing in a bag on the workbench for a couple of weeks.
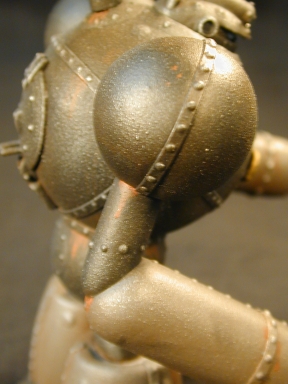
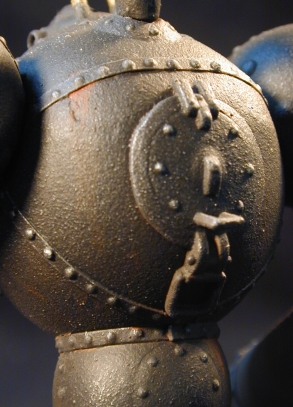
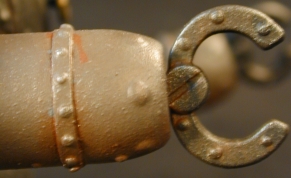
You can easily see the texturing caused by the plastics reaction to the automotive primer, a lucky accident! The rivets and banding were made buy pressing a ball ended sculpting tool into polystyrene strips.
Several weeks later while cleaning off my workbench I decided it was one too many projects waiting. I was in the mood and decided to tackle this beast. While I liked the original color I decided that I wanted an older look and that a black iron color would help. I also wanted to add a lot of rivets and iron banding to give it an older more Victorian look. In the interval between working on the project and my original study of it when it arrived I had figured out a couple of good methods to achieve this . I also had a concept of what it was to look like when I finished. The first job was to fill the quarter inch holes left by the pods removal on the back of the torso I used Squadron brand gas drying green putty, a sort of Bondo for models. A little filing in sanding and they were done. I then sanded and fixed all the mold lines and other imperfections on the model.
Removing the large pods, extra riveting and iron banding were to be the only modifications I decided to make do this model. Glue and a custom-made punch would work for the rivets. Placement for the banding and rivets was worked out and applied over the course of about six hours.
Since I was going to change the color I decided I would give the whole thing a coat of primer gray to start with. This would also allow me to see how well I had done in the sanding and bodywork. Here’s where I made a mistake that fortunately turned out better than expected! I found I had only one can of primer left, Krylon brand, and it was almost empty and probably about eight years old. Not being in the mood to run off to the paint store I decided to use it I shook it up and sprayed a little into the trash can, it seemed okay but I did not pay that close attention. I shook it up a bit more and started to spray the model. About halfway through to my horror as it started to dry I noticed that the paint was leaving a finish that was very bumpy, the paint was going bad! At this point I thought about trying to clean the paint off and starting again with a new can, but as it was a lacquer based paint I worried that the paint thinner used to remove the paint would damage the model. I decided to finish spraying and see how bad it looked afterwards. After letting it dry for about an hour I looked at the model. It looked a bit like an uneven fine grade of sandpaper. The little sand like grains were more rounded than sharp and I realized that it looked a lot like the rough iron finish of the period that I was trying to duplicate. I brought up the airbrush and some flat black and sprayed the model again. It was looking good. I decided to some gray for accent on the arms and leg’s, as all-black was too much. I did a couple of weathering washes and then sprayed the entire thing with a semi gloss. When I put on the semi gloss the model came alive, it looked exactly like the rough iron of the period! One of the best mistakes I have ever made, I wish I could do it again.
One of the presents that my wife got me for Christmas was a set of pastel chalks for aging and weathering. I used these and a couple of different ways to achieve the rustiness throughout the model. I did some detail painting, gave the model another coat of semi gloss, and called it a day more than satisfied with the results.
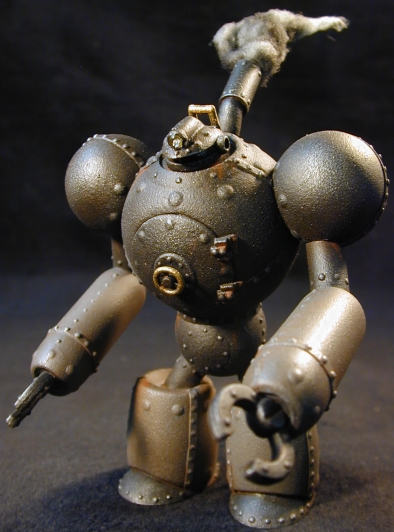
I dearly love this guy as it was my first “Victorian Sci Fi” toy, the sad thing is he’s only been in one game in all these years, time to get him out again.
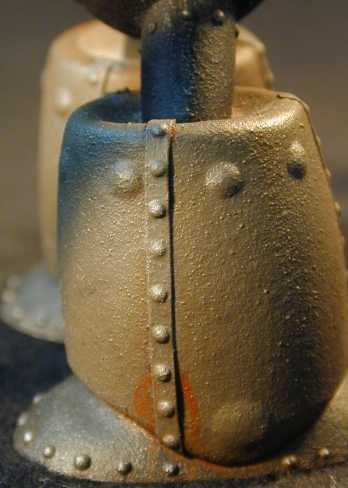
The chalks work great for the rust effect. Mixed with a small amount of watered paint and applied with an old brush.

