
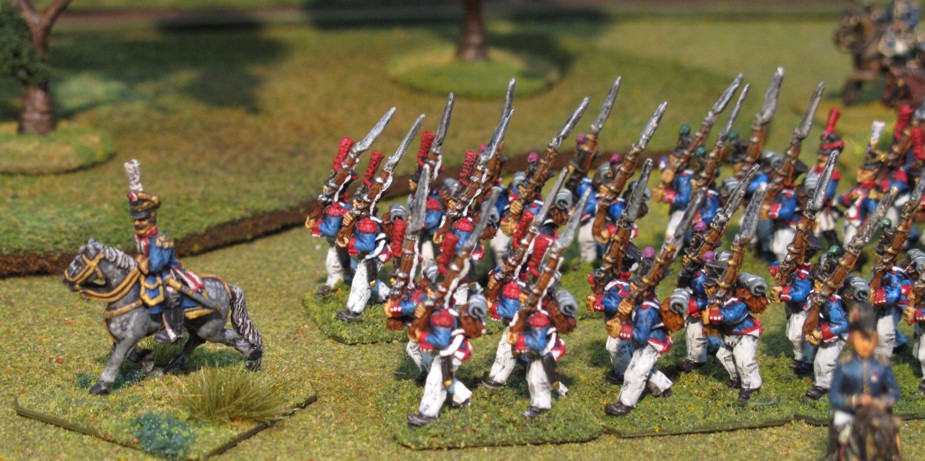
The French march on.
Merry Christmas to all! I had a few great games over the holidays, both Napoleonic since I had gotten a copy of Age Of Eagles II (AOE2) from Steve G for Christmas. We decided to try them out at my place and see what was new. It was going to be a “learning” game but we found that AOE2 was really unchanged! A lot of elaborations, explanations, and clarifications, but basically unchanged! Yea!!!
I really like AOE for its very simple yet elegant style of play that plays fast and give pretty consistent results based on the commanders play. I’m not going to give a big detailed report on AOE here since I’m dying to hit the painting table and work on my Russian “line in greatcoats”
I have found that over enough battles in the Napoleonic period you see how much initial deployment and the first opening moves counts for winning or losing a battle as troops are not that maneuverable. The first game, just Steve and I was over pretty much after turn two, we played out to about turn 10 but the writing was on the wall early.
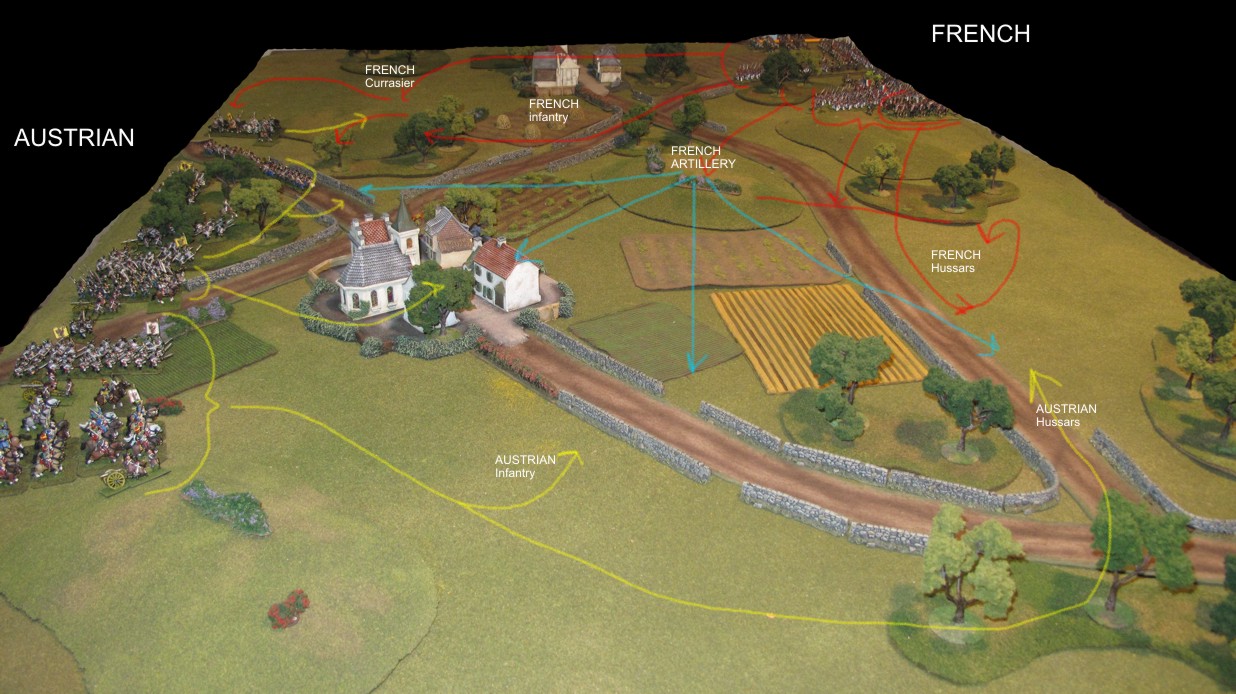
Yellow shows Austrian deployment and movements. Red shows French moves and counter moves. The Blue lines show French artillery lanes of fire during the game.
Steve and his Austrians came on in the center of the table and I with the French on the right flank of my table side. I pushed forward in a sort of “bloom move” with the object of reaching a commanding hill near the center of the table. Troop movement was equal as I was Impulse and Steve was Columnar. I had the edge in shooting.
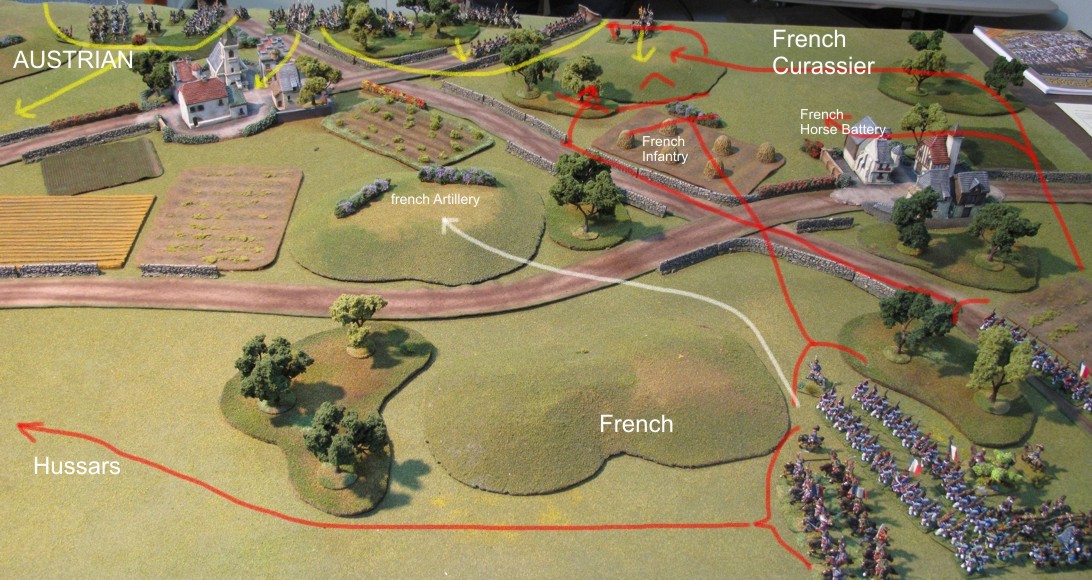
Deployment from the French side.
I decided to place most of my artillery on that hill with a covering force to the left (I tried to give the appearance of a flank attack by sending the Hussars all pushing out that way) On the right of the hill I pushed part of my force towards the town and the rest flanking Steve’s right. My Heavy Cavalry drove forward in the direction of another hill already occupied by Austrian Hussars (his infantry deploying to the rear along the road) My plan was simple, defeat in detail, Steve was already splitting his forces (he had more troops 60 infantry, 16 Cav, 5 guns, to my 48 infantry, 16 Cav, 5 guns) by swinging half his force wide to counter my force on the left. He fell into my trap! I was not attacking there but defending! This kept half of his force moving, trying to deploy for most of the game, and ineffective with me just having to toss a bit of artillery at it to further slow it’s attack while I concentrated on flanking and overwhelming his other flank.
The Austrian “right” moves off to stop the French left, an attack that never materialized. This kept them out of the battle!
 My command of the central heights with my concentrated artillery able to switch fire to either flank was also very effective especially when he attempted to move troops out of the center town to reinforce his threatened right flank (hitting them in enfilade as well as in movement mode!)
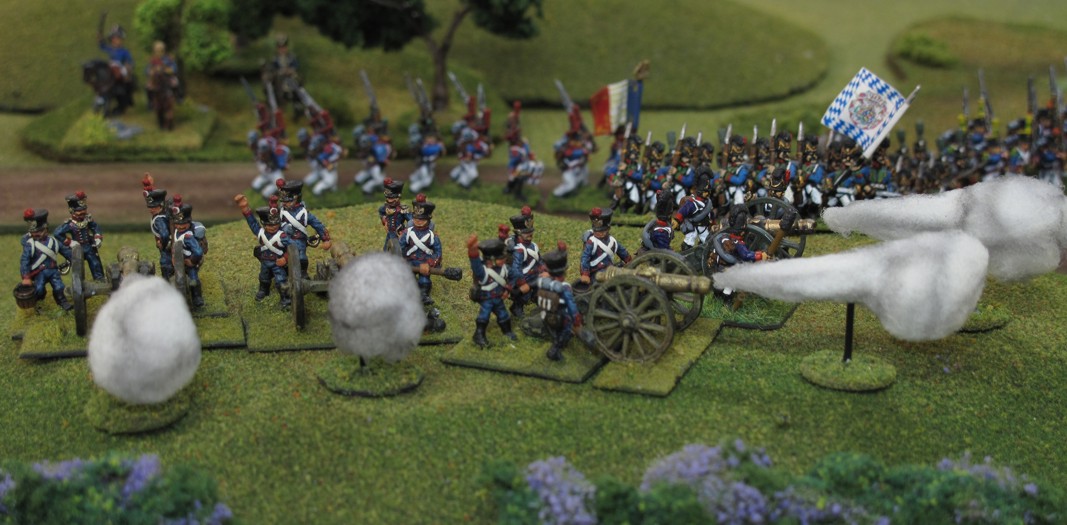
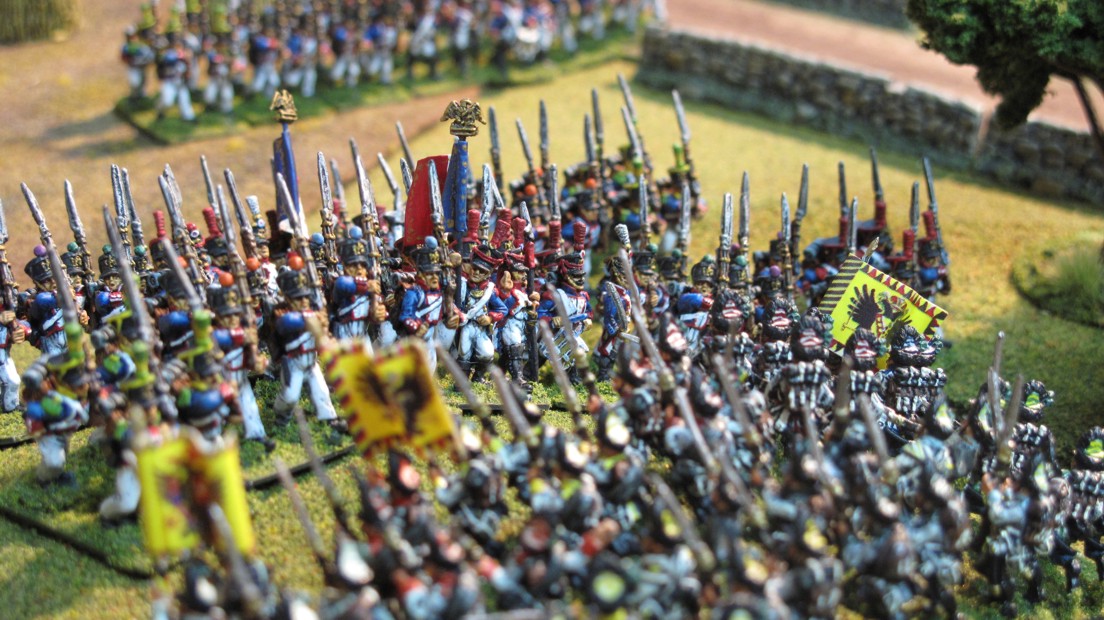
French Artillery controls the center! These are ESSEX figures painted 20+ years ago and recently re-based for AOE.

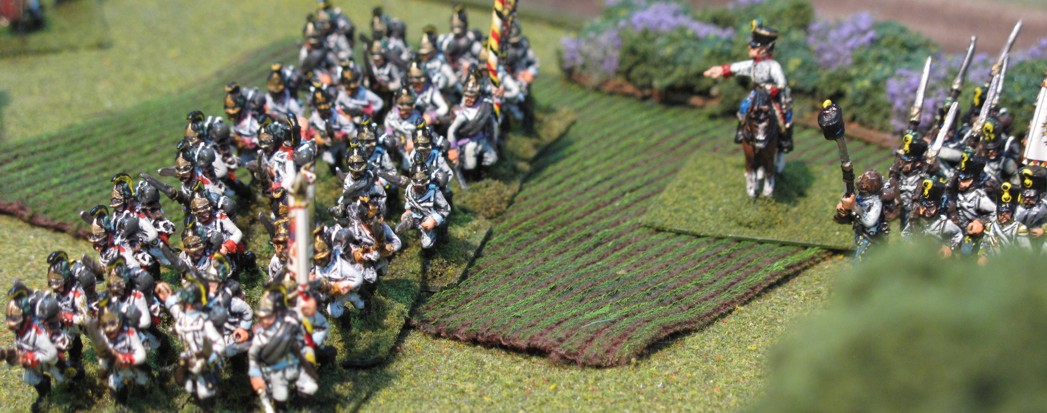
Austrians push on, deploying into a small tight area….
Steve’s and his Austrians fought well but they were off balance from the beginning and the ponderously large Austrian formations were so closely packed that maneuvering became impossible! My cavalry gave the small hill to my infantry who were now also backed up by some of the infantry that had feinted attack up the center towards the town.
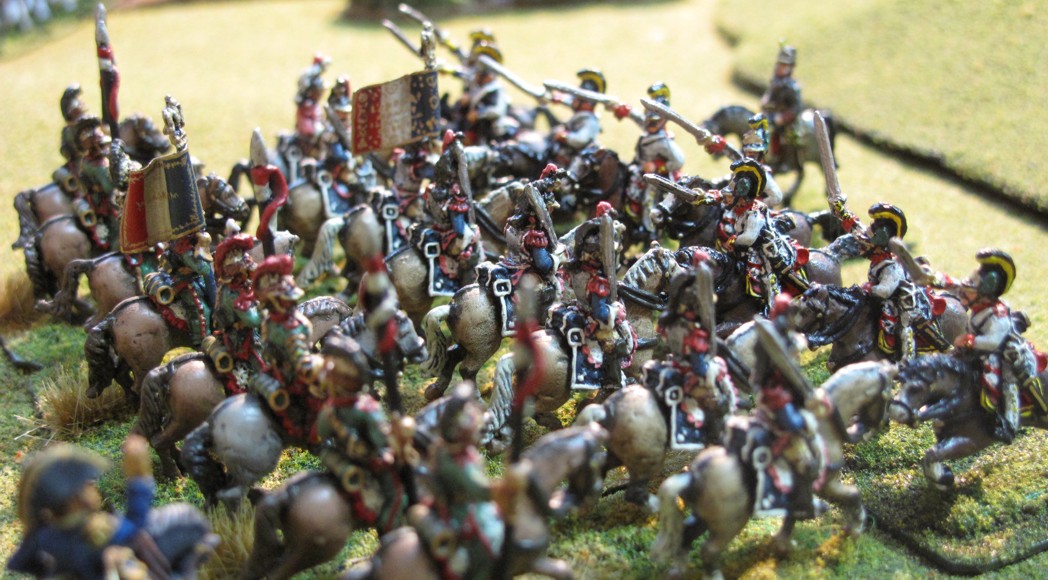
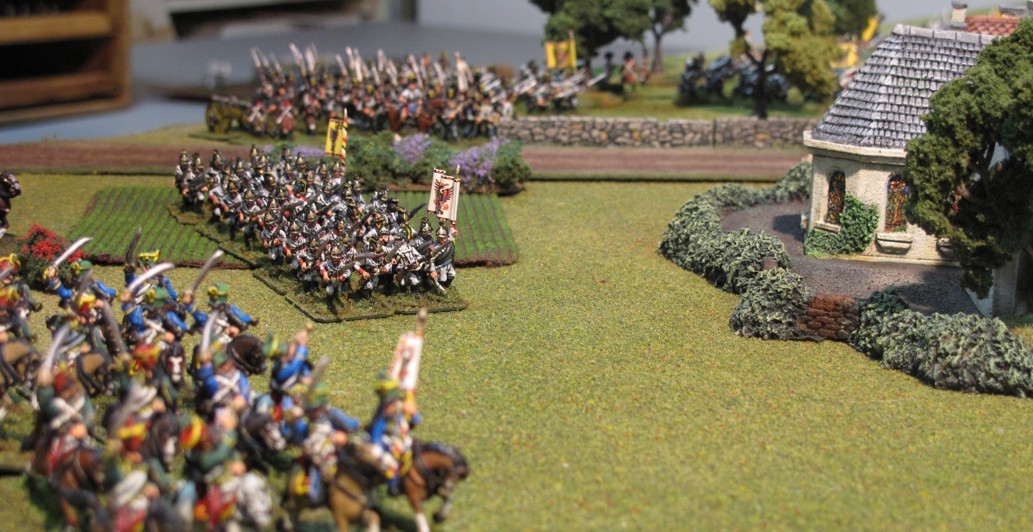
The Austrian light cavalry make a valiant but vain attempt to stop the French Heavy Cuirrassier and Lancers!
As the French Heavy horse moved off to try and flank the Austrians the Austrian infantry made a bold move and launched an attack at my infantry as it crested the hill in an effort to regain the initiative or disrupt my attack but some good rolls on my part disordered him further pinning him while my Cavalry forced one brigade into square while it was under infantry fire!
The small hill was the point of the heaviest fighting of the game with both the cavalry and large infantry battles taking place there!
“En Avant!” “A La Bayonette!” The “Hill” receives yet more spilled blood!
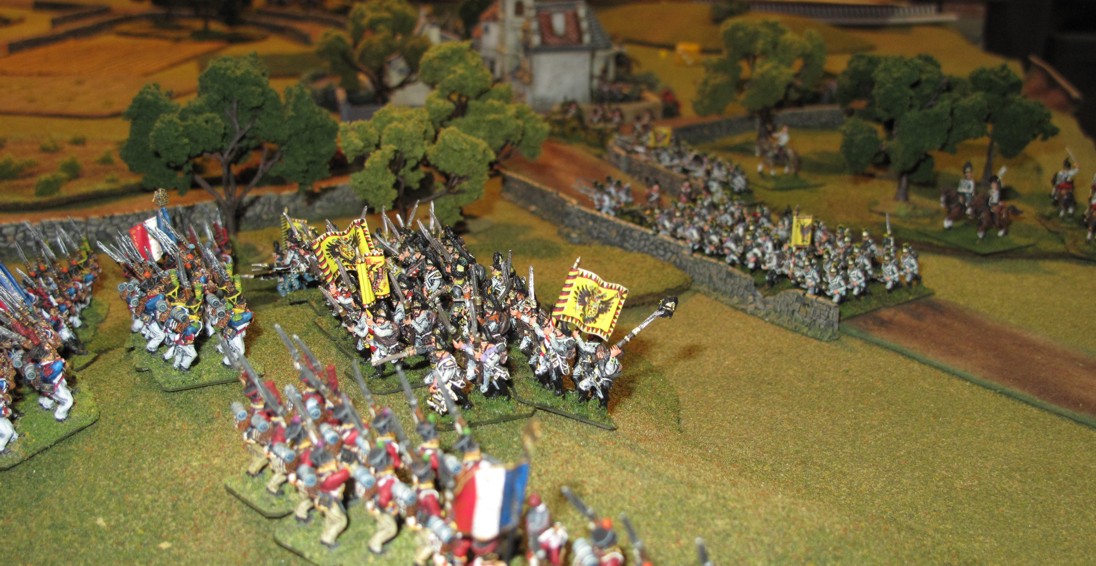
The Cavalry continued into the Austrians rear and with out much fighting it was decided that there was no way the Austrians could recover and fight it out, it would just be a slaughter…the honorable Austrian commander vonGausche not wishing to toss the lives of his countrymen away in vain surrendered…his other forces not even really committed yet quit the field and the game went to the French.
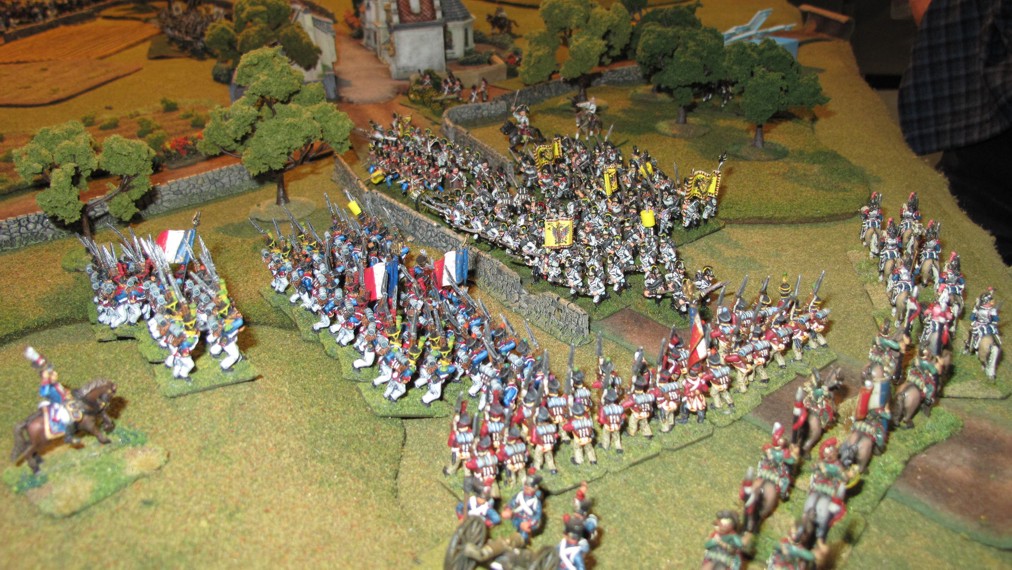
The French press hard on the Austrians who taking fire from three sides, disordered, unable to move, and seeing Heavy Cav in their rear, surrender! The line of French troops in Red jackets and Buff pants are Swiss!
It was a Great game and really well played on both sides, fun! Got me interested in painting and playing more Age of Eagles Napoleonic battles soon! Check out the AOE website in the links section. If you are in the Los Angeles area and want to play give me a shout via the contact form on the site!
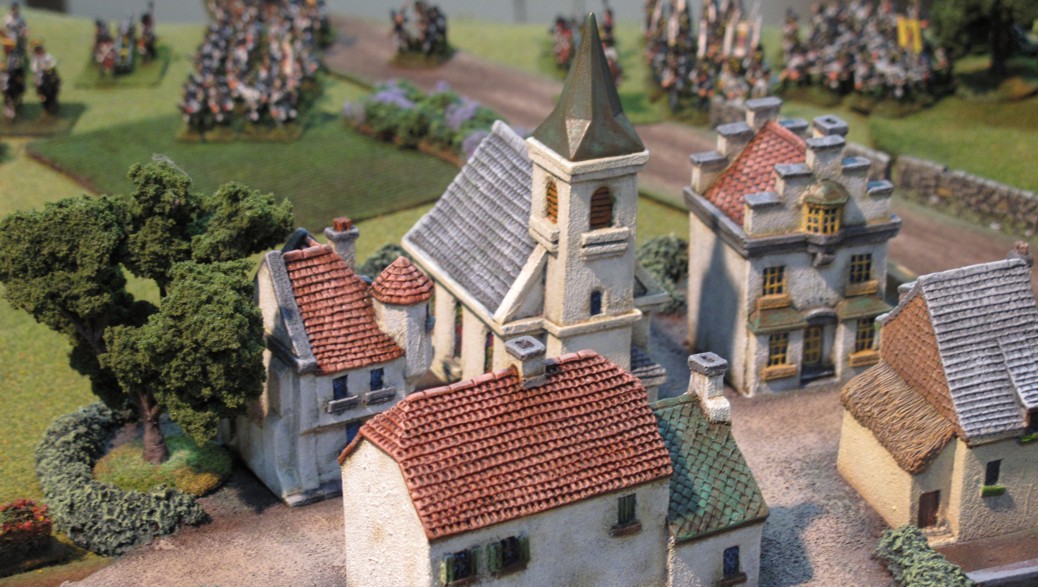
I now use 10mm TOTAL BATTLE miniature buildings from their Black Powder range! There’s a link to them in the link section. They really make towns look like towns!