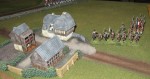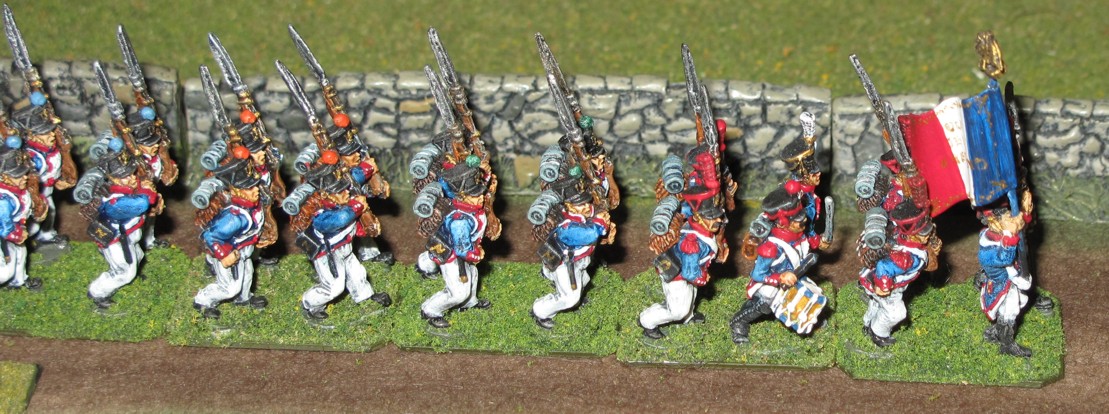
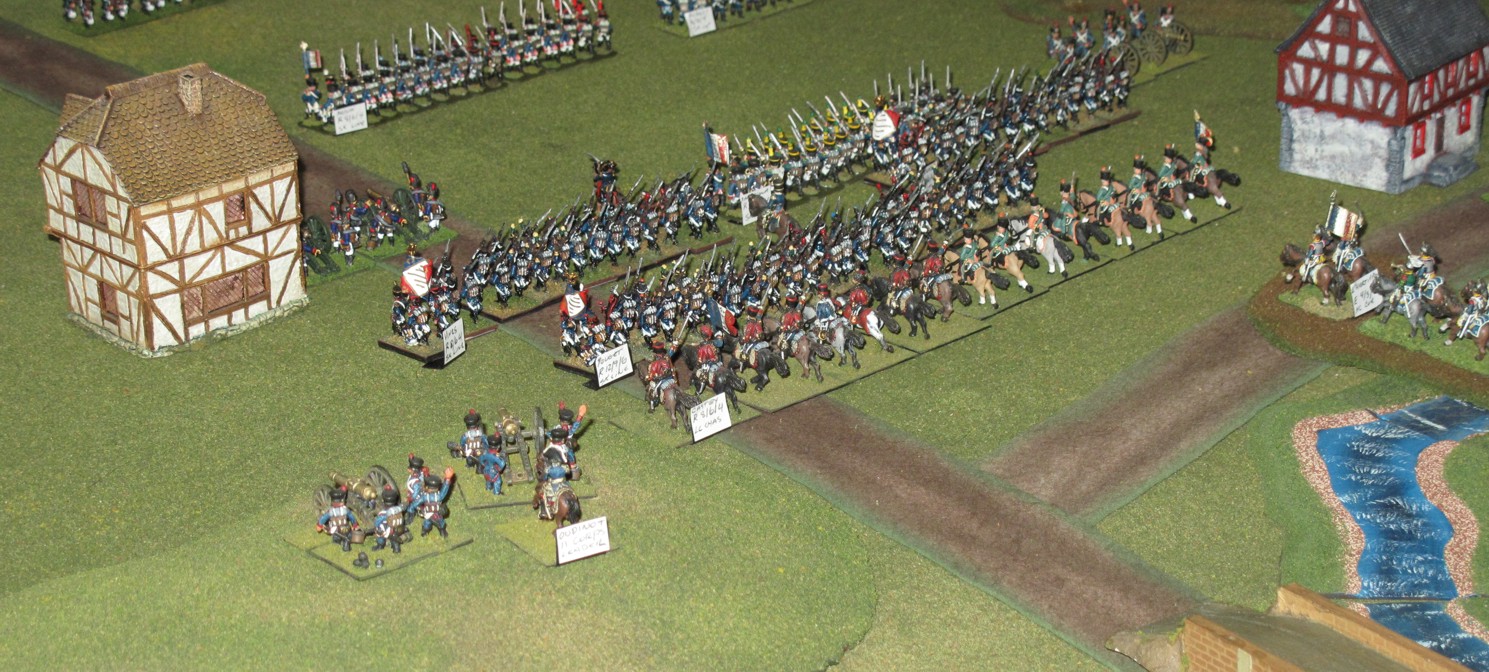
Always start a Napoleonic post with the French marching!
Been doing so much SAGA (battles in the Dark Age Skirmish) around here and painting 3 Warbands for it from scratch that there has been little time for any other projects or gaming in any other periods. So after finishing my last Warband, Anglo-Danes, I decided to take a break from SAGA painting and dive into the prepped and primed set of Napoleonic buildings that I had gotten over the summer from “Total Battle Miniatures”. I had looked at re doing my Napoleonic buildings for some time now as Steve and I have a collection of random 15mm buildings but we were just not real happy with their effect on the battlefield.
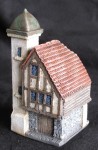
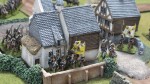
One of our “15mm” buildings by I think “hovels” its not really true to scale either. This building is about medium size for a 15mm building.
Our 15mm buildings looked fine paint wise and good on the field but the size of the building meant that in the scale we play (Age of Eagles rules) towns were represent by one or two buildings and even then the large size of the buildings did not give either a good look or anywhere near the correct ground scale. Now ground scale was not that important to me as I was going to modify the AOE town combat any way into something slightly simpler and I really just wanted towns to look like towns, or closer than what we had now.
The way we had been showing “Hamlets” or “Villages” not very satisfying in my opinion. I later went to placing brown felt under the building to show the towns outline for troop disposition.
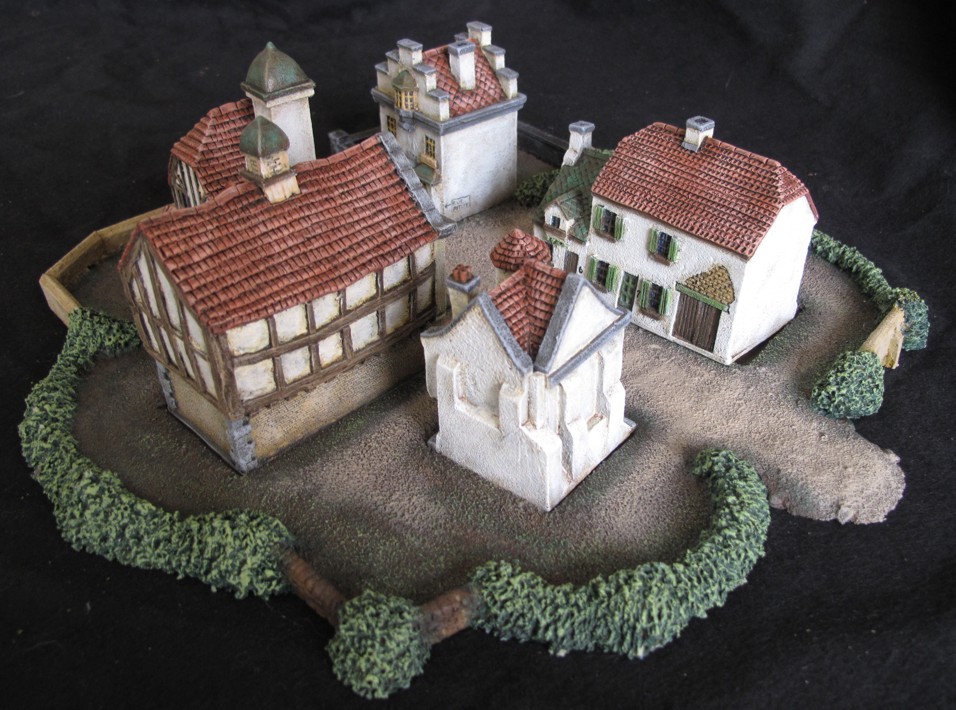
I had looked over the “net” for over a year at different building manufactures, comparing look, variety, size, and price. I finally settled on “Total Battle Miniatures” because their “Big Battalion-Black Powder Europe” line was not only beautiful it was extensive, giving me a selection of 20 different buildings and 3 different bases to use. The line is well thought out, well cast, and priced very fairly. I liked the novel hamlet, village, town, base system they have where all the buildings in the line have “foot prints” that fit into the village, town, or hamlet, so that you can vary the look of several villages infinitely! Some footprints allow either 1 big building or 1-3 smaller footprint buildings to be placed in them. The bases are made of a soft synthetic material and allow a bit of conforming to uneven terrain. The buildings could certainly be used with out the bases but I like to over all effect as well as it would give me a definite “boundary” to define units being in or out of the urban area.
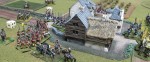
Now that is not the end of the story or even the reason for this post….. the real reason is to talk about the decision I made to go with their “10mm line” instead of the 15mm buildings, YES they not only make this line in 15mm, they also do the line in 10mm!!! and they also have some of the buildings in 20mm and 28mm!!! So after a bit of discussion with the chaps (Pete & Mark) at Total Battle about the size difference in 15 verse 10mm they mentioned that a few of their customers had used the 10mm for 15mm games and had good feedback on this. They were also kind enough to send me some comparison pictures showing a 15mm figure next to the 10mm buildings. Looking at the pictures I was sold on 10mm and decided to order the complete line, well actually more… I ordered 2 Hamlets, 2 Villages, and 2 Towns, that gave me 6 bases and 29 buildings! This is plenty for even large Napoleonic battlefields up to 4’x12’. (we play mostly 4’x6’)
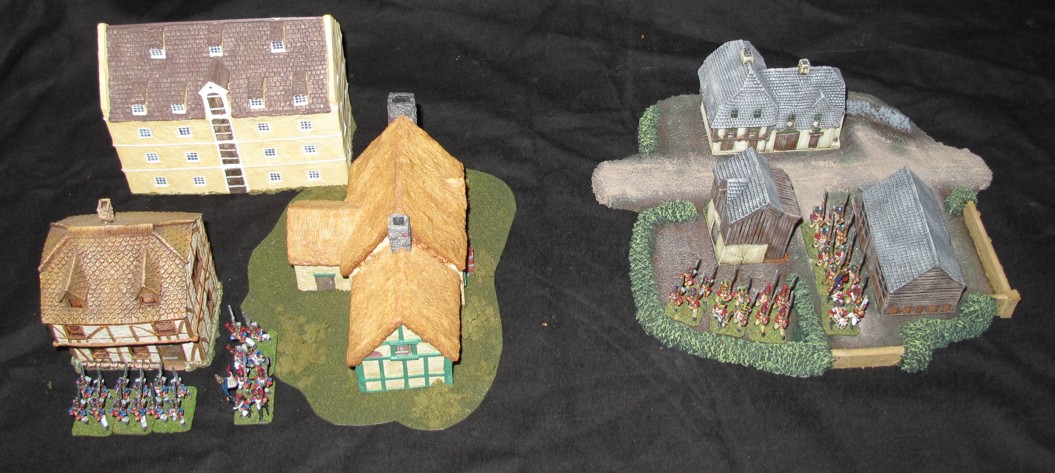
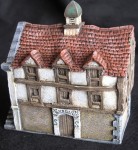
This shows the difference in the building scale between 15mm (left) and 10mm (right) with a similar foot print. The 15mm occupy an area of approximately 9″ by 10″ while the 10mm are 8″ x 8″ to the base edge. Figures are “Old Glory 15mm.
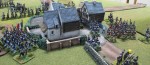
We just did our first battle using the first of the painted 10mm buildings and both Steve and I were quite pleased with the look and playability the 10mm scale gives us. We used two “Hamlet” sized bases with 6 buildings, 3 finished painted, and 3 almost finished. They look awesome and give a great look. You now have several buildings representing a small hamlet instead of one and you have some room around them on the “base” to deploy troops, clearly defining who is “in” town and what bases are “out”. The scale of the 15mm figures is in my opinion fine compared to the 10mm buildings and the look on the field more than out weighs the slight loss of real scale figure wise after all the figures are already much larger than the ground scale so this puts the buildings closer to ground scale.
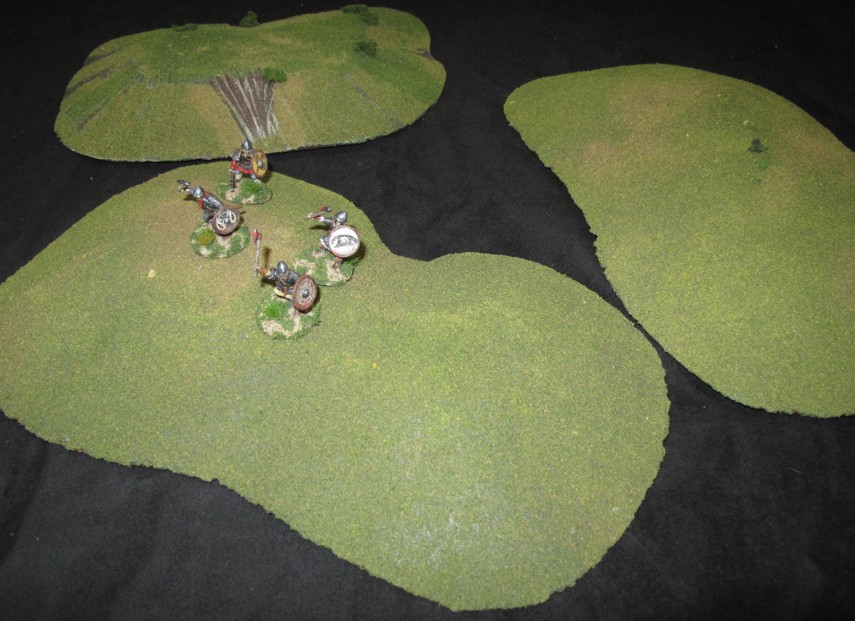
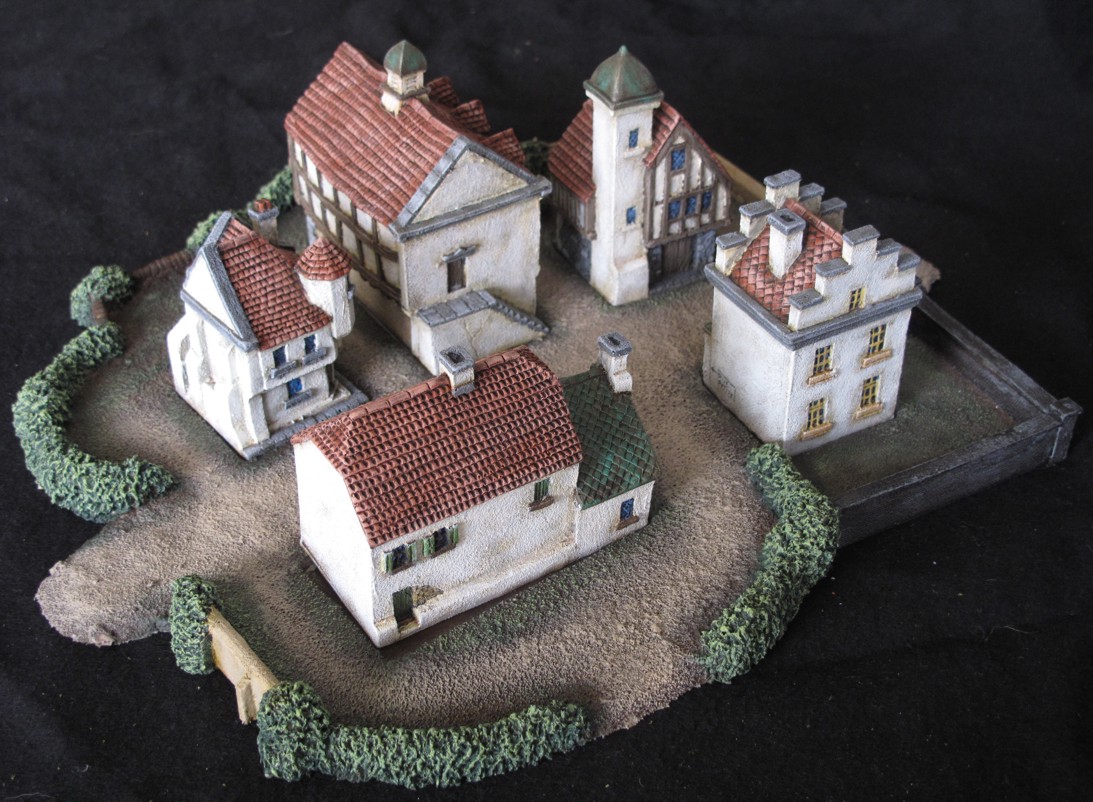
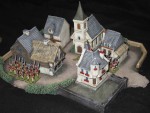
The whole picture, now that looks like 2 “Hamlets” instead of two buildings! Sorry forgot to place the “trees” in the green cutouts.
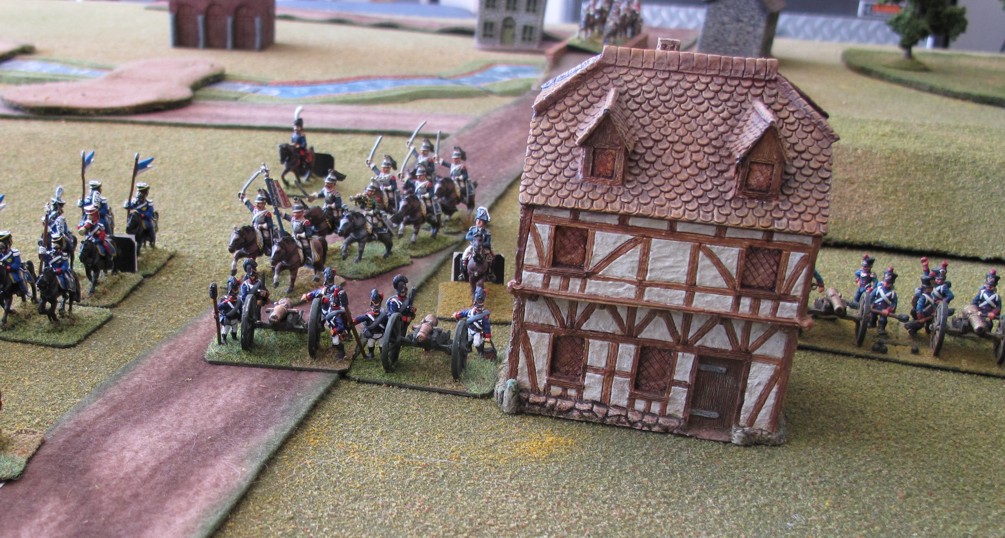
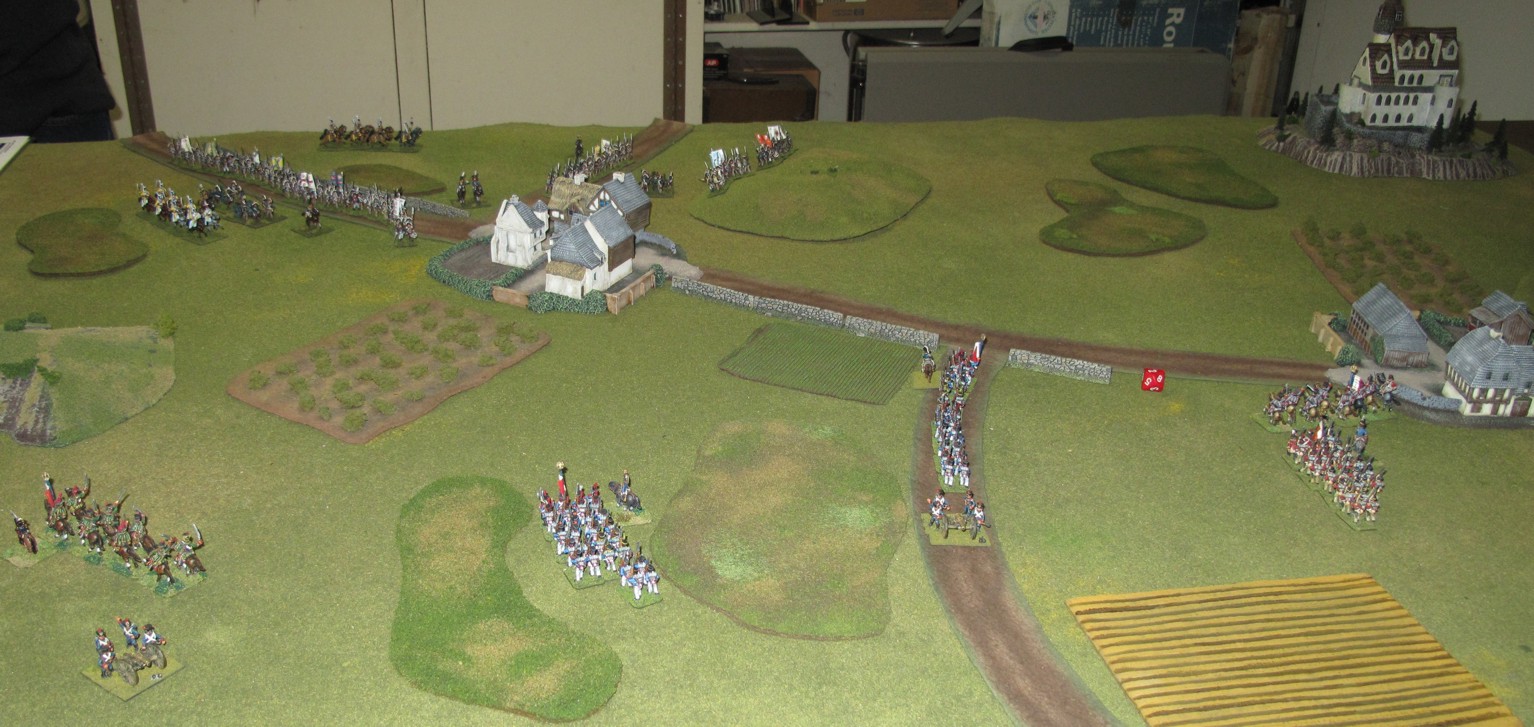
The battle we fought was fairly small 2 “division’s” per side with a small Cavalry Division…30 infantry stands and 8 of cav apiece. It was a meeting engagement with the Hamlets and control of the road net the objective. Steve’s Austrians reached one town first and deployed, other Prussian brigades turned both north and south to counter expected French thrusts. The French commander (me) however used the legendary French marching speed to fall instead on the center where the Prussians had occupied the town.
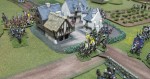
Austrians move around and into the Hamlet of Hoffbrau, drinking a bit to much on the way through…..
The French assembled 2 battery’s, a 6 pound horse battery, a 12 pound infantry battery, and 3 Brigades for the assault on the Prussian held Hamlet. Preliminary fire by the French got lucky and rolled very well disordering the Prussian defenders while only suffering “disorder” to one of their own brigades. The French assault threw the smaller Prussian force back out of town with a “breakthrough” charge catching and “shattering” the Prussians fleeing the town as well as over running a Prussian Heavy battery. This pretty much ended Prussian hopes and the game.
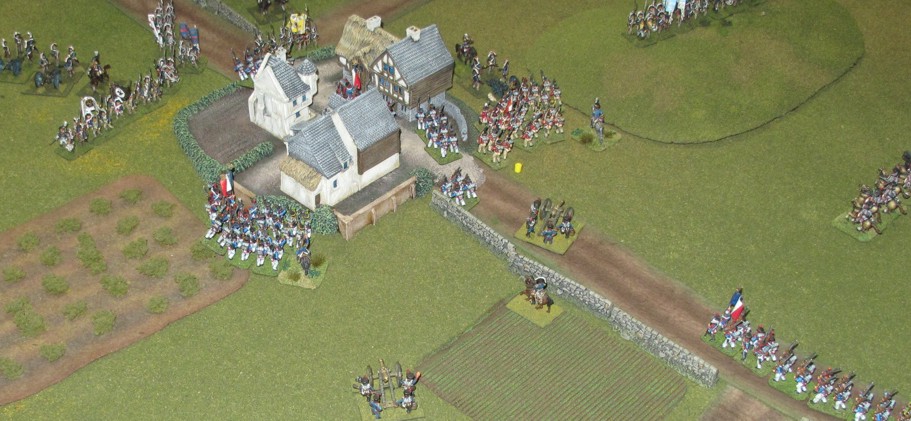
While he Austrians set up to fight a proper battle the French cheated as usual and out marched them arriving in mass at the Hamlet before the other Austrians were were close enough to lend support.
-
-
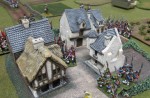
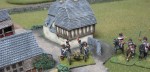
Austrians deploy in town….the “Total Battle” 10mm buildings behind them.
-
-
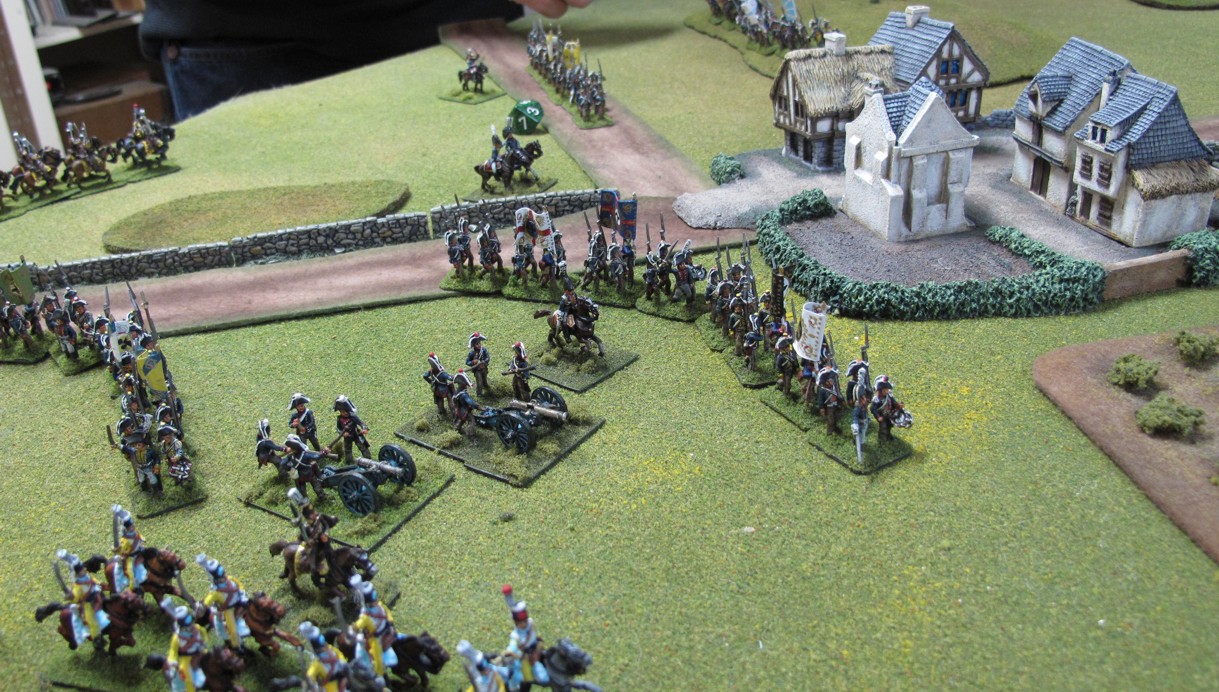
The “Swiss” in French service swing into and over the Austrian Battery!
-
-
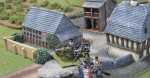
French pour into “Hoffbrau” I like the look.
-
-
Austrians attempting to regroup….
-
People who know me “know” that I am the first to speak out when shits not right and conversely I like to sing out when companies get it right and in the “miniatures” hobby it is sometimes rare to find one getting right, well “Total Battle Miniatures” got it right start to finish! from their great packaging (from England), to the casting, the range of beautiful terrain pieces, and even prompt answering of all my email questions!!!
-
-
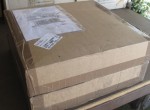
Care was taken with each piece and no damage despite all the buildings and a 5000 mile journey.
-
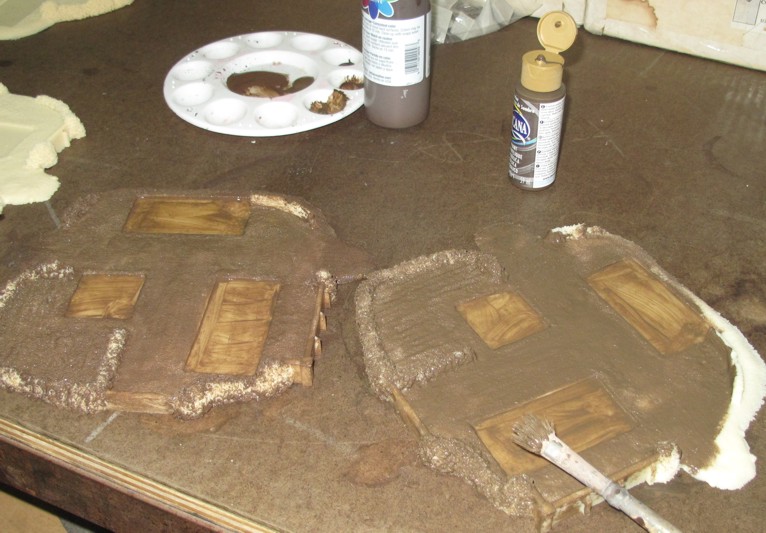
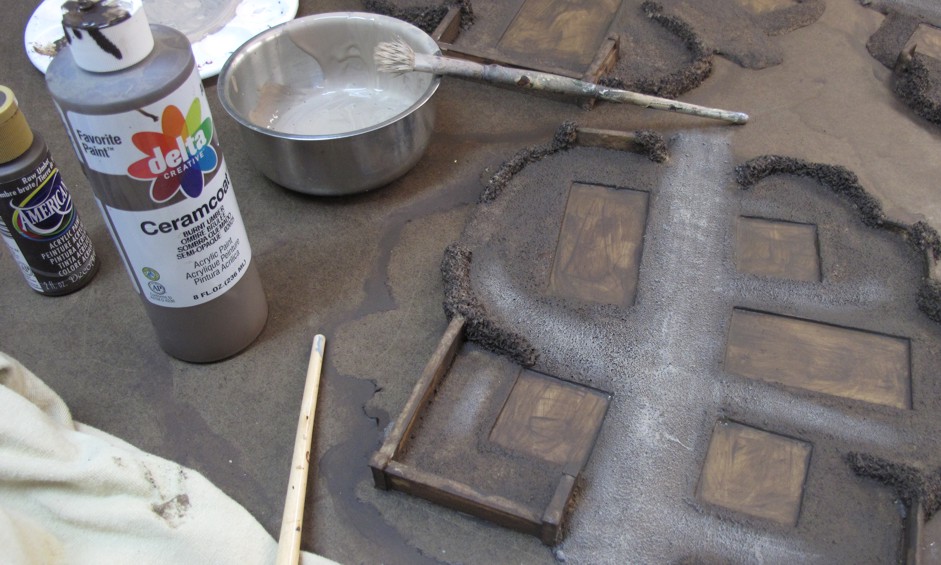
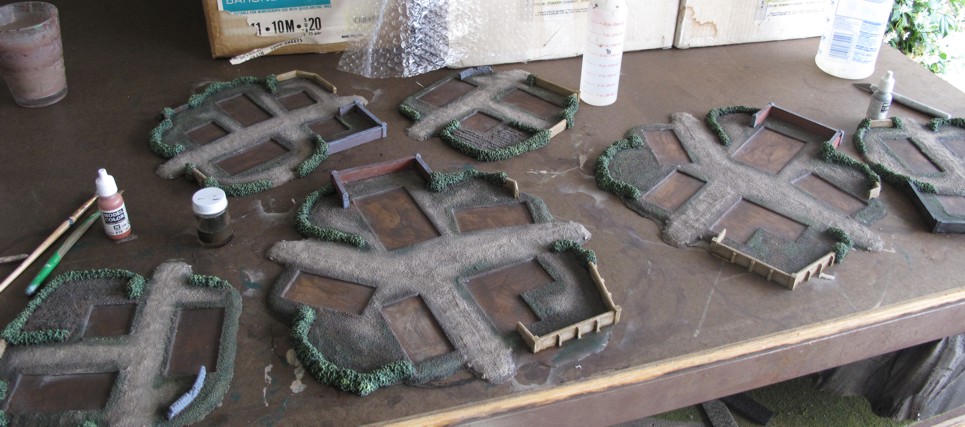
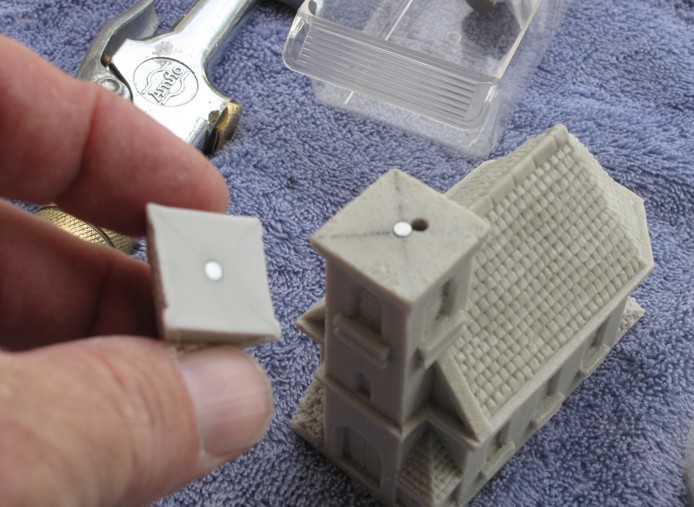
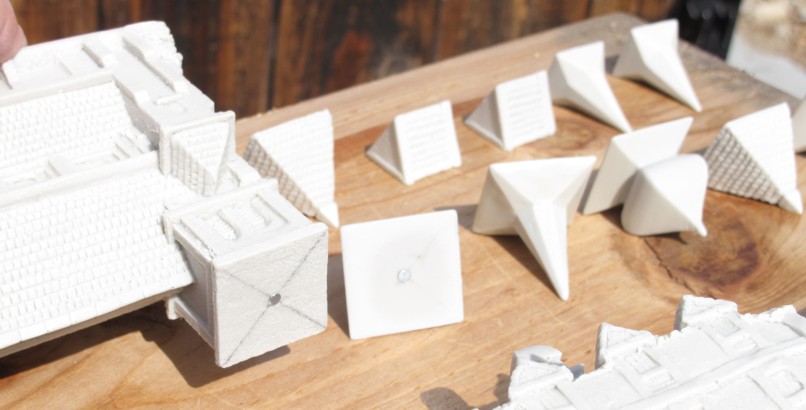
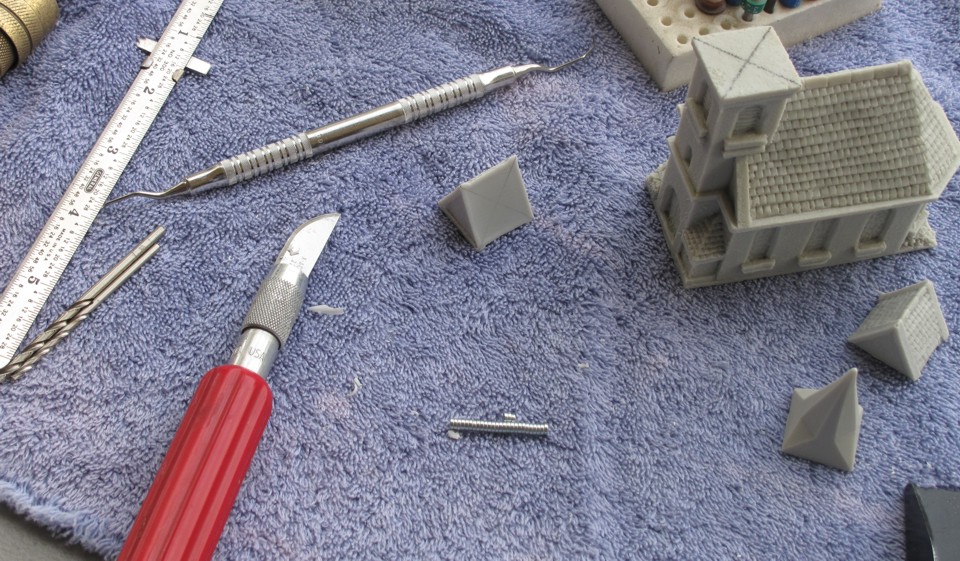
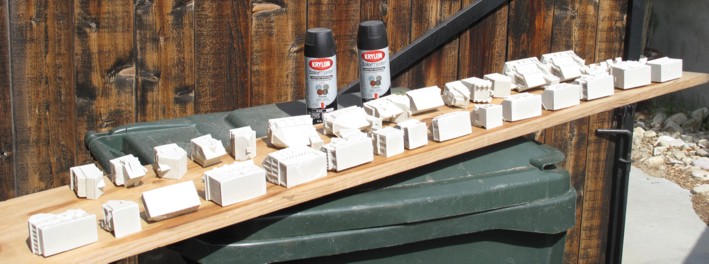
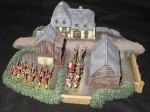
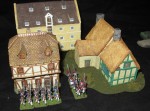
They paint up very easily, typical resin buildings, wash, dry, prime…paint. The bases however are a SOFT synthetic material so you must use paint that has the ability to flex over time as well. I was told no primer was needed…things are so far OK with only minor chips in just a few spots…I would have like these bases to be resin or at least had the choice…that’s just me. I will do a separate post soon on the painting of these guys, I’m currently on three out of the six you see here!
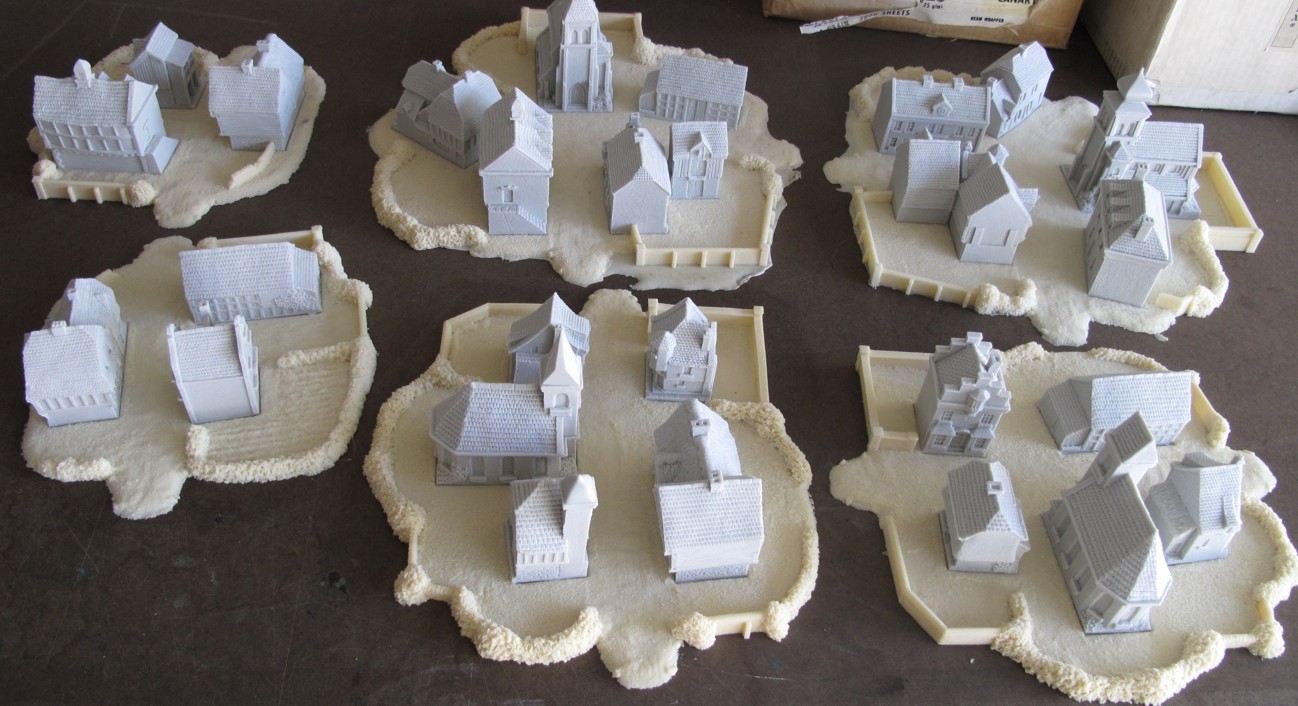
Here’s the whole set as ordered.
Here are some more pictures to give you all a chance to decide for yourself, and if you buy from Total Battle Miniatures please tell them you saw it here!
-
-
-
-
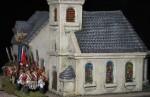
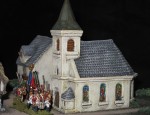
The good people at Total Battle give you paper window treatments for the churches but I went with my own painting of the “Stained glass” as always.
-
-
-
-
-