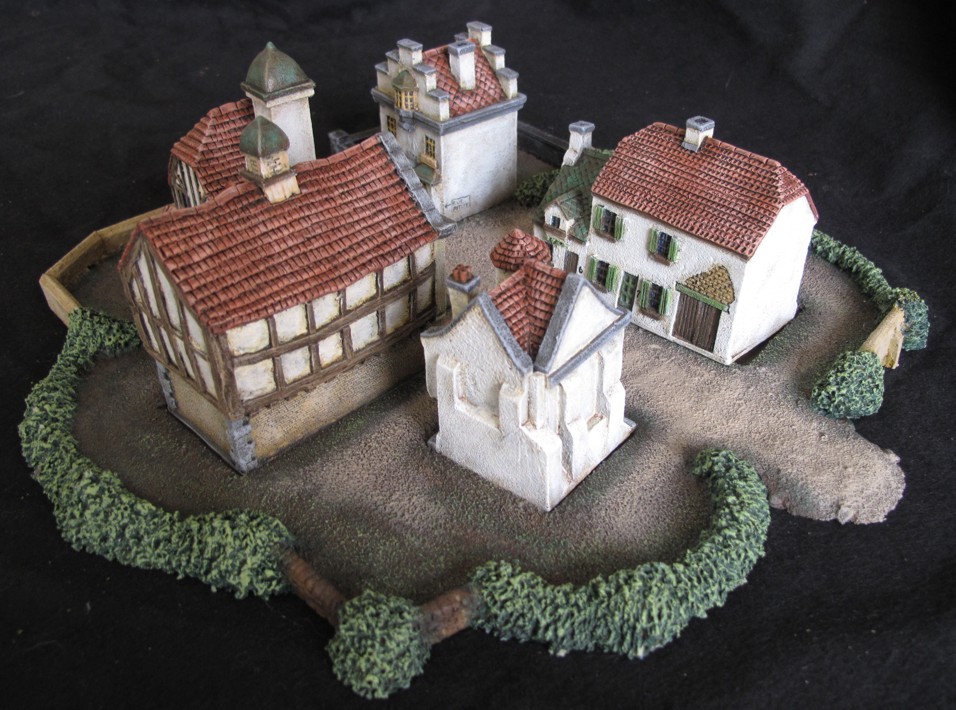
As a follow up post to the last one on the “Total Battle Miniatures” 10mm Buildings for the Napoleonic Wars in Europe I figured I would post pictures of all the buildings as I worked my way through painting them. Here are the next five I have done. In the “Total Battle” base system five buildings would be the number required to fill one of the “Village” bases and is a comfortable number to paint as a group, speeding things up as you can paint the same areas such as roof, walls wood, ect…at the same time. This set of five I did a bit different look for the roofs, using a red/orange color for the tiles and selected some of their buildings with a distinctive style “cap” to some of the roofs. This different roof treatment was treated as a “copper” sheet roof, not uncommon back then in Europe and other places. I gave it a weathered look to show copper as it looks after years of exposure to the elements. I also did a bit of house numbering as well and signage.
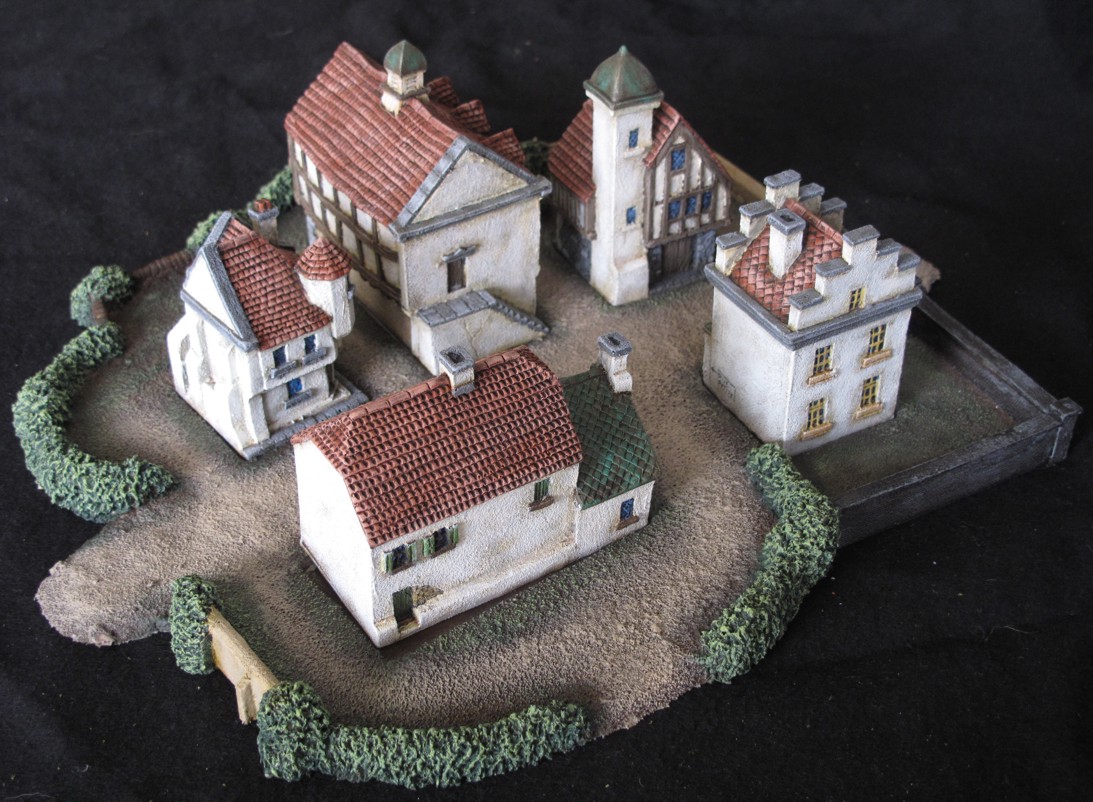 While these buildings are all painted with the same style and color palette they can easily be mixed into the other buildings as some towns had buildings that looked very different from one another. Painting this way however speeds up the process enormously and helps you to have a consistency when you want it.
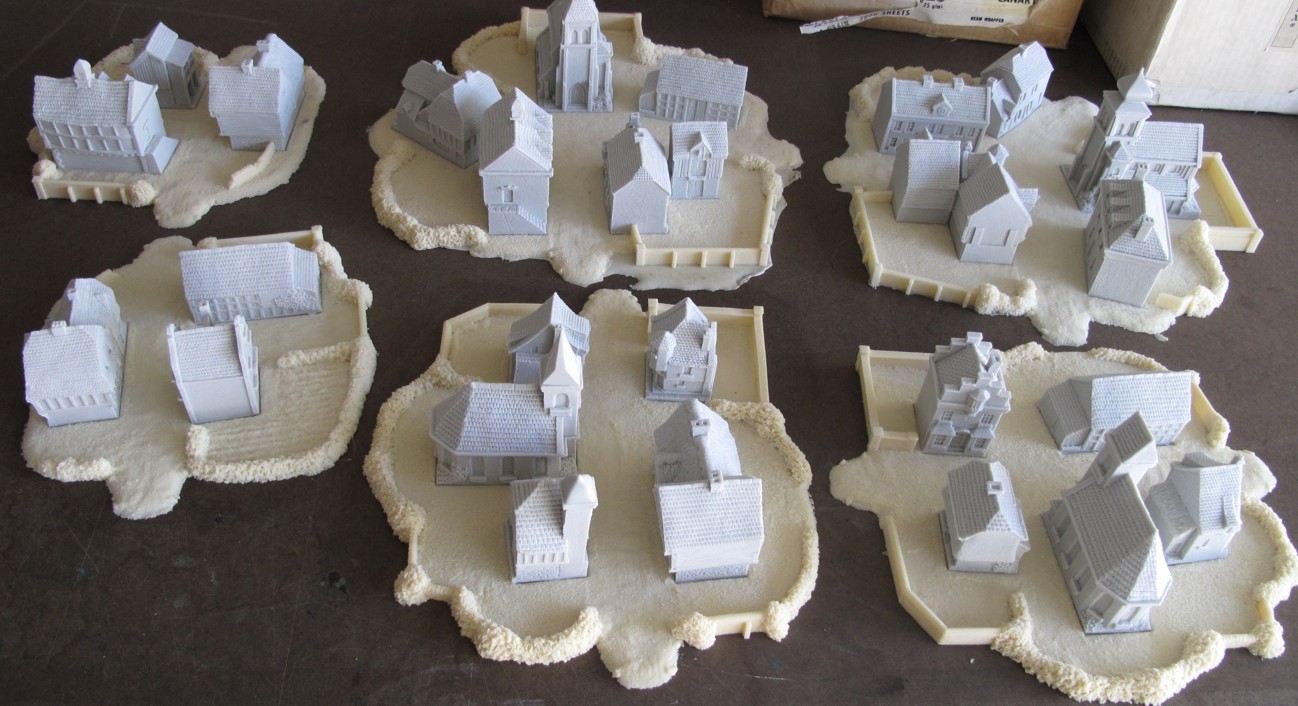
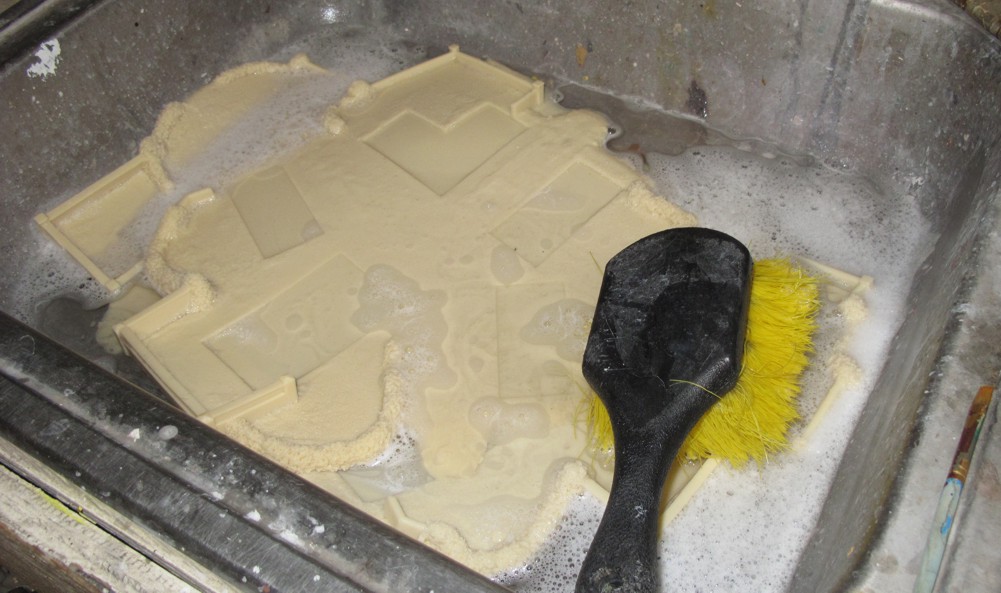
In the last post you saw this picture of the whole unpainted set. All the buildings need to be washed in warm/hot water with dish soap to remove any mold release. I was told no primer was need and a good acrylic craft paint would be fine. I used a combination of craft store paint with some Vallejo and washes.
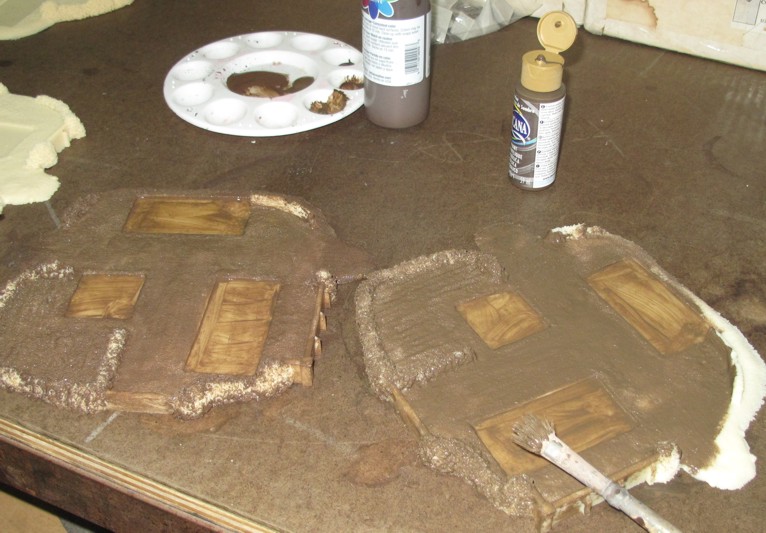 I have several large old paint brushes picked up from garage sales and swap meets that I use for big projects. You want to make sure of complete coverage, push the brush in every nook and cranny.
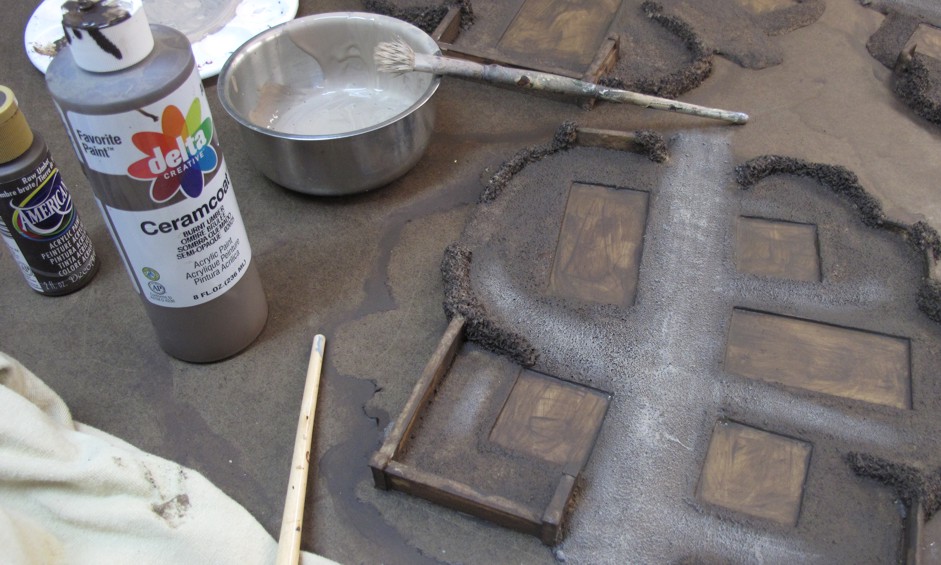 After a few base coats you can begin “texturing” in roads and details. This is a good look at the fluffy brush I use! Many people toss out brushes like this but they are perfect for big terrain projects.
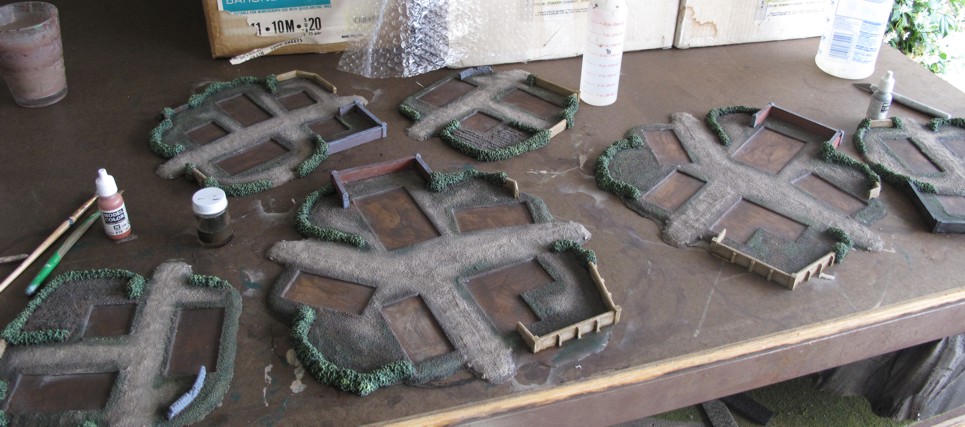
All the bases done and detailed. I used no clear coat on them as I did not want any paint that might not take the slight bending of the base.
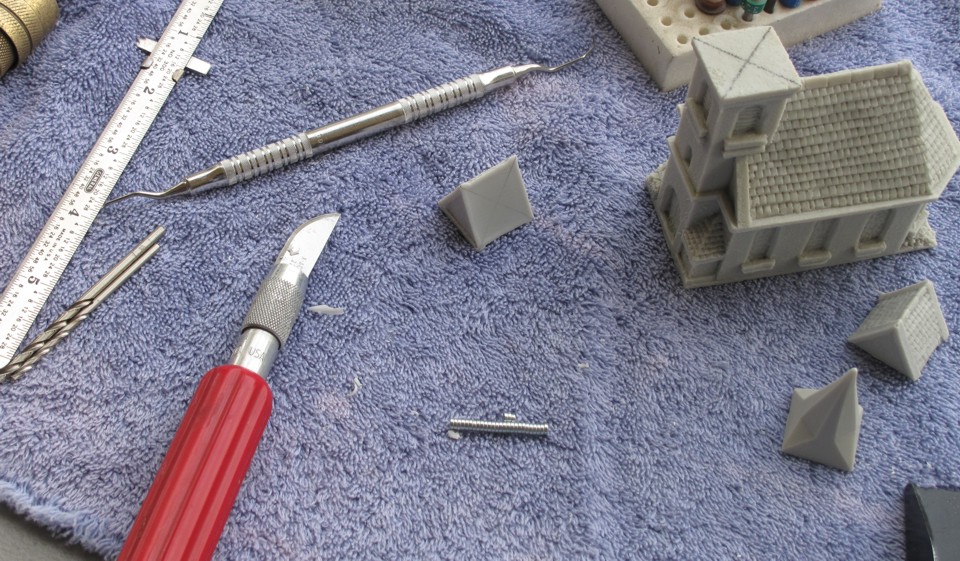
 All of the Church buildings come with a couple of “dome” or “steeple” options and I was had pressed to select one so I decided to to make the different “steeple” options for the church’s secure yet ale to quickly be switched out. This involved a simple drilling enough space to insert a magnet in each piece and gluing flush. To do this you take a ruler and draw lines from on corner to the opposite corner giving you an “X”. Where the lines cross is exact center and where you dill your holes in the church steeple base and the “dome” top.
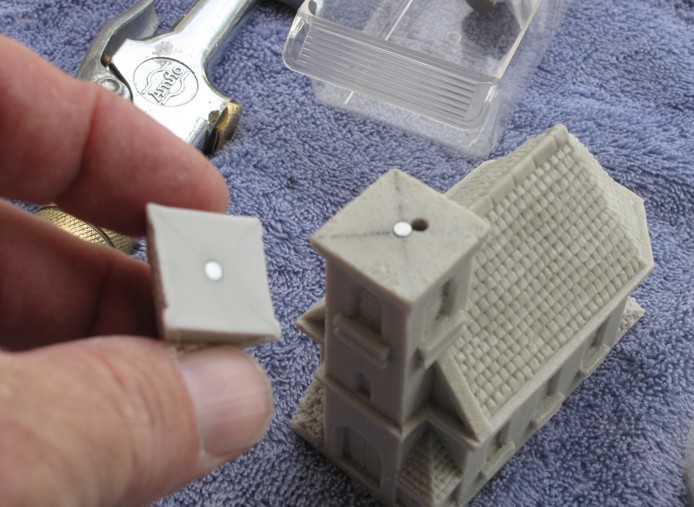 Do not drill the wholes any deeper than you need and be sure to check polarity of the magnets before gluing to keep their facings correct since one way they attract and the other they repel! When you glue in the magnets take special care to get them set in deep enough so that the dome sits flat or it will stick up looking silly. I was off on this one at first and you can see where I had to drill another hole to allow me to pop the magnet out and reset depth.
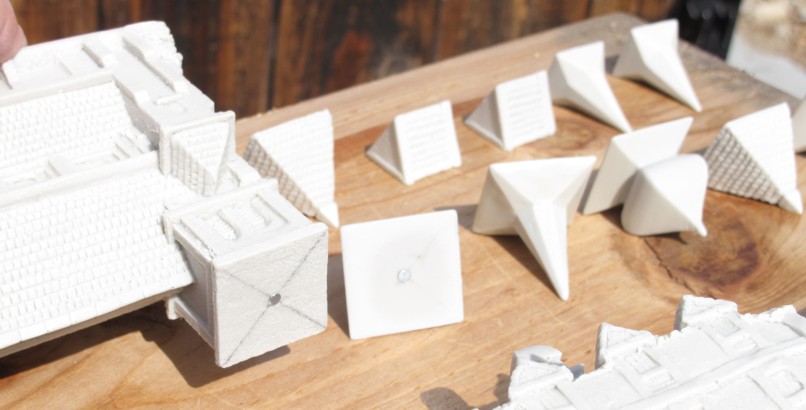 Some of the tools for this project, not shown are a drill motor (I cheated using a drill press!) Exacto hobby blade for flash, Drill bits (use a drill motor, Dremel tool, or even a hand pin vise) the Magnets are off ebay, I bought 25-100 of several different sizes just to have around the work bench. The dentist toll is just one of a dozen or so collected over the years (ask you dentist if they have a few old ones) a small ruler. You can see the “X” marked on the church steeple and the roof section.
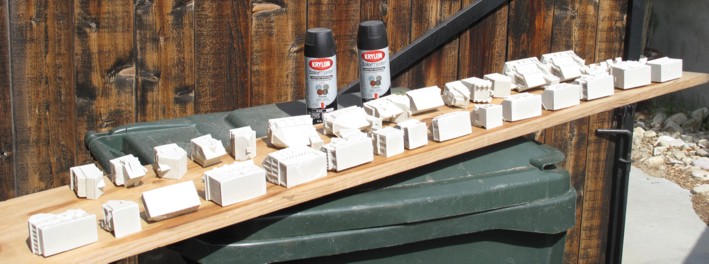
 Assembly line painting methods save time and money when doing large projects of even small projects where the pieces or miniatures all require a couple of the same steps such as priming, base color coats, washes, ect….For Resin buildings my “go to” primer is always Krylon Automotive Charcoal Grey (black) as it really adheres to surfaces well and is fairly unaffected by dirt, mold release, or other contaminants left on the model or mini, yep use this on my minis although I have just started trying Vallejo’s primer with very good results! It’s water based and allows me to use smaller amount in my airbrush (paints on with regular brush as well) saving both time, money, and the environment while still doing a bang up job! The Vallejo primer is also safe for plastics like the Perry and Warlord miniatures that the “Auto” primer would damage!
 Please leave a comment if you enjoyed this article on these fine Napoleonic Buildings, I truly enjoyed painting and now using them on our battlefields! Here are a few more pictures, enjoy! Bill W
- I love this building. its the European versin of a “barn” with silo
- Little touches like this make your buildings come alive!
- The good people at Total Battle give you paper window treatments for the churches but I went with my own painting of the “Stained glass” as always.

