Martian Flyers in 28mm

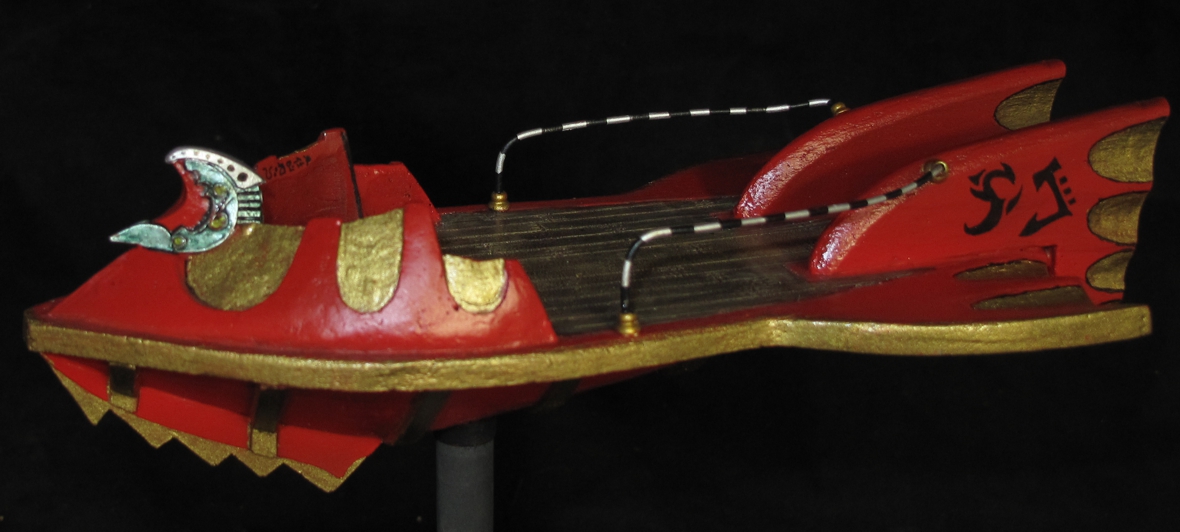
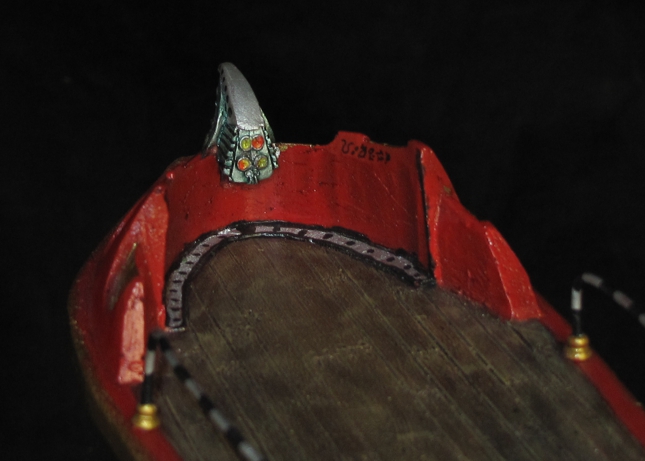
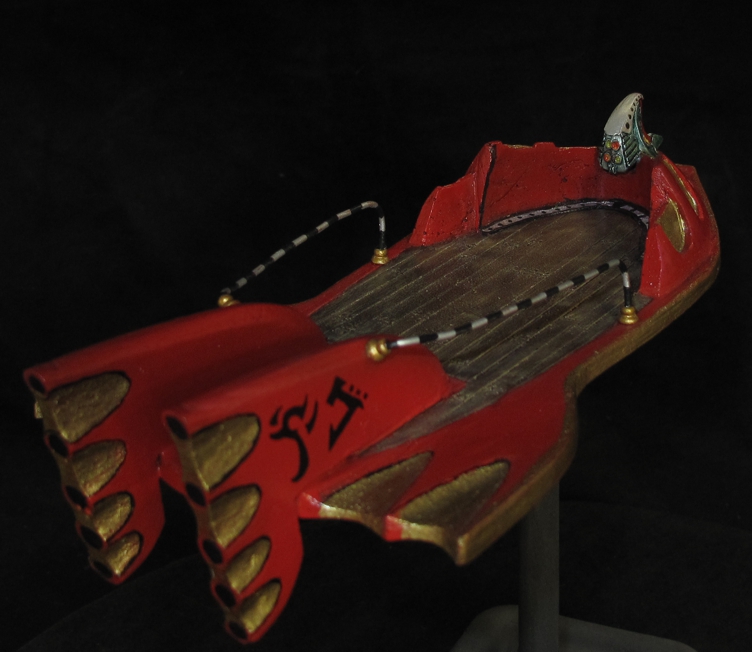
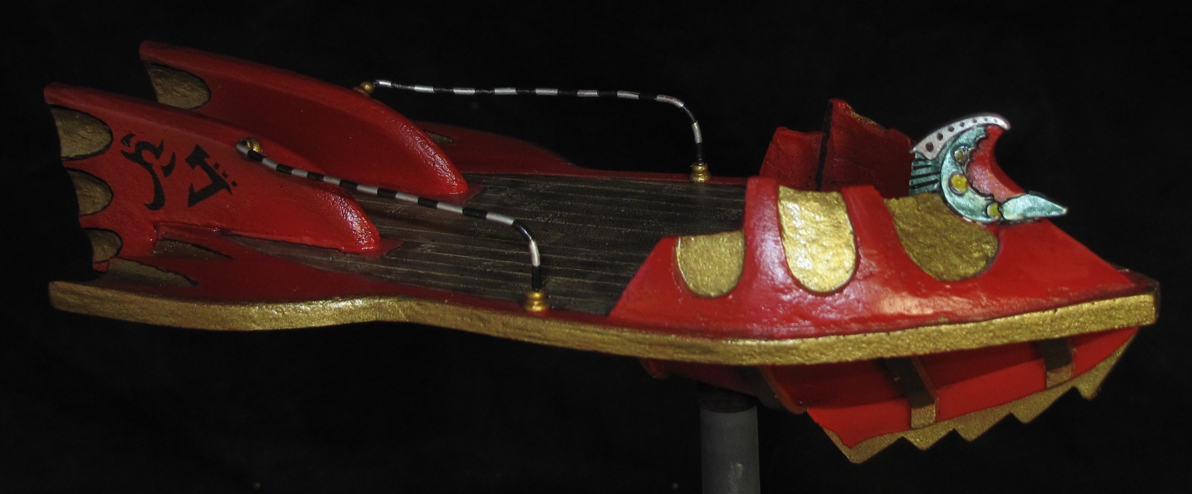
These were really cool flying craft, sadly I think no longer produced. I made a few mods to this one as I remember.. Certainly the “Guardrails” were copper wire and craft beads. I also think I did the rear tail area scalloping with a Dremel rotary tool to fancy it up a bit.

Sorting through pictures and found these so up they go for a bit of “eye” candy. These stuck out since I was about to sell a bunch of RAFM “space 1889” figures and they got snapped up by one of the “dogs” (you guess who!) so we may see battles on Mars in the future! I painted these years ago for Chris S. London War-room as I recall and for “Space 1889” or any Victorian Sci Fi situation.

I think I might have been working on Star Trek DS9 at the time and used some “Klingon” lettering for the tail ID! The scalloping I added in the rear tail section now ties the original models scalloping in the front together and improves the look tremendously in my opinion.

There was another control station that never got added since I had misplaced it at the time. found it years later in a “bits” box… I should paint and ad it! I see negotiations in our future Chris…..

I just love the design, so retro 1930’s Flash Gordon! I could just see “Ming the Merciless” cruising over the planet Mongo in this!

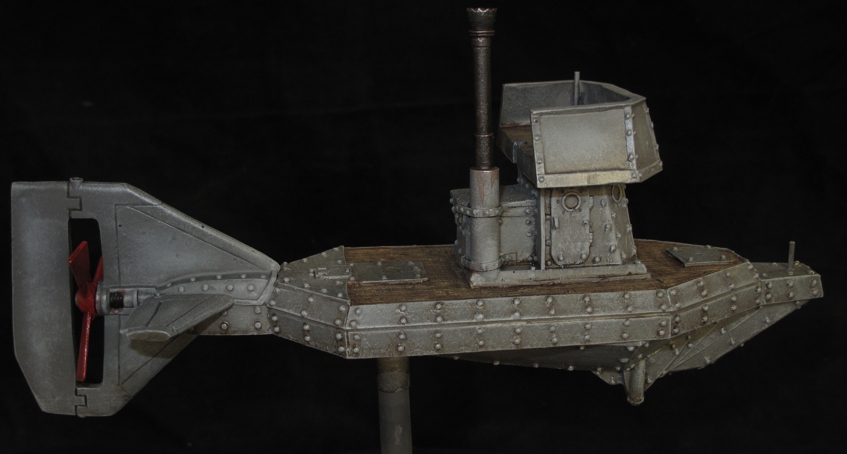
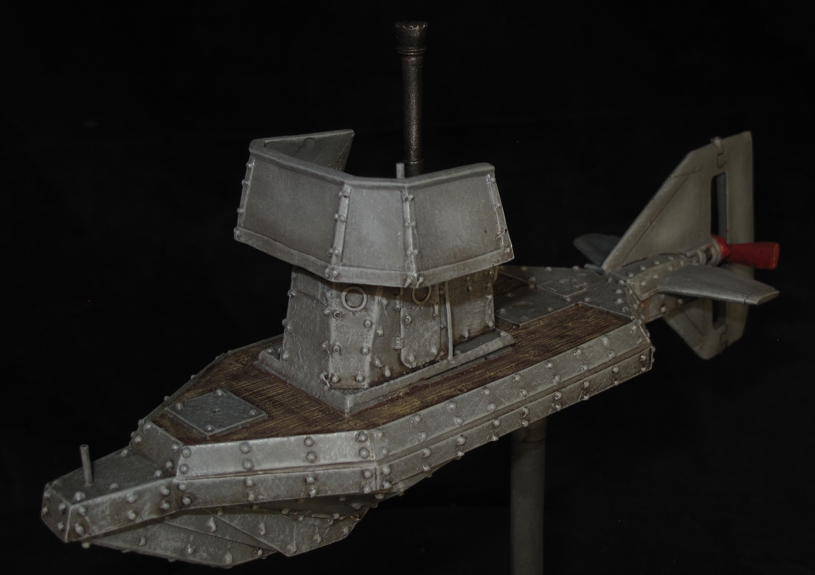
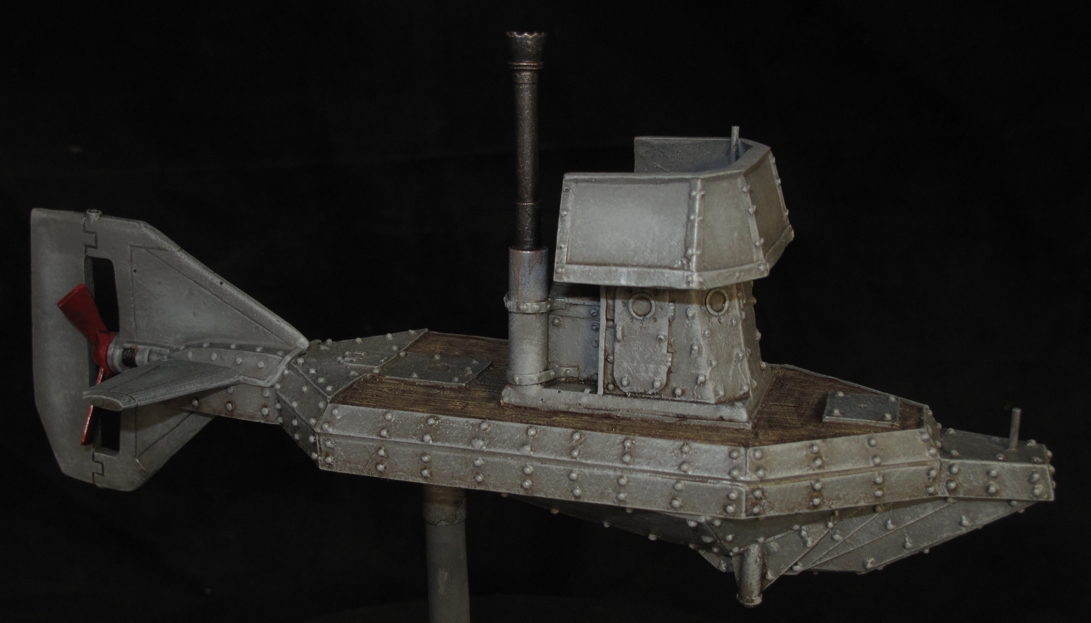
This flying “gunboat” was by the same manufacturer but done for the earth-men’s or colonial powers. Again a very nicely done model. I wish I would have picked some of these up but it was one of those times when you think “oh I’ll get them down the road” but then they go “out of production! I guess this justifies our large lead mountains! Get it while you can. I remember buying a bunch of models  for a line called Maschinen Krieger once again because they looked cool and I had some grandiose plans to use them in a project that never happened. I bought them for around $6 to $15 apiece and perhaps 12-15 kits, 10+ years later I sold the now “rare” original kits for 10 times the purchase price (and all to one person in Australia) with people literally fighting to get them, go figure!

Looking at this model I realize I didn’t really finish it with as much detailing as I planned, I did add the smoke stack and a few flag receptacles. Perhaps Chris would like me to finish it out a bit more? Part of the smoke stack was from another project and not used but kept in the “bits” box…came in handy for this modification.

I think this would look great with some German WWI style Submarine type markings!

Being as the boat is very monotone I used the trick of a splash of color (red prop) in the rear to draw the viewers eyes along the entire model.


A “Wargamers” guide to: Sheltering at Home!

Hey I read on the internet “staying warm and drinking prevents you catching the Corona Virus” so this has gotta work right?

So having some time and the thought, I’ve written a short piece to help “Wargamers” survive the Corona Virus Pandemic! It is a piece not designed to play down the seriousness of the situation but a piece to lend spirit and support to my fellow gamers!

Its a long piece so it gets a separate page!

A “Wargamers” guide to Sheltering at Home!

Enjoy, Bill W.

HMGS/PSW Spring Convention 2011

Still going through boxes of pictures, wait no that was old school, now I’m going through a 750gig hard drive of pictures, sorting, filing, laughing, and just remembering all the good time we have all had. I’m just going to quickly toss up a few to keep content flowing and for us all to enjoy. These pictures are from the HMGS/PSW “Spring Con” held back when HMGS/PSW had them at the boy scout hall. I sure do miss them, good times! Eventually I will have all the con pictures sorted, labeled, and under their own convention “tab” some are currently under the “bits and Pieces” tab but that will change. For now, just enjoy the trip down memory lane! Please if you have anything to add let me know in the comments so I may update info and photos!

Also please SUBSCRIBE to the blog using info top right so you get notifications of new stuff!
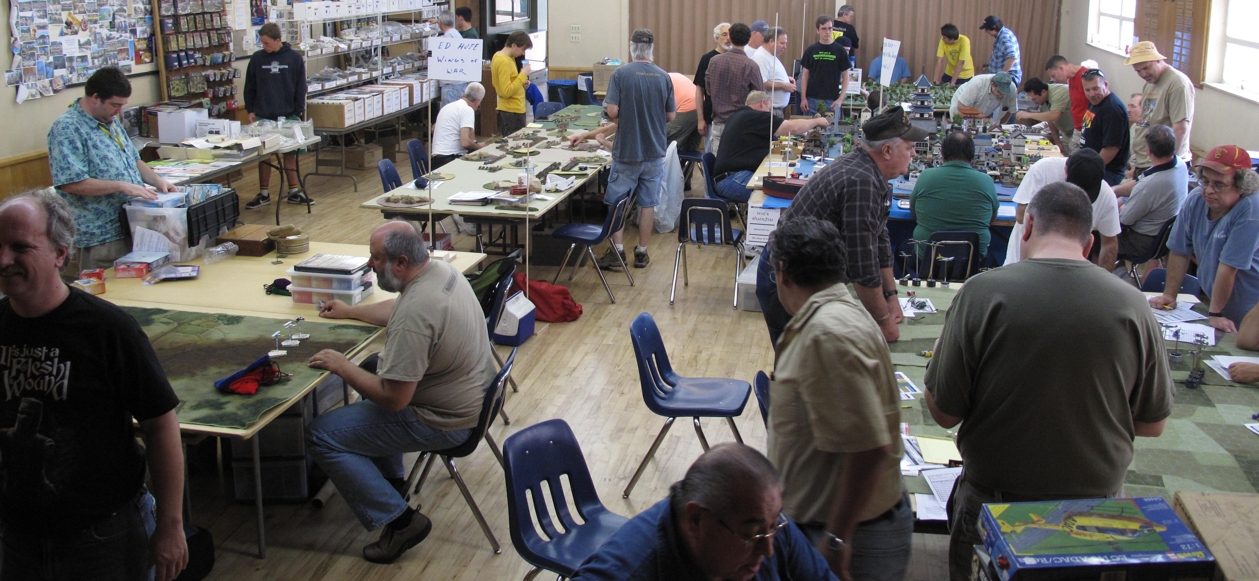
The “Boy Scouts” hall was sometimes crowded, hot, noisy, and occasionally smelled of old Pizza, but it always felt like home! I truly miss it!

I think we held conventions in the BS hall for around nearly ten years but others can correct me on that. It was a great spot we should never have let go. We nearly always made money at those cons, not always, but it was such a good deal that it allowed us to make money one time and lose some another time, but never go into the red!
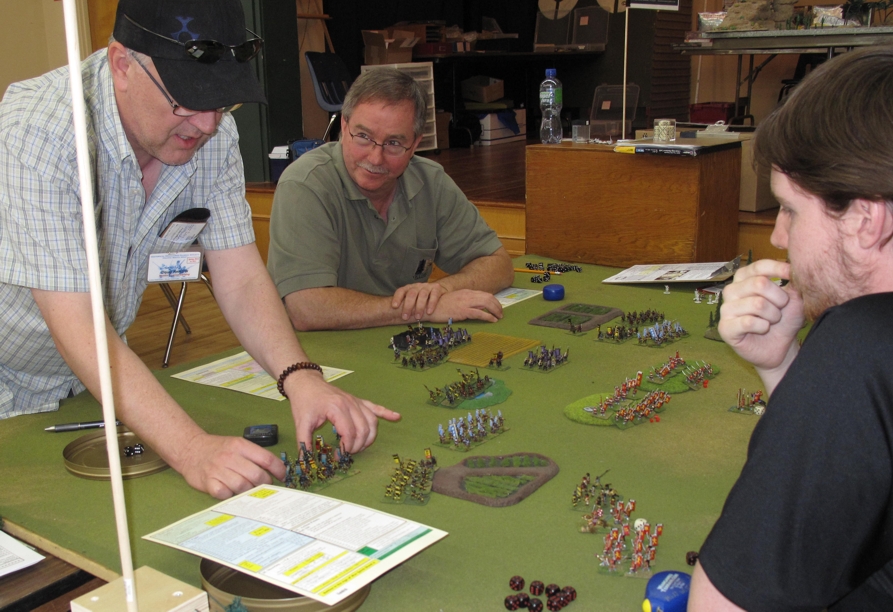
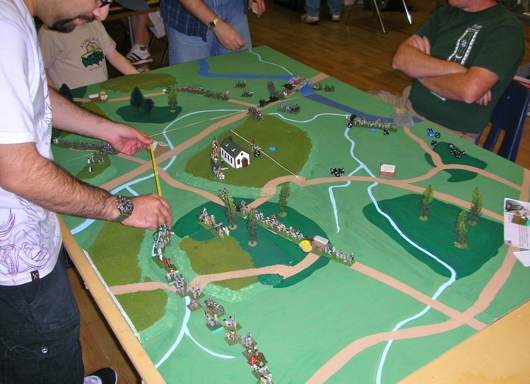
Doug Kendricks, Robert Boyens (picture right of Doug), and Jesse Boyens (back to camera) and I play in a game of 15mm Samurai battles using the “Battles in the Age of War” by Peter Pig.
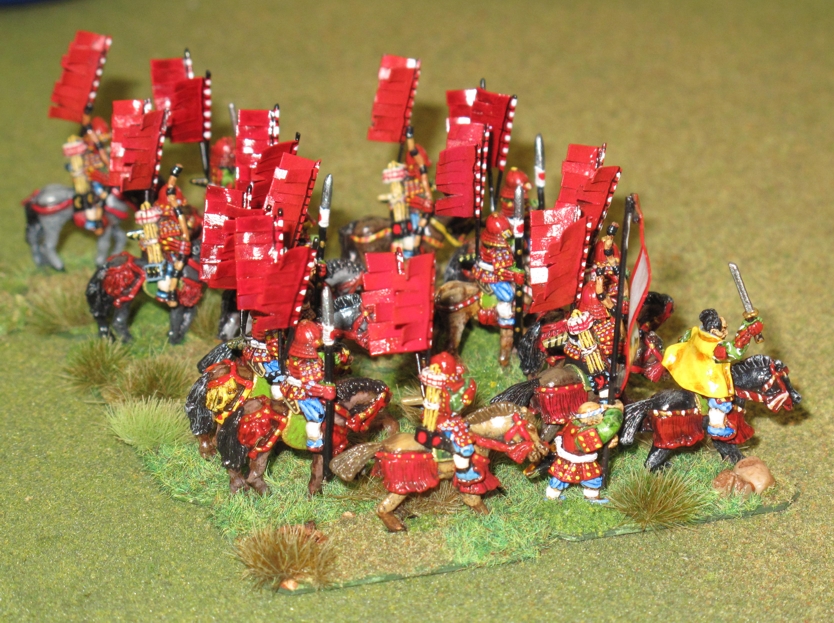
15mm “Two Dragons” samurai figure I painted as “Ii” cavalry.
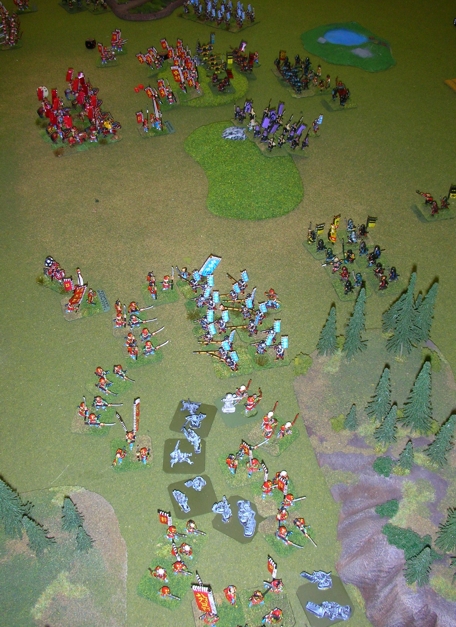
My 15mm samurai “Battles in the AGE of War” game.
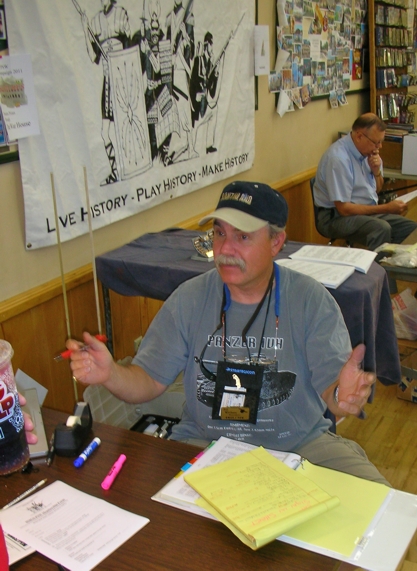
Unfortunate the first thing you saw upon arriving was me! Back when I was President of HMGS/PSW
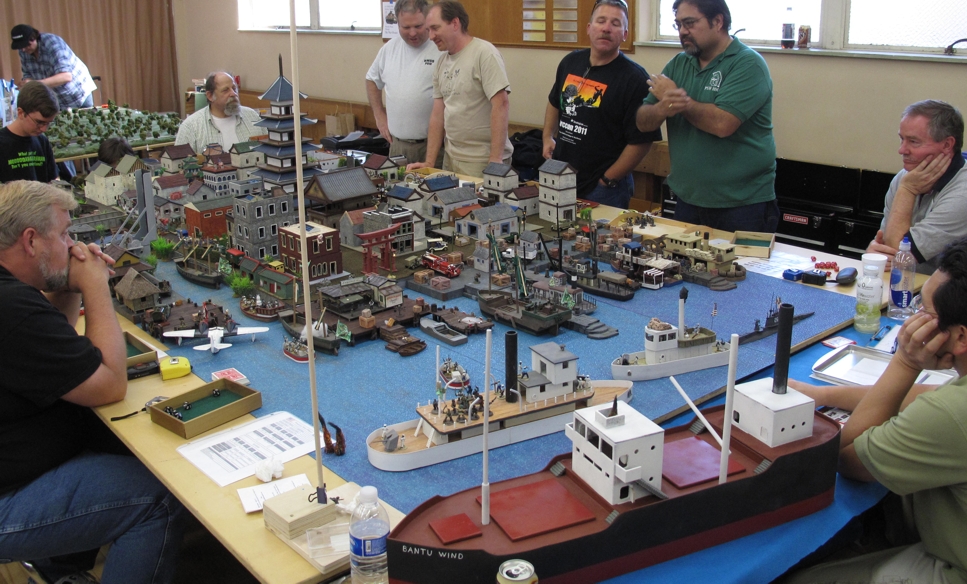
the “Dogs of War” convention regulars who put on many of the most spectacular “mega” games HMGS/PSW conventions ever saw pull of another one with “Shanghai” many games are considered impressive with just on or two 28mm ships…the “Dogs” bring a fleet!
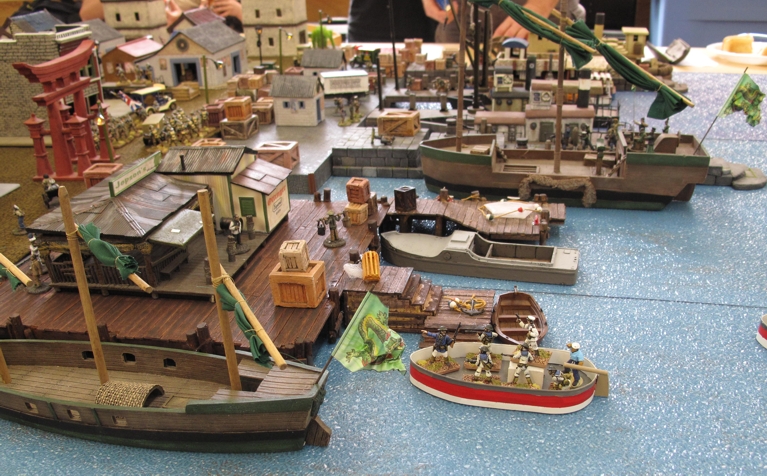
 

The “Shanghai” game had an enormous waterfront area full of dastardly no goods that had to be defeated! The small shore boat has my party in it!

All Dogs of War games were geared for fun, had plenty of “eye candy”, and many encouraged the participation of new or younger players. For the Dogs the reward of the game was the satisfaction of the players. Few players ever forgot playing in a game put on by the “Dogs of War”
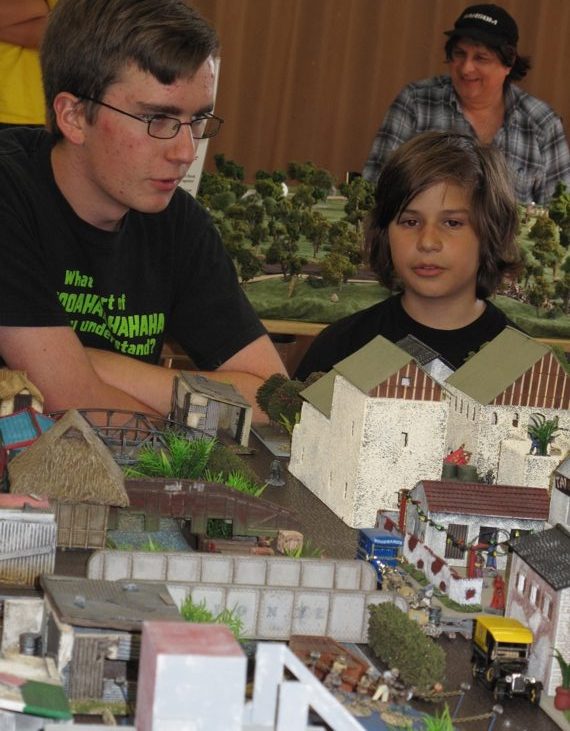
A young John Denny guides another younger gamer in the back streets of Shanghai! A smiling Steve Phenow can be see in the background.

Pretty sure the “Dogs of War” took home the “Best of Convention” award this time!
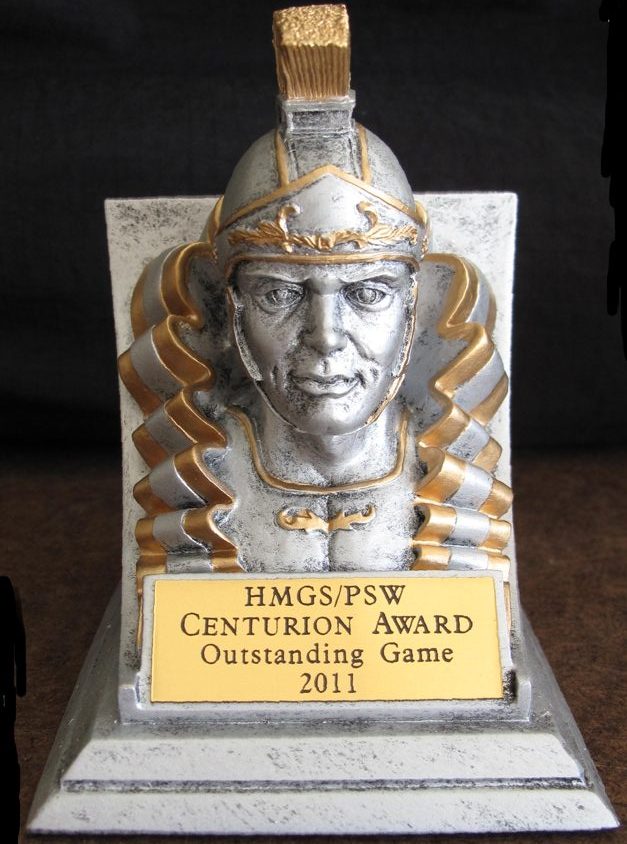
I had brought back the awards for excellence in gaming and found some really nice awards to be used to recognize those gamers and groups but I think they discontinued this, or at least this style of award. To bad because it was starting to become a tradition!
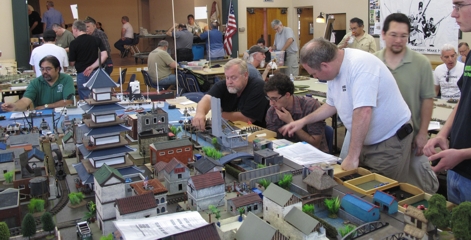
One of the “Dogs” Chris Snell (on right) explains a few point to players. Behind him Galen Yee and at the far end of the table Chris Vivo, both long time “Dog of War”
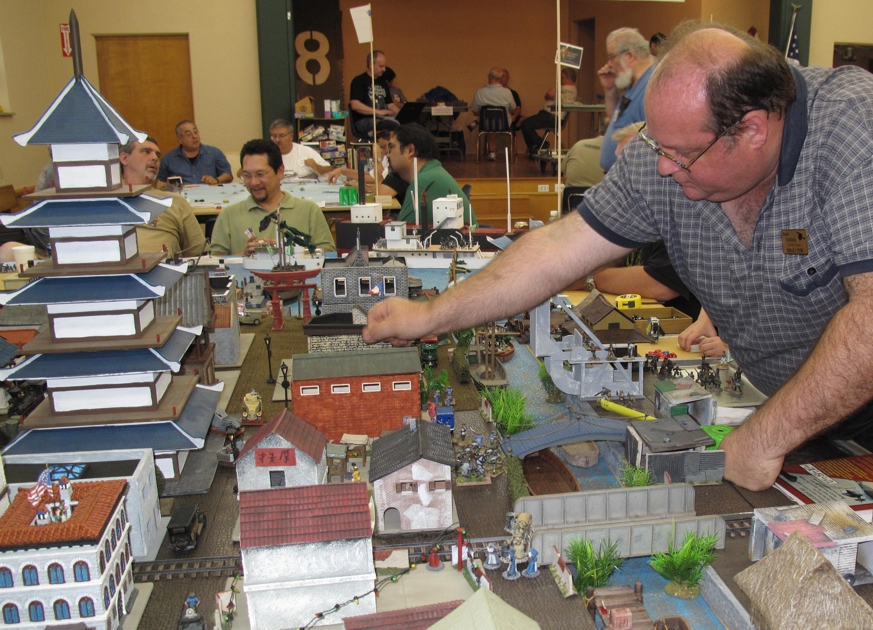
HMGS/PSW member Mark Deliduka move figures into position on a rooftop! The central “pagoda temple” building was scratch built by Dave Dandridge yet another “Dog”!
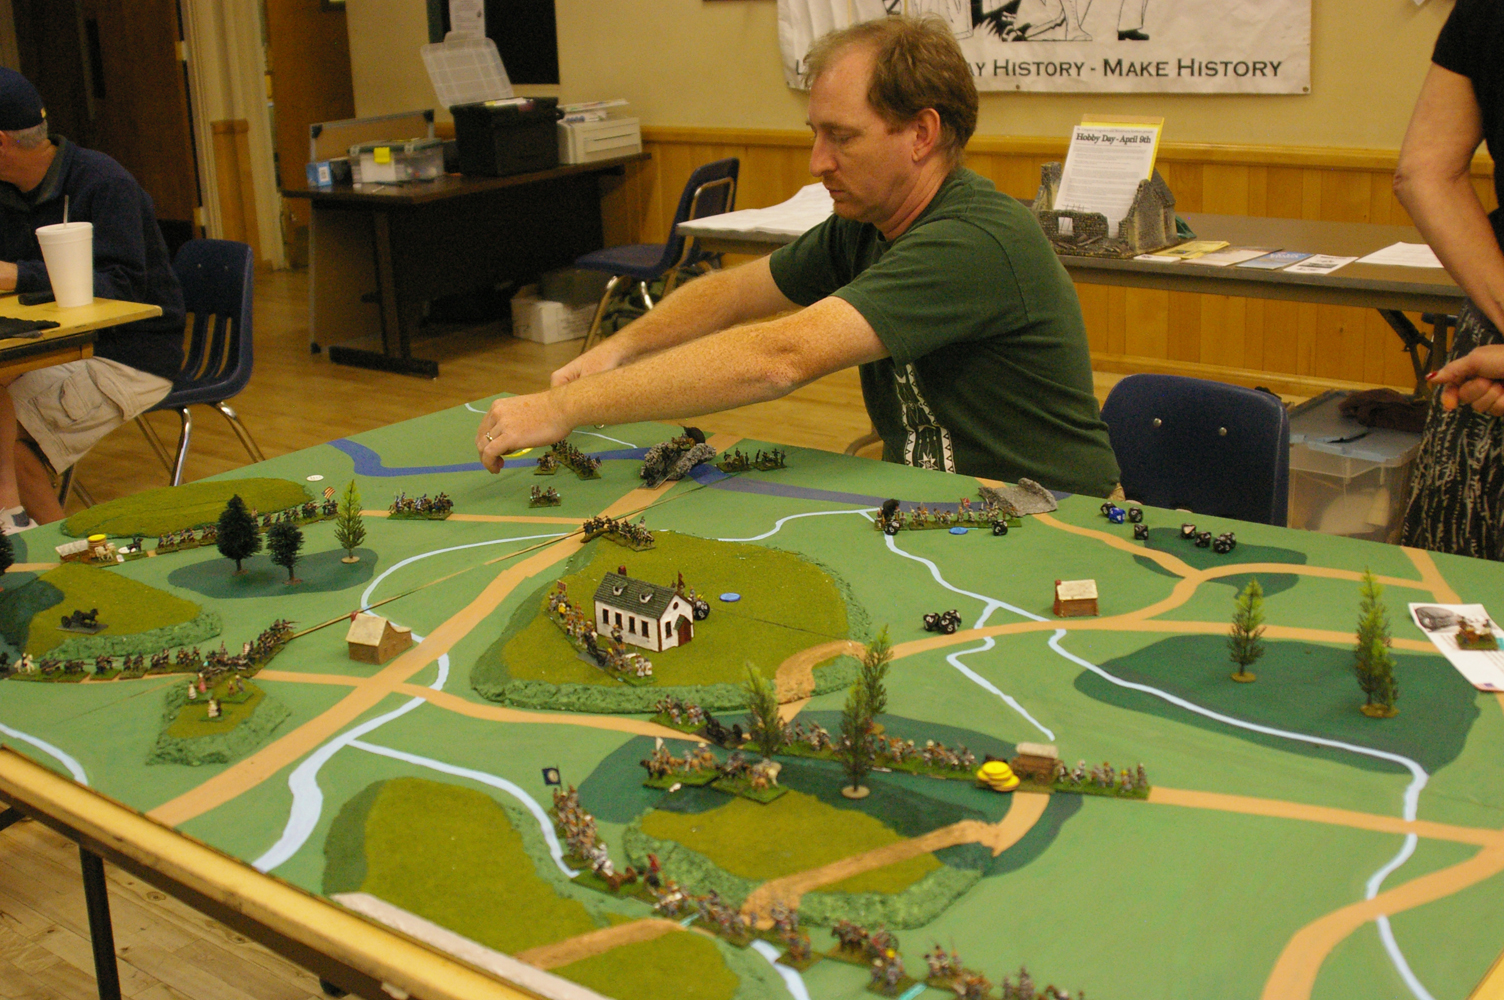
Speaking of Dave, here he is playing in a later game of 15mm American Civil War. Simple yet elegant terrain makes for a good looking game!
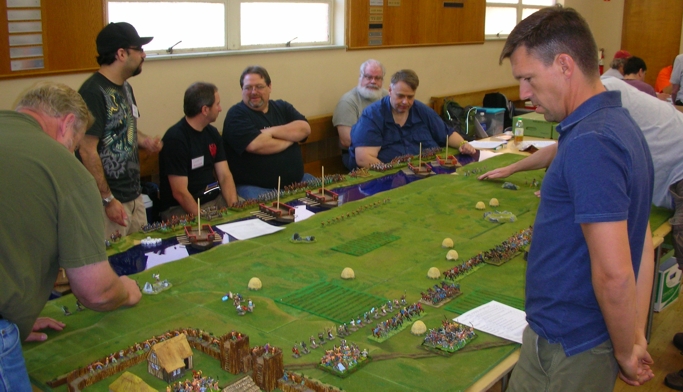
Take during one of Michael Veritys massive ancients games! Tim Kennan (4th from left, black shirt) and Harold Hillderbrand (to Tim’s right blue shirt) Sadly both these gentlemen are no longer with us. Foreground in blue shirt is David Komatz assisting Michael in running the game.
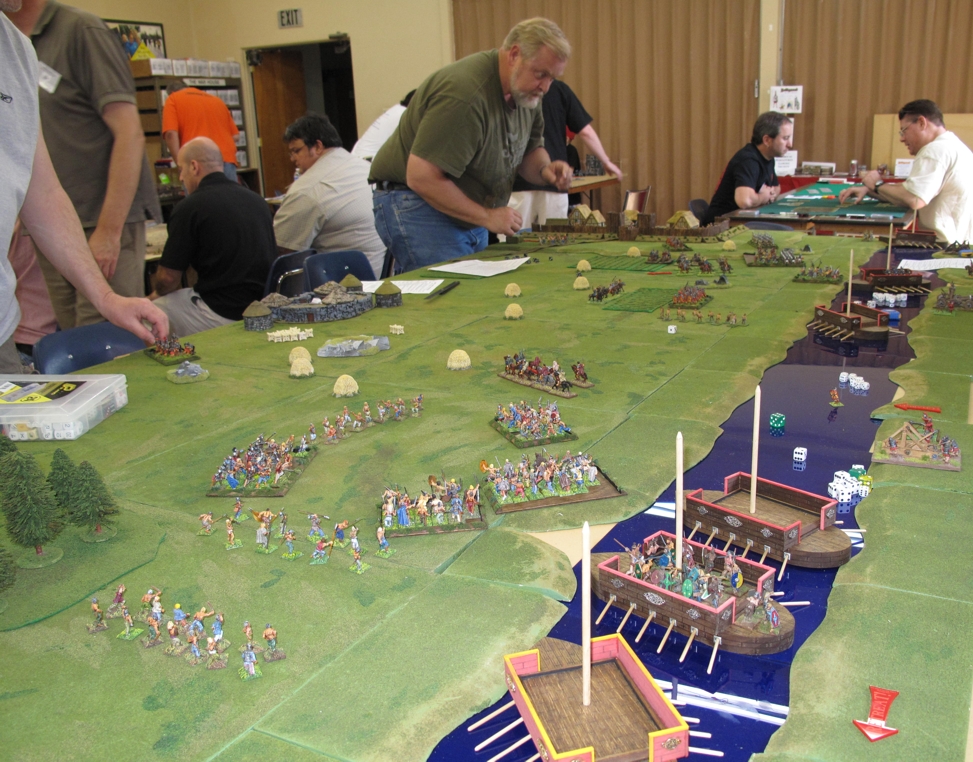
Another view of Harold’s massive game.

Conventions are some of the last places to get “your feet wet” as a new wargamer since shops are now few and far between!
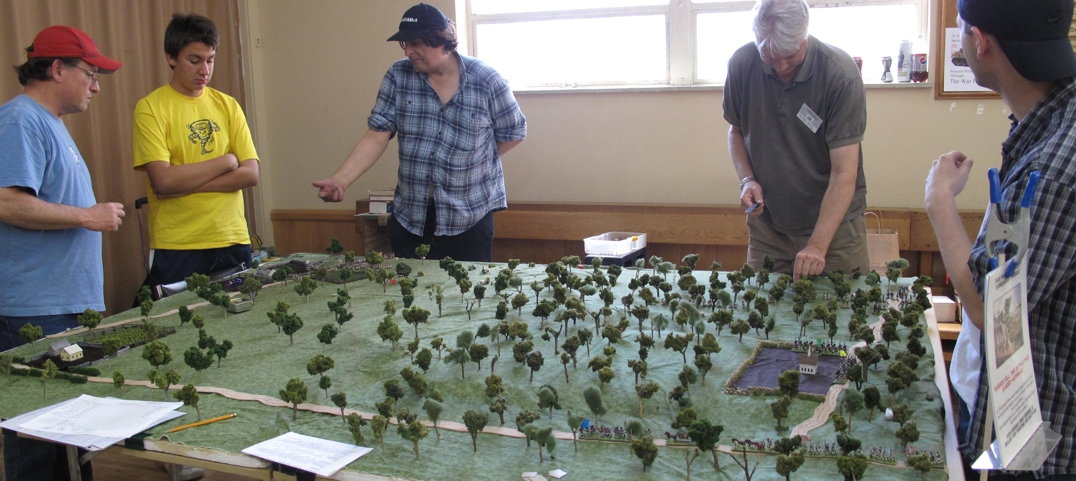
Steve Phenow long time HMGS/PSW member, past HMGS/PSW President, and Game Master running one of his popular American civil War games using his “Mr Lincolns War” rules. I believe next to him is the “War Gamer Rabbit” Michael Verity.
Another of northern LA’s gaming groups that I have been a part of the “Bengal Club” another great group of guys her represented by Jerry Kegley on the left and Dan Munsion on the right. The nice lady in the middle was someones girlfriend who just came and fell in to helping at the kitchen!
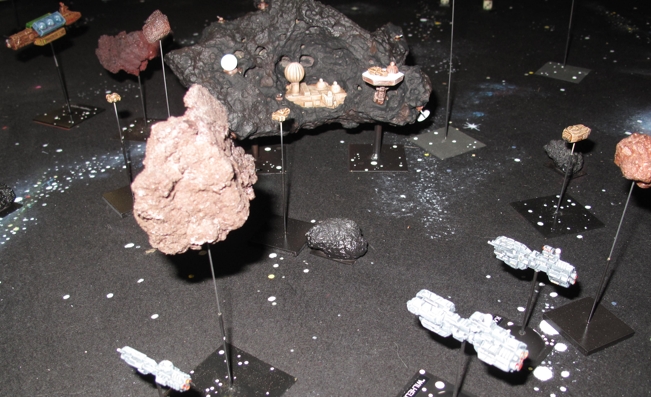
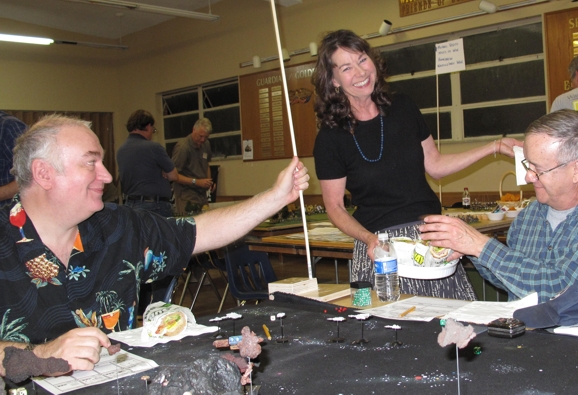
Jerry and Dan played in a Full Thrust game, one of the games I ran (Bill Witthans) its a fun game not to complicated but still plenty of depth. This was an assault/defense of an asteroid mining complex. The base was built in a strange rock I had kicking around for 20 years! It was at my parents house in their garden, my mom thought it was a meteor! It then went wih me years later into my saltwater aquarium, then into my garden, and now is piece of wargaming terrain! I actually think its a piece of lava….if it could only talk!
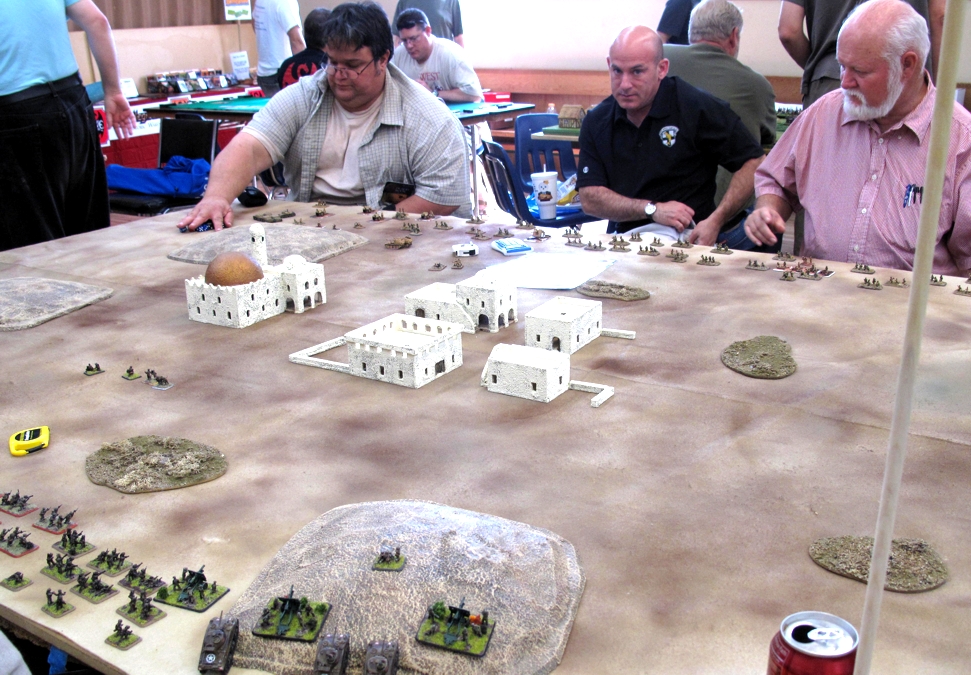
Rick Abbo (Dog of War), Adam Hammer, and Skip Gardella in a 28mm colonial battle.
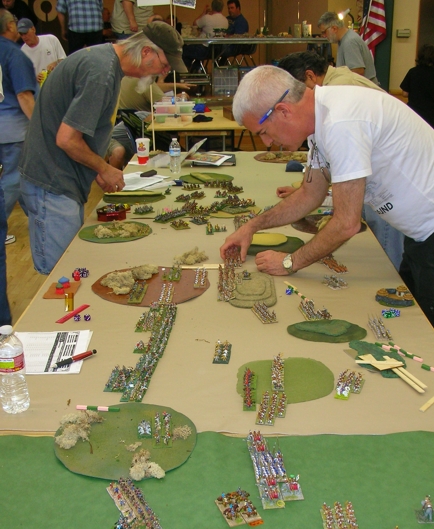
Old gamers never die the just get permanent bends in their back from leaning over to many tables!
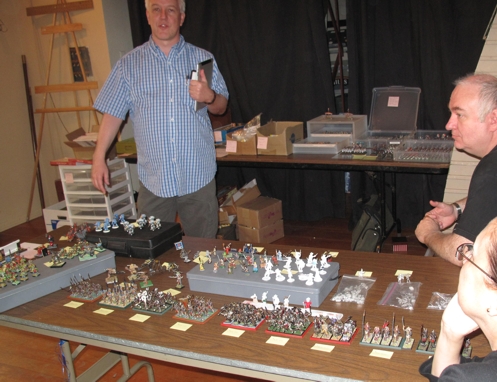
Two more members of the Bengal Club, Doug K and Jerry K around the vendors tables. The white and clear set of drawers to the left of Doug now sits under the table at my house!
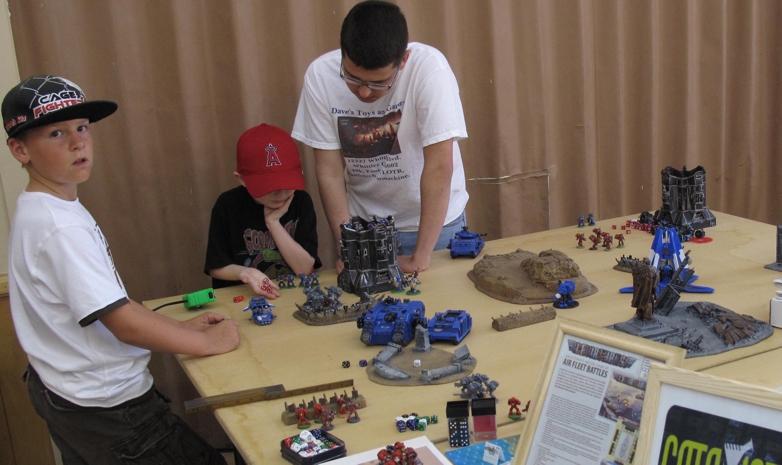
Future wargamers of America! I may be wrong but I think that is a young Clark Dandridge in the Red ball cap!
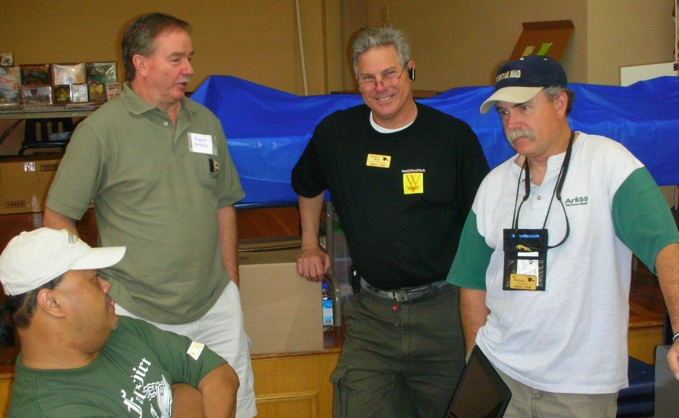
Jose Mendiola, Robert Boyens, Harmon Ward, and I, in happier times!

Good days!
Corona Virus UPDATE!!!

Well ok, it’s really just an update with more stuff I’ve found while going through all the tens of thousands of pictures and videos taken of games and gamers over the years. So I though you all my get a kick out of seeing Clark (Dave’s son) who is now 15! back in his early years once again trashing us old hands! This is at a local gaming night that was down in the San Fernando Valley around 2012-13?. When I was President of HMGS/PSW we were promoting miniatures games by going to different venues and putting on simple games like this to introduce folks to the hobby and get new members. In the game are Dogs of War members Dave D, his son Clark, and Jeff MacArthur. The gentleman in the white shirt whose name I cant remember was the game nights organizer, great guy, and part owner of the Game Ogre at the time.
I love Clark’s move where he cant find his action card spins around, down, back up, over the table, and under the arm of the other player to lay it down! Way to play Clark!
The bright side of “sheltering at home”

Given what’s going on in the world for almost all of us our day to day lives have changed. I know for me I have had a few weeks off (paid thankfully!) and the company now has me working at home. This “sheltering at home” policy has created some problems but also some opportunities. The opportunities are because of the extra time I have at home, no commute, no trips here and there, just more time, time to do some of the things that just always got put off.

One of those things was to spend a bit more time on my “poor” website! I say poor because I just never finished transferring and rebuilding from the “old site”, just how unfinished it was becoming apparent to me after going through a saved version of the old site and seeing how much was missing on the new one.

The old site had been built in the old style of separate pages and areas unlike the new “blogger” style of just doing post after post and using “tags” and “categories” to sort the articles based on user searches. It does make the transferring of old pages a bit difficult since you can build the page but no one will see them unless the happen to poke around your site. Nowadays blogs let subscriber’s know via email or some type of messaging when new content goes up. I wanted to keep most of these old pages as “pages” since some of them are quite long and a bit much for a post. So, what I have decided to do is move them over as a “page” but then do a small post “announcing” the “new” or really transferred, updated page with a link to it. Here is the first of those, enjoy!

Prussian Airship Project

WWII Train Track “How too”

Several of you have asked how I did the train tracks for my WWII 20mm set (featured in the last posts Battle report) and I remembered that I had taken pictures of the process done a few years ago intending to do a “workbench” article. So, digging deep I found them and wrote up a bit on what I did.

I use HO scale for my 20mm WWII games, yes it is just a bit small being 1/87 scale and 20mm being 1/72 but it is hardly noticeable and given how much is out there and how cheap you can pick it up for its a winner. I had done several games using the HO scale track before but it looked a bit phony just laying on top of the game map. Most train tracks are on a raised “roadbed” and I put my mind to trying to figure out how best to accomplish this. The raised roadbed would not only look better it would make the track stay in place better on the game table, as well as create the “berm” for troops to hunker down behind and tanks to go “hull down”

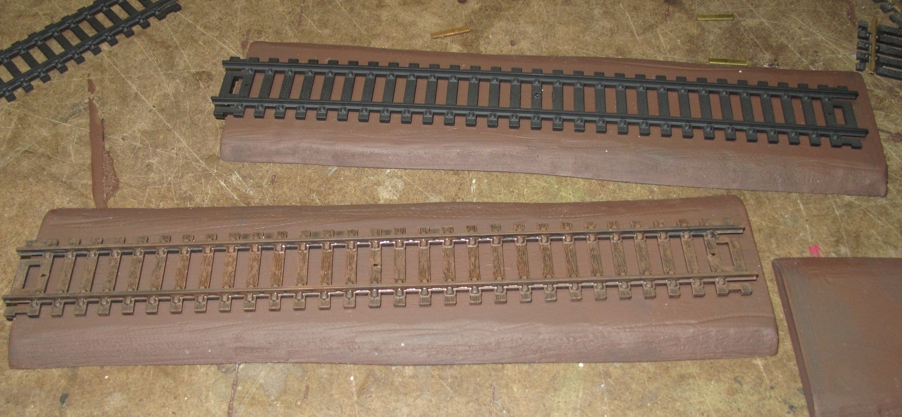
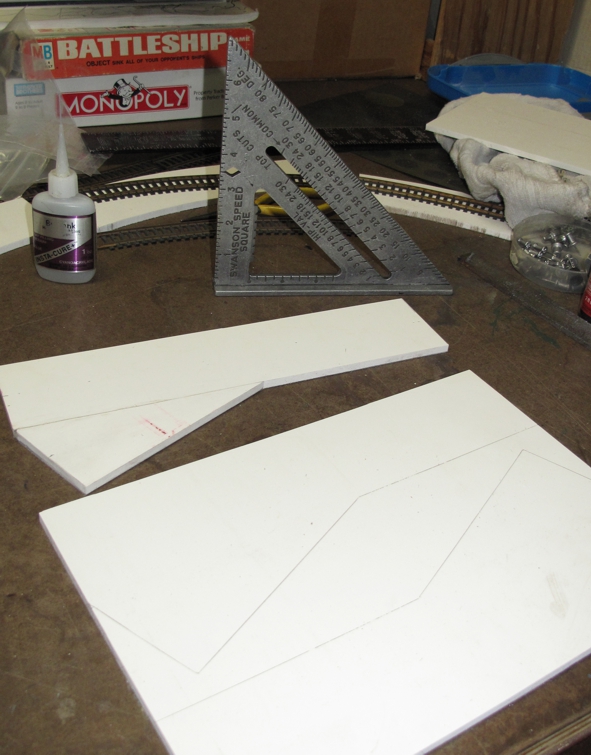
The first step was to determine the “roadbed” size for the different pieces of track I planed to use.

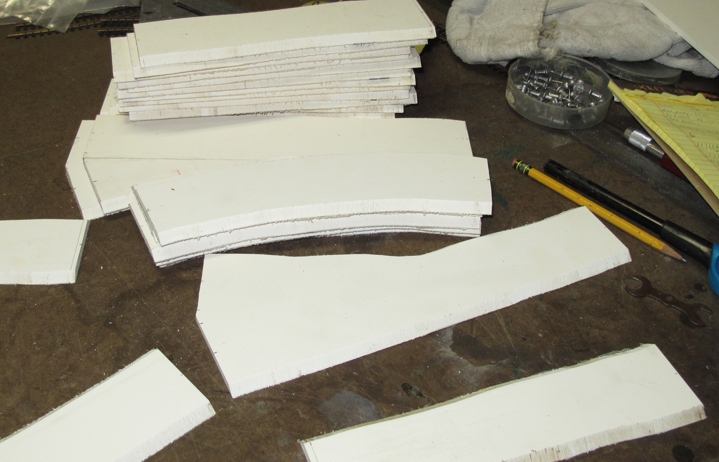
The roadbed is made from 3/16 plastic PVC sheet that you can pick up from plastic supply vendors (sign shops carry it many times). It comes in 4′ x 8′ sheets but most suppliers have some cut offs or will split a sheet for you. It’s a very handy material for all sorts of wargaming projects.

After determining the different sizes I would need I made a master for each type and then traced enough outlines to the PVC

Care has to be taken at each step to make sure the “ends” all match size wise so the track is interchangeable from piece to piece and end to end. I then used a bandsaw to cut the “angle” on each side. If you do not have a bandsaw you can use a small hobby copping saw. When doing this “angle” I created irregular sides to make the pieces more natural looking. Just take care to make sure the ends remain uniform. The first saw cuts are made straight, the second pass the cut is made at an angle and irregularly.

All the basic roadbeds done.

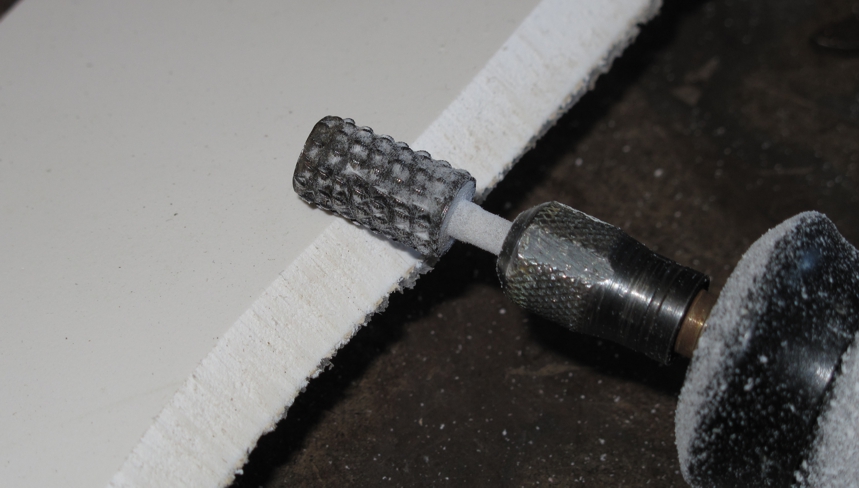
A Dremel rotary tool with a rough grinding tip followed by sandpaper smoothed out the sides again to make it look natural.

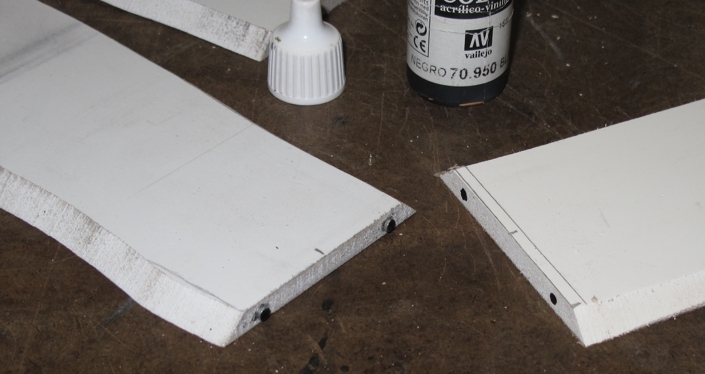
While not essential I went an extra step and used magnets on each end of a section so that they would stay together better. If you do this pay close attention to the polarization on your magnets.

I should mention that in the picture above the magnets are all FLUSH MOUNTED! The picture shows how I made sure the polarity was correct by using my “master” track, then sticking the next track pieces magnets to that “masters” magnets, applying a small amount of super glue and using the “master” track to push the other tracks magnets in to place. This assures a flush mount with no gap. By then sliding the track pieces sideways to separate them instead of just pulling them apart the glue can dry without bonding the track pieces together. When finished the magnets on both pieces are flush to the ends of the track.

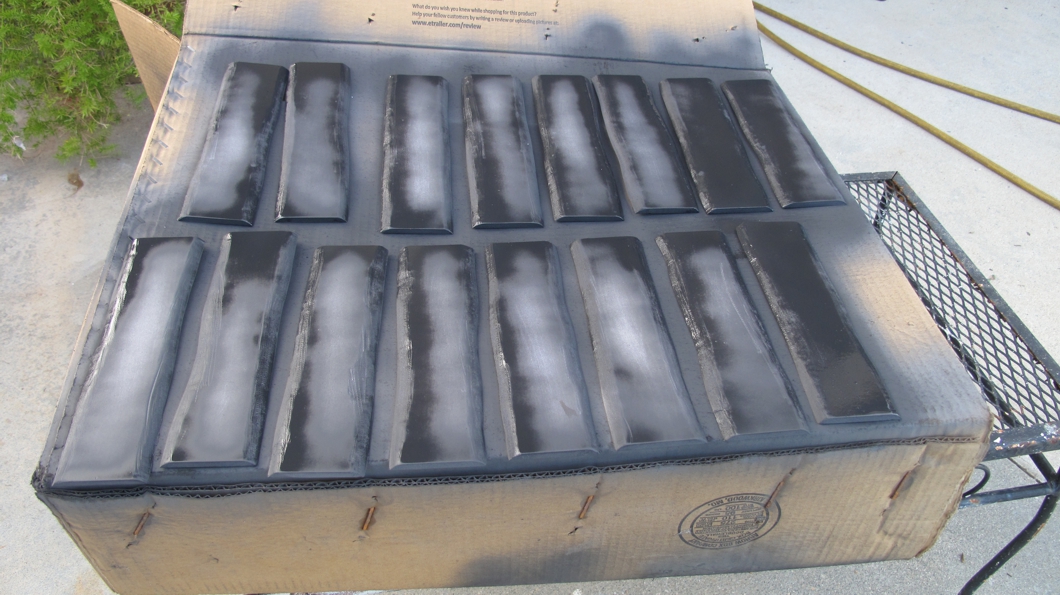
All the PVC was primed using a good automotive primer. I use fast drying Krylon black primer.

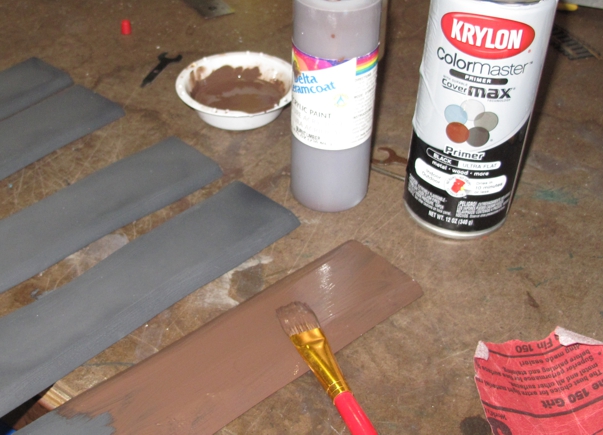
Cheap brown poster paint did the trick for the earth color berm.

The tracks received the same treatment, Krylon primer, then brown poster on the tracks as well.

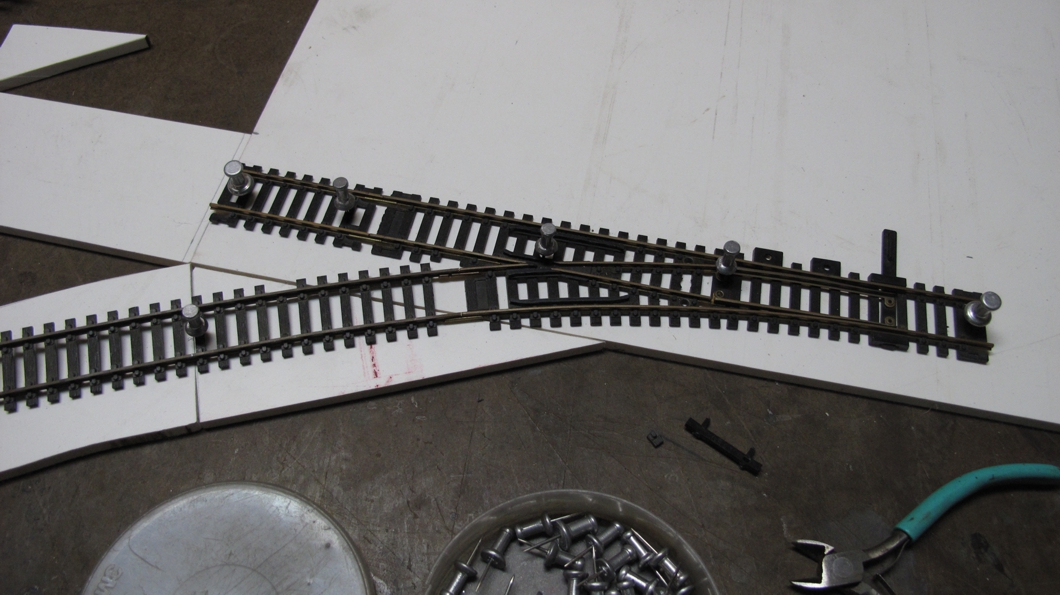
The next step is to mount the tracks to the roadbed. Take your time and get the track EXACTLY centered so no matter what combination you do they line up! Do one track as the master and then you will line every other track to match that one.

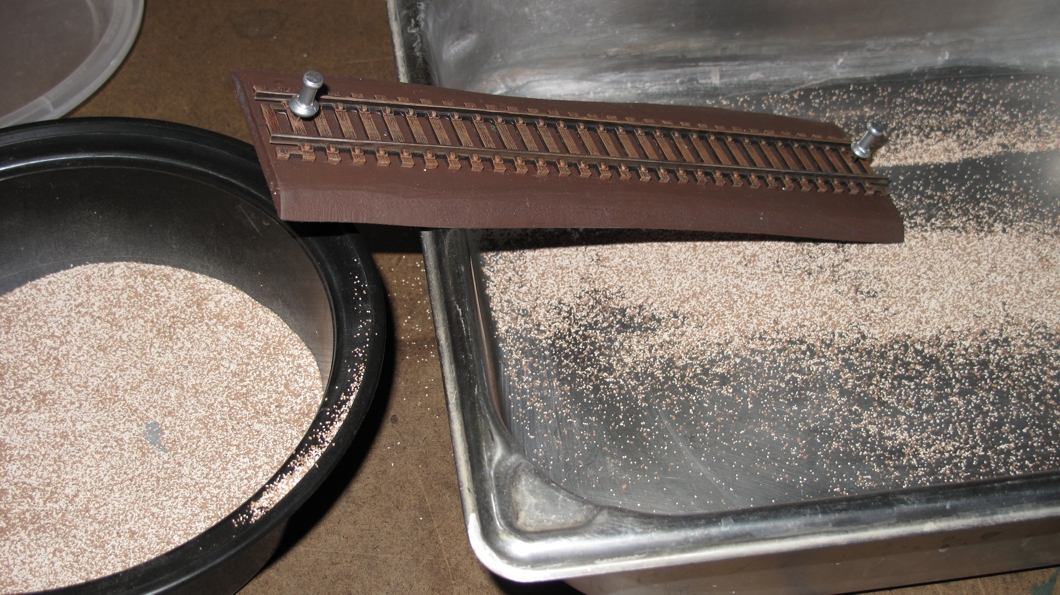
Once I had the “master track” set and pinned in place I glued the track down with Super Glue (not cheap stuff hobby quality) then carefully painted white glue in between the tracks and sprinkled rock “ballast” in and around.

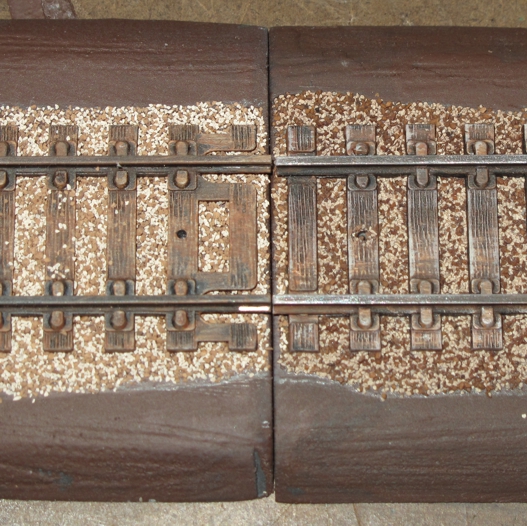
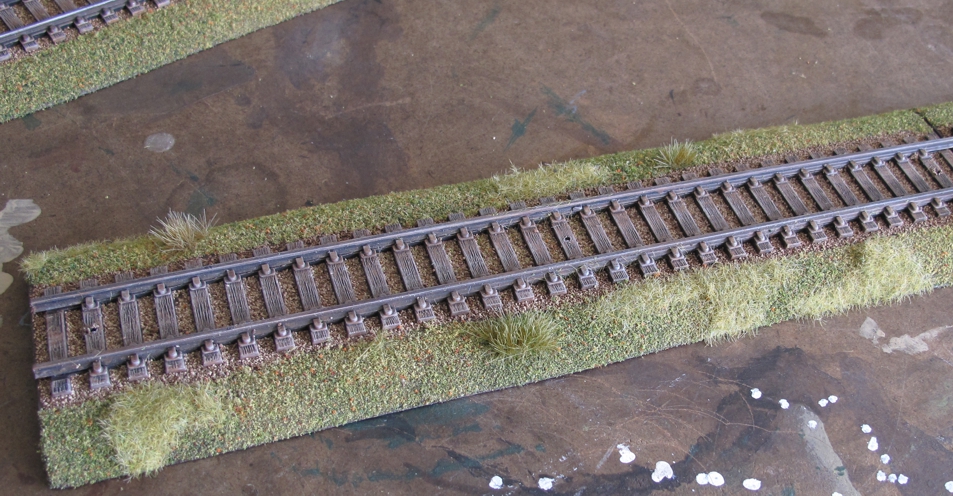
When done right all your tracks should line up no matter the piece or order the are laid out in. The track on the left has only the black primer coat and a thin coat of cheap brown to give the wood, iron and rust effect. The track on the right has been finish painted. Wood, bare steel, and rust highlights make it look real!

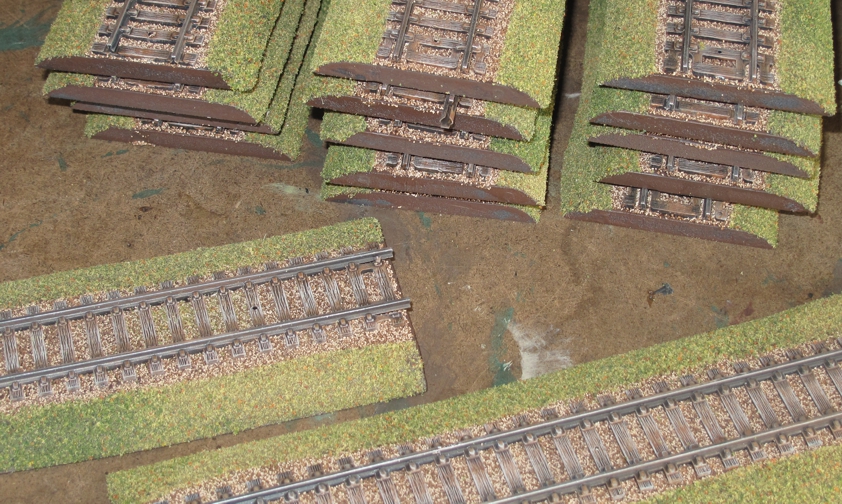
Green flocking, the same shades that I have done my game mats with is added to help blend in the roadbed. Bushes, brambles and tufts were the used to break up the sameness and again make it all look more natural and realistic.

The finished product! I was pleasantly surprised at how good they came out and how well they work in games.

Next project is to do just a bit more track, 1/2 sections and end sections with bumper stops. I also want to do a few bombed out and destroyed sections. Then onto repainting the train engines and rolling stock to make it look more WWII period European. If you enjoyed the article please leave a comment!