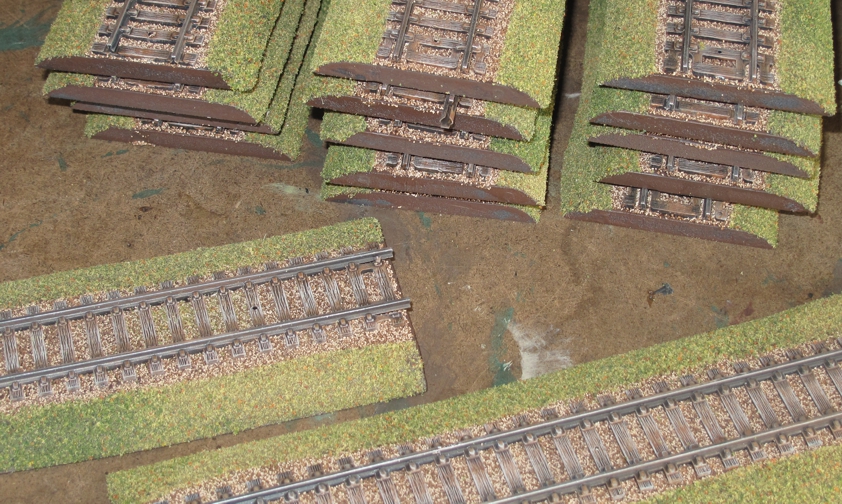
Several of you have asked how I did the train tracks for my WWII 20mm set (featured in the last posts Battle report) and I remembered that I had taken pictures of the process done a few years ago intending to do a “workbench” article. So, digging deep I found them and wrote up a bit on what I did.
I use HO scale for my 20mm WWII games, yes it is just a bit small being 1/87 scale and 20mm being 1/72 but it is hardly noticeable and given how much is out there and how cheap you can pick it up for its a winner. I had done several games using the HO scale track before but it looked a bit phony just laying on top of the game map. Most train tracks are on a raised “roadbed” and I put my mind to trying to figure out how best to accomplish this. The raised roadbed would not only look better it would make the track stay in place better on the game table, as well as create the “berm” for troops to hunker down behind and tanks to go “hull down”
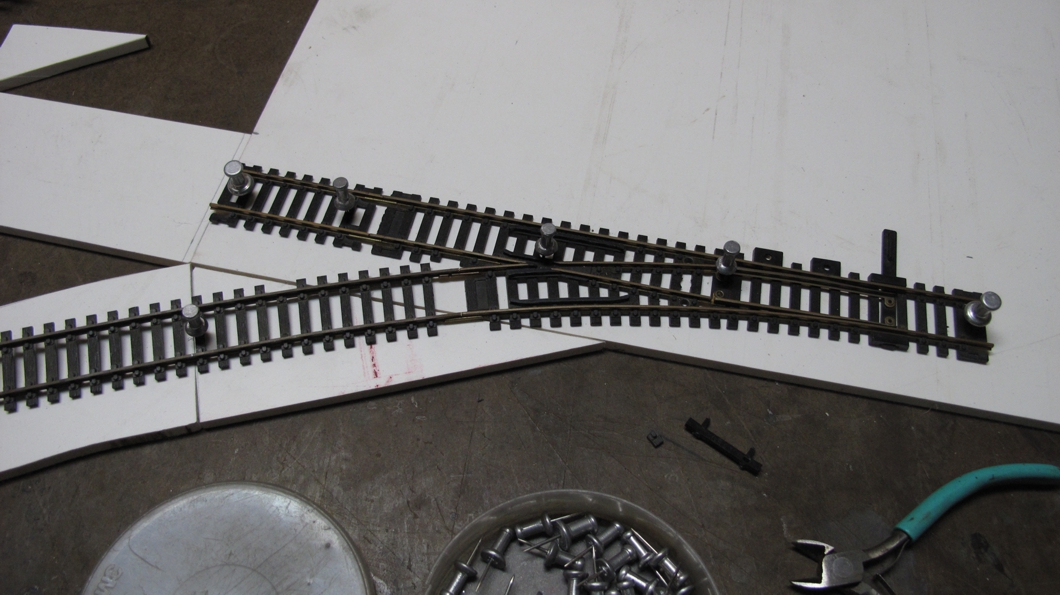
The first step was to determine the “roadbed” size for the different pieces of track I planed to use.
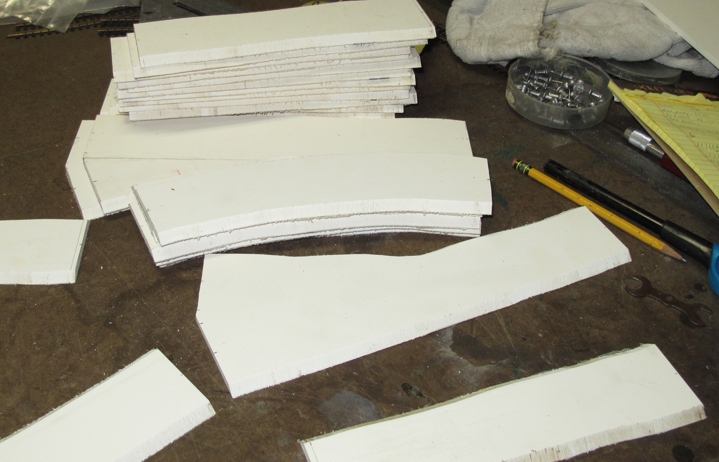
The roadbed is made from 3/16 plastic PVC sheet that you can pick up from plastic supply vendors (sign shops carry it many times). It comes in 4′ x 8′ sheets but most suppliers have some cut offs or will split a sheet for you. It’s a very handy material for all sorts of wargaming projects.
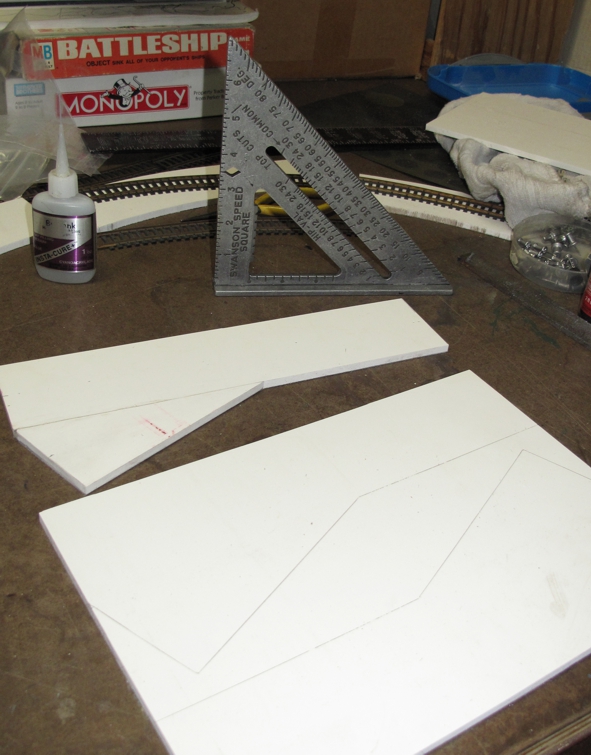
After determining the different sizes I would need I made a master for each type and then traced enough outlines to the PVC
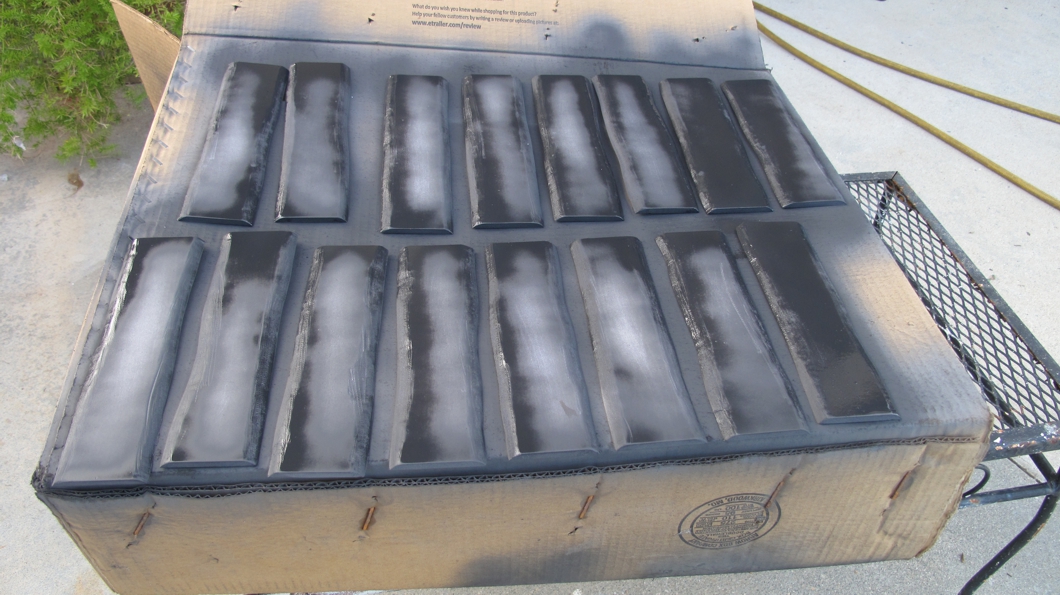
Care has to be taken at each step to make sure the “ends” all match size wise so the track is interchangeable from piece to piece and end to end. I then used a bandsaw to cut the “angle” on each side. If you do not have a bandsaw you can use a small hobby copping saw. When doing this “angle” I created irregular sides to make the pieces more natural looking. Just take care to make sure the ends remain uniform. The first saw cuts are made straight, the second pass the cut is made at an angle and irregularly.
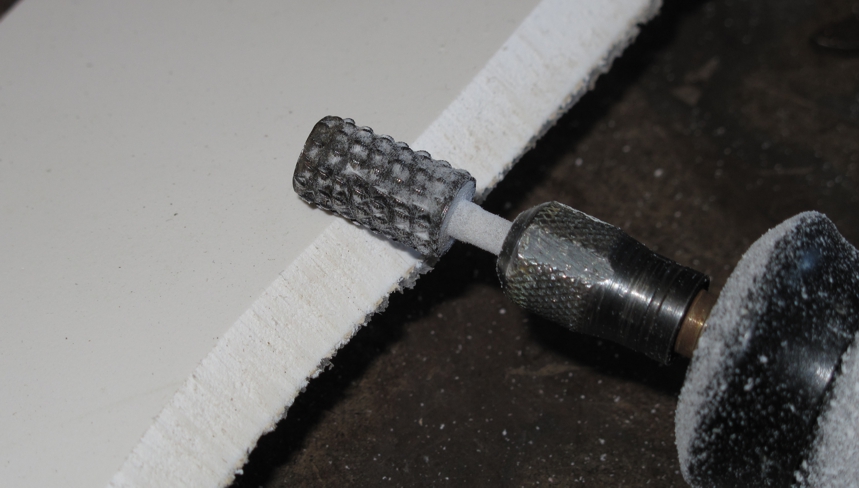
A Dremel rotary tool with a rough grinding tip followed by sandpaper smoothed out the sides again to make it look natural.
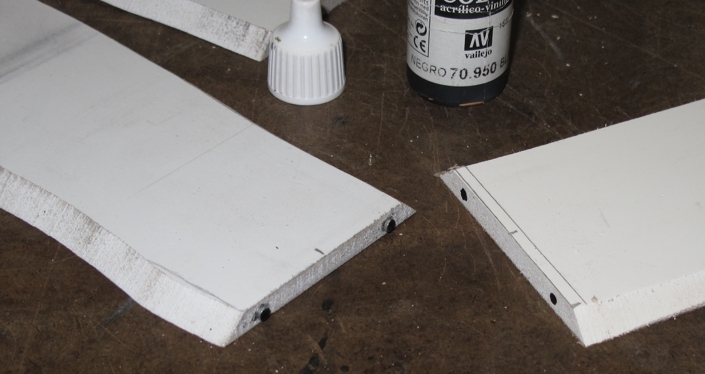
While not essential I went an extra step and used magnets on each end of a section so that they would stay together better. If you do this pay close attention to the polarization on your magnets.
I should mention that in the picture above the magnets are all FLUSH MOUNTED! The picture shows how I made sure the polarity was correct by using my “master” track, then sticking the next track pieces magnets to that “masters” magnets, applying a small amount of super glue and using the “master” track to push the other tracks magnets in to place. This assures a flush mount with no gap. By then sliding the track pieces sideways to separate them instead of just pulling them apart the glue can dry without bonding the track pieces together. When finished the magnets on both pieces are flush to the ends of the track.
The next step is to mount the tracks to the roadbed. Take your time and get the track EXACTLY centered so no matter what combination you do they line up! Do one track as the master and then you will line every other track to match that one.
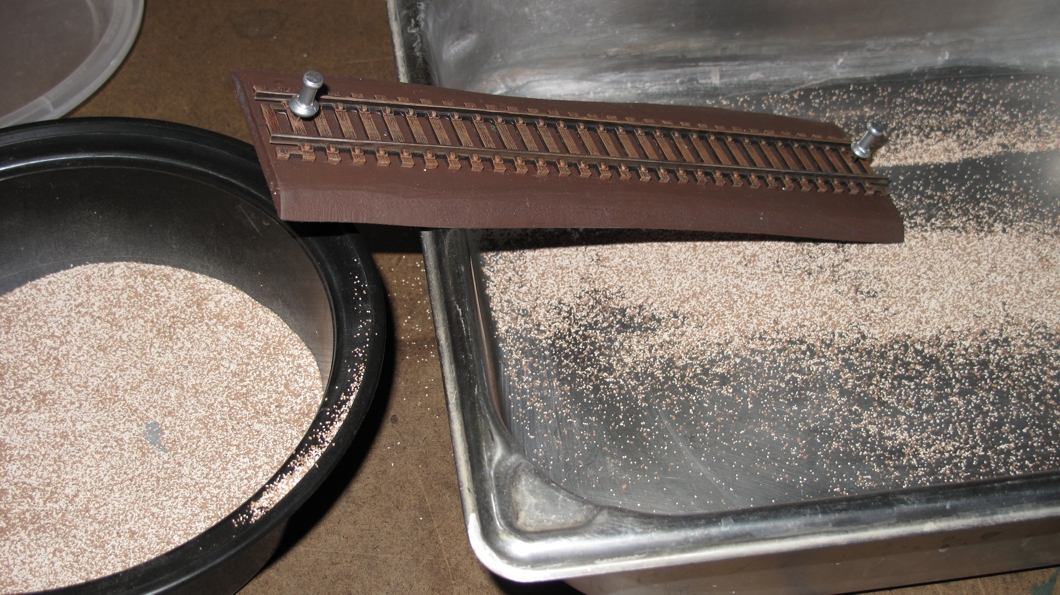
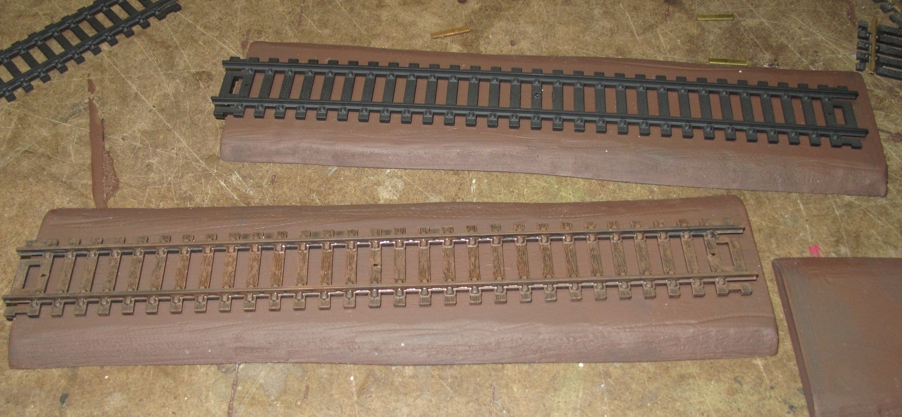
Once I had the “master track” set and pinned in place I glued the track down with Super Glue (not cheap stuff hobby quality) then carefully painted white glue in between the tracks and sprinkled rock “ballast” in and around.
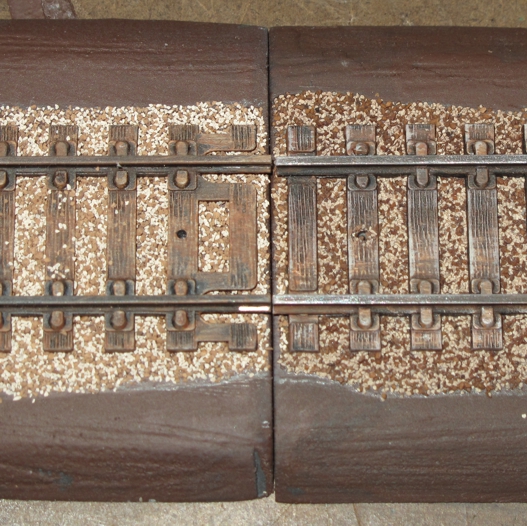
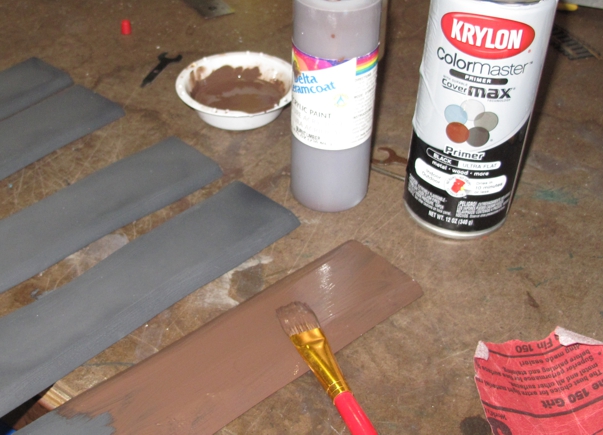
When done right all your tracks should line up no matter the piece or order the are laid out in. The track on the left has only the black primer coat and a thin coat of cheap brown to give the wood, iron and rust effect. The track on the right has been finish painted. Wood, bare steel, and rust highlights make it look real!
Green flocking, the same shades that I have done my game mats with is added to help blend in the roadbed. Bushes, brambles and tufts were the used to break up the sameness and again make it all look more natural and realistic.
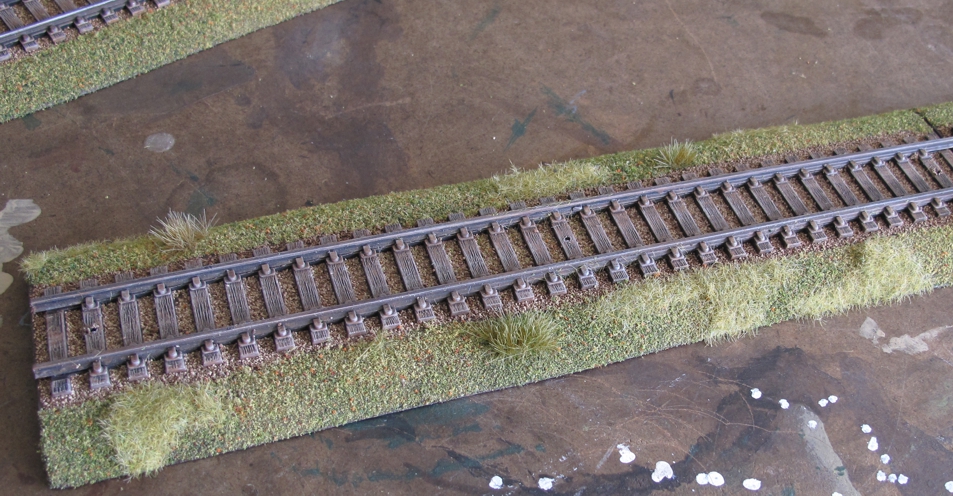
The finished product! I was pleasantly surprised at how good they came out and how well they work in games.
Next project is to do just a bit more track, 1/2 sections and end sections with bumper stops. I also want to do a few bombed out and destroyed sections. Then onto repainting the train engines and rolling stock to make it look more WWII period European. If you enjoyed the article please leave a comment!

