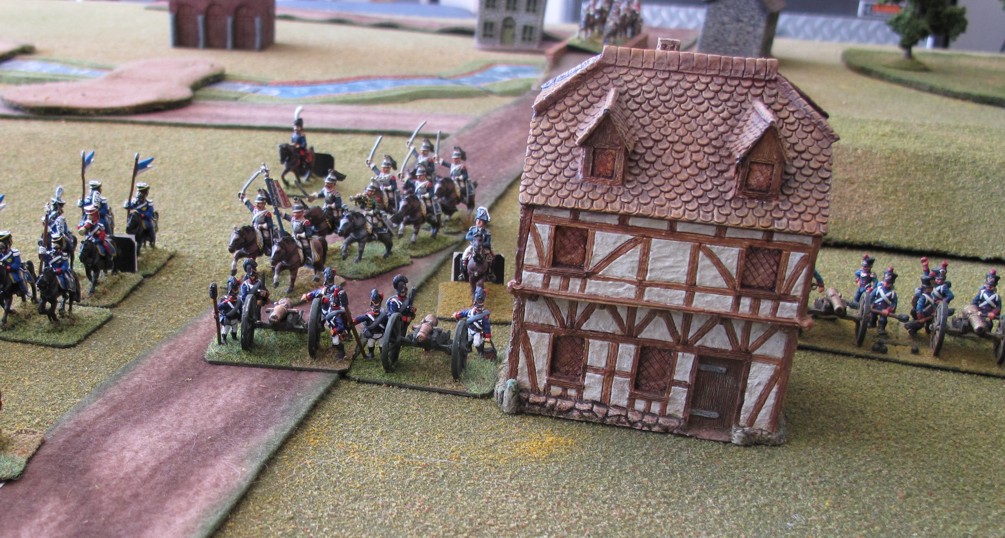
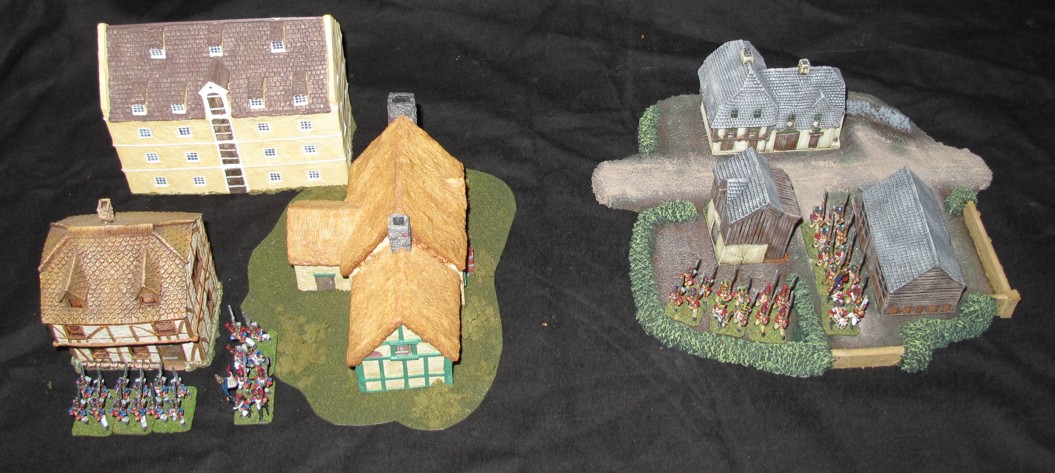
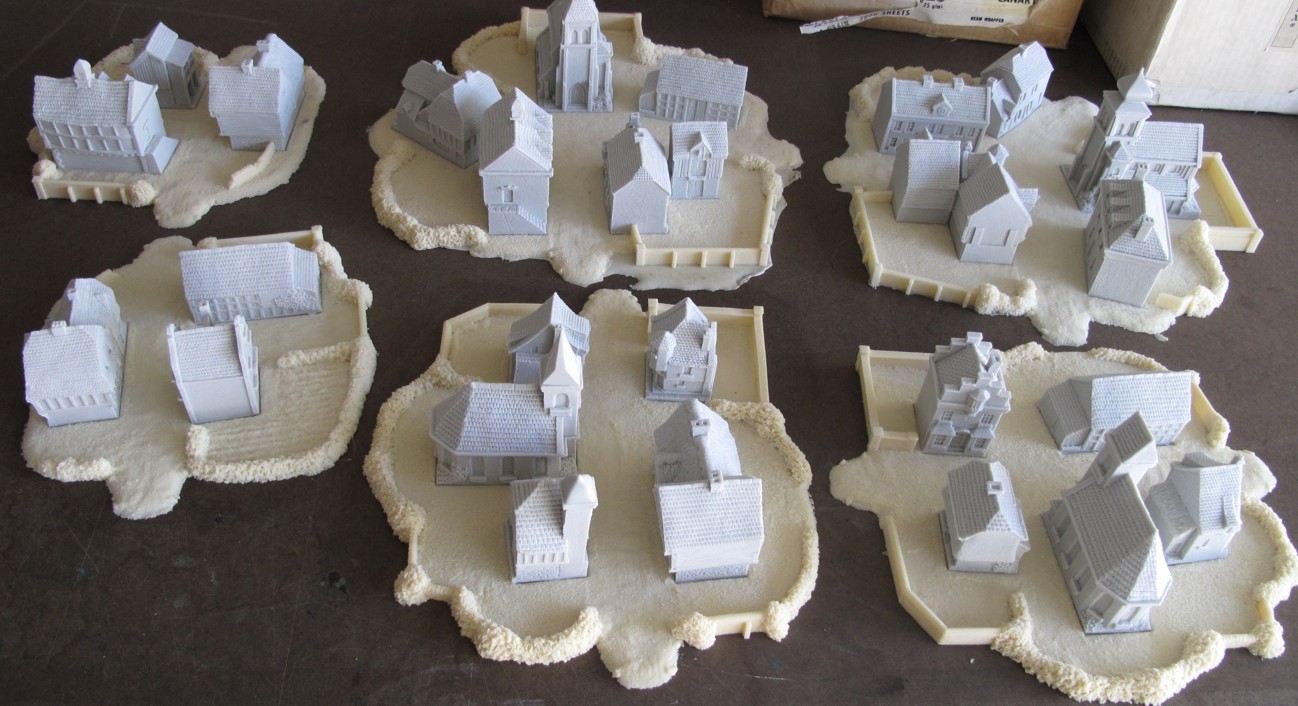
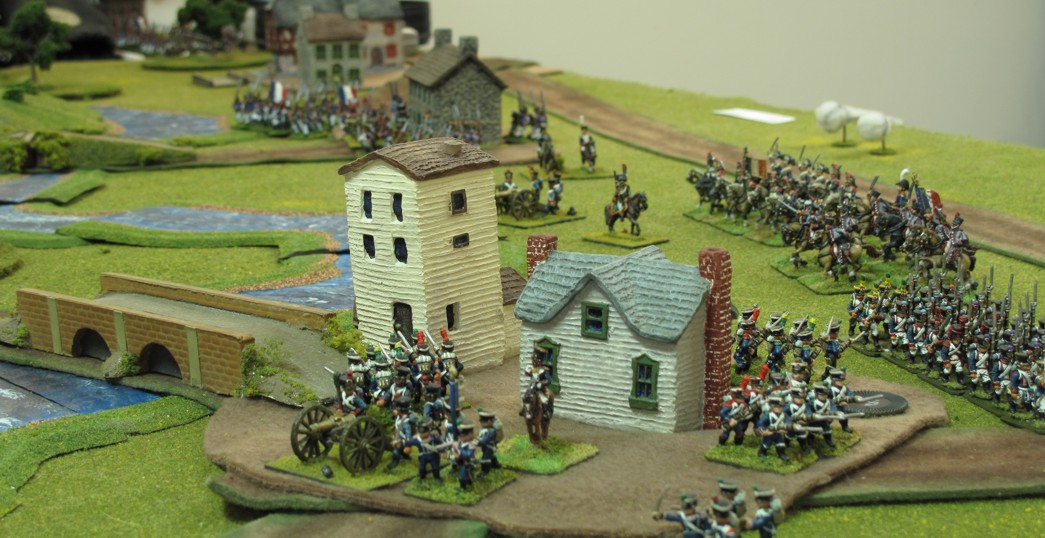
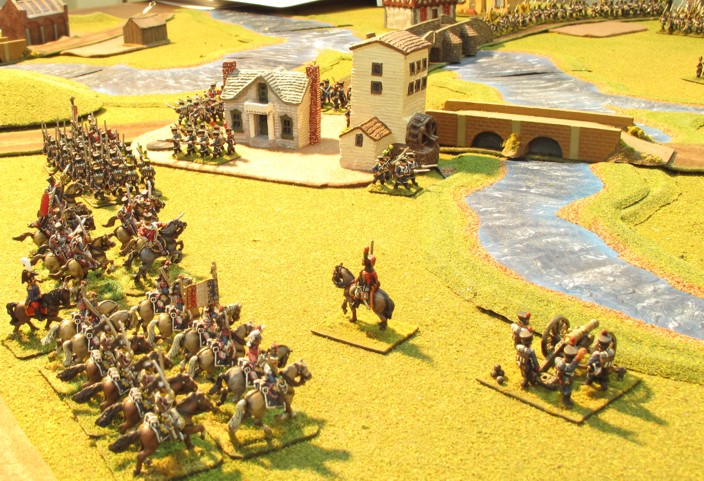
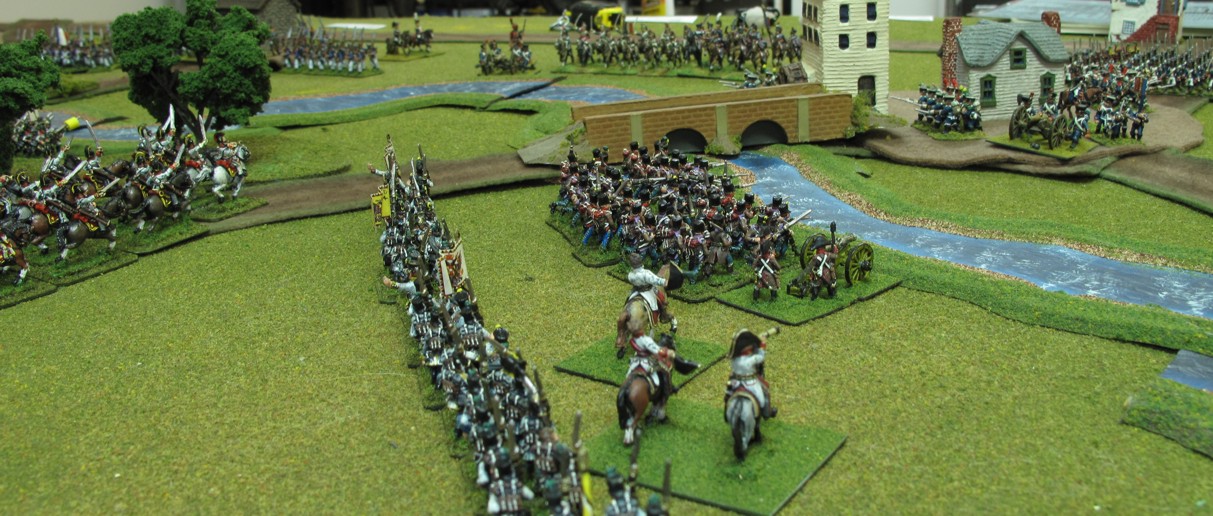
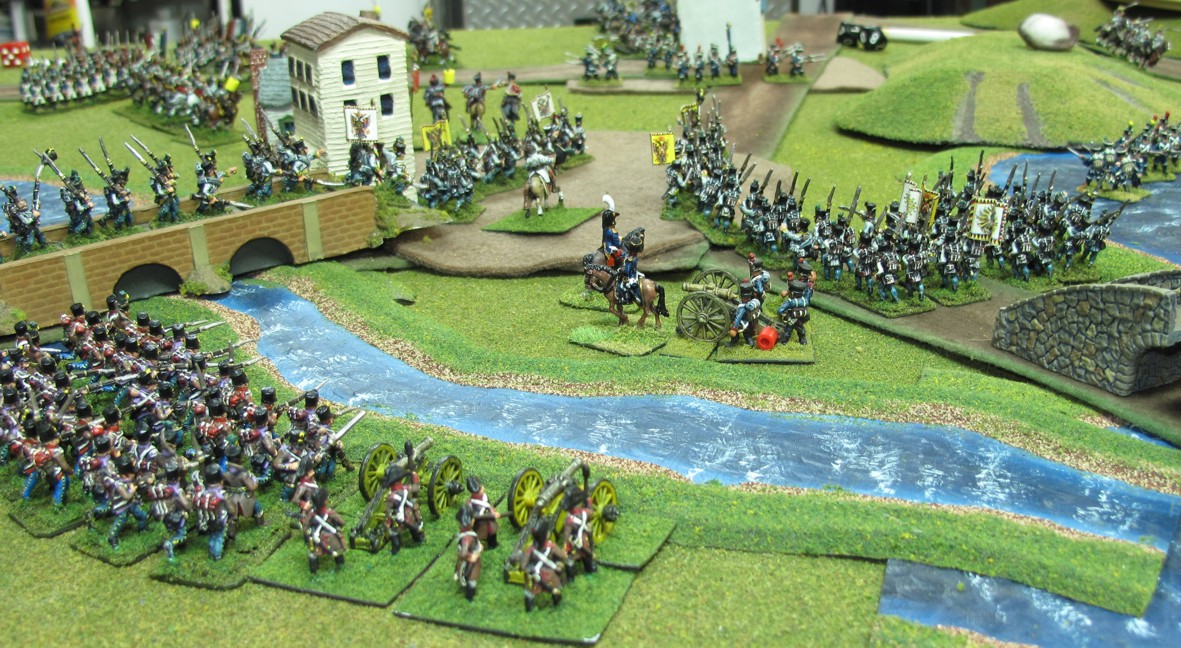
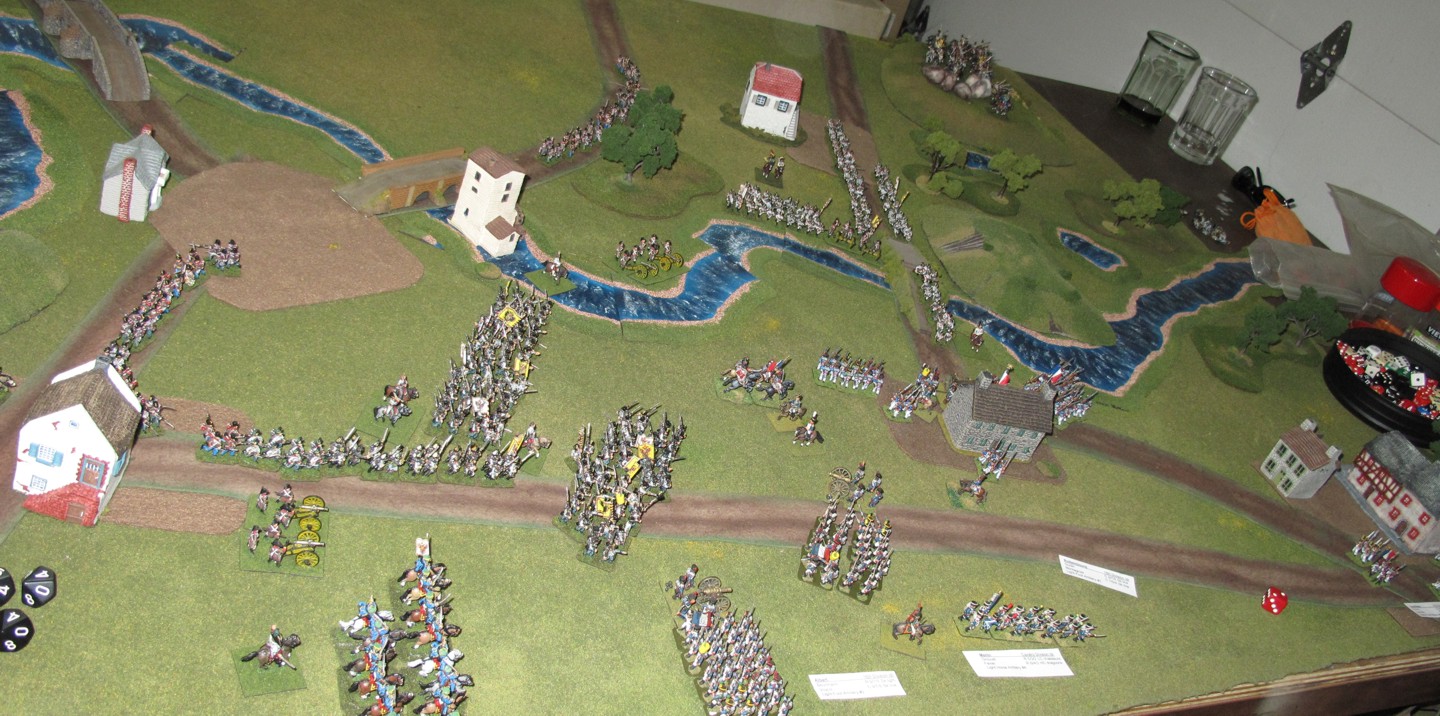
I have written a few articles on the TOTAL BATTLE miniatures buildings and how much I liked them. Well I still like them and everyone who plays in my battles echos that along with my decision to go with 10mm buildings in 15mm games for a better look when representing towns and villages.
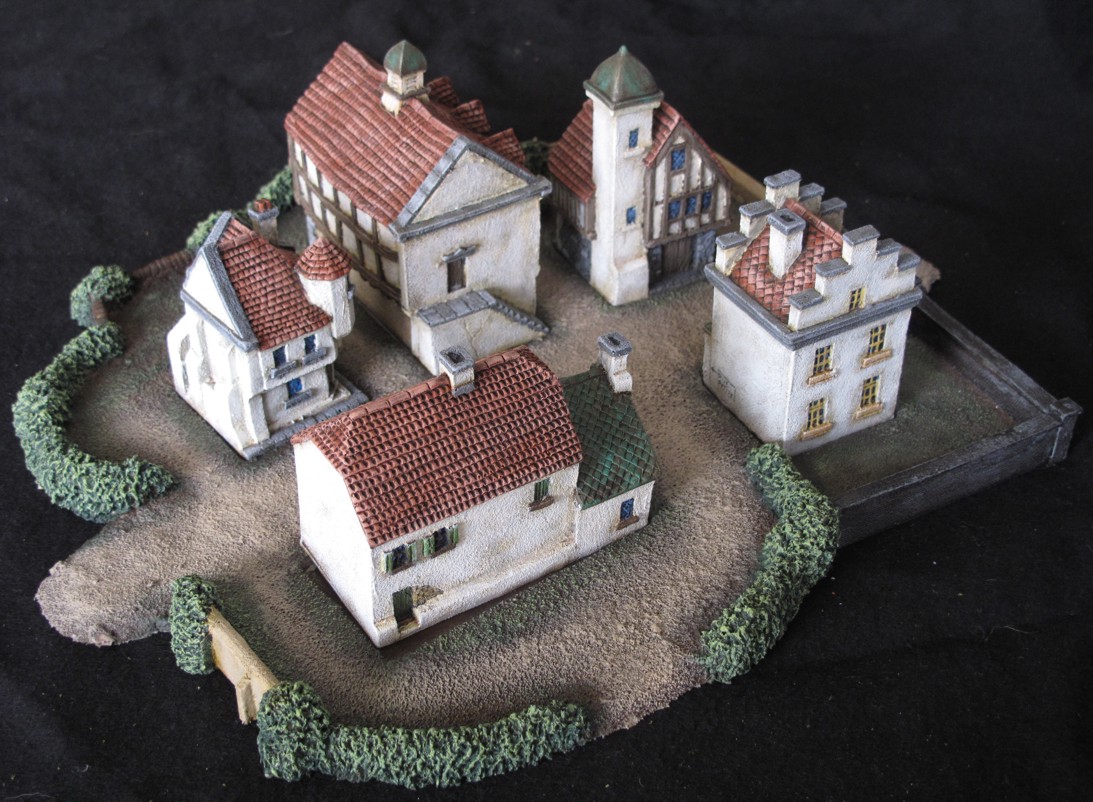
The slightly smaller 10mm buildings allow more buildings using the space that would only allow two or three 15mm buildings
Over the last year in between other projects I have been painting these buildings and occasionaly transporting them to games not at my place. I quickly realized that to prevent dammage to them I needed to come up with safe and easy way to transport them. For years I have made an effort to bring innovation to wargaming with miniatures, especially when transporting miniatures and terrain. I dare say some of the things that are common today in the miniatures world where developed by myself and a few others. Bold statement? Yes but when I started miniature gaming people were slapping 3-4 colors on mini’s, gluing them on some painted cardboard, and transporting them to games in old pizza boxes! Times have changed!
 So this article is about finding a way to store and transport all my lovely Total Battle miniatures buildings easily and with out damage! Recently I decided to change the way I store terrain at my place because overtime I found much of my terrain was getting dusty and dull looking even though it was stored in those multi level plastic storage drawers. The drawer system did a pretty good job but over time dust would still filter in especially since my gaming area shares the same space as my shop and terrain making area. The drawers were also not that convenient for transport. My career in the movie business had given me a lot of experience in storage and moving of equipment safely so I’m a bit of a stickler when it comes to this. I want a system that works quickly, easily, and most important does the job. I searched long and hard and finally settled on a plastic stacking box system from “the Really Useful Box” system. The system is readily obtainable, strong, and economically priced. In the US they can be found at Office depot and Office Max as well as tons of internet sellers, I’ll list the common sizes I use at the end of the article but the one used for my buildings box is the 17 liter box.
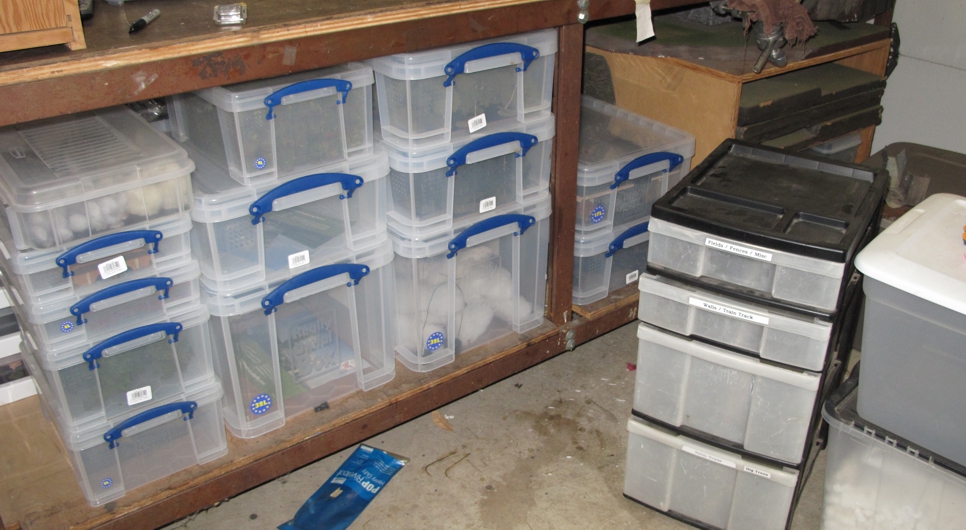
The beginning of the “new” system. Old drawer storage on right and new “Really Useful Box” system on left. Easy to see and grab what you need and the stuff stays clean!
Over the last year or so I have been replacing my “plastic drawer” system with the “Useful Box” system and had reached the point of finding a good way of storing my Total Battle buildings in one. I wanted to keep all the buildings in one box but I also did not want to use too big a box (length & width) so I settled on one that was smaller but deeper. This box would to hold most of the buildings in it on one level but required me to “create” a second shelf in the box for the balance of the buildings with a bit of room left over for a few other terrain items.
The next step was to figure out how to keep the buildings organized and secure in the box so to prevent damage as well as easily see that everything was there (useful when picking up after a convention/away game when your tired and may miss something. My first idea was to use some powerful Neodymium Magnets in the base of each mini and then line the box bottom and shelf with thin steel. This required drilling the base of a building and then gluing a magnet or two flush in the bottom. It worked ok but not perfect. If there was a jar or a lot of vibration to the box the buildings could shift and it would be a bit of work to modify all the buildings….I didn’t like it. Next idea was to go back to another tried and true method we use for camera gear and other delicate gear, foam cut to size. This too required some work but in the end was a better system and not that hard, it was the way I went.
I recommend getting a good piece of foam not the white or tan soft foam found in chairs and couches as that foam tends to age and deteriorate when not sealed up in furniture. Use the grey packing type foam, it’s stiffer, last longer, and cuts easier. You can pick up this foam at any foam supply cheap. I bought a 2’ x 6’ one inch thick piece for $12. This project would only use around 2-3 feet so plenty left for other projects! To cut the foam a RAZOR sharp tool will be needed, utility knife, xacto knife, or even the razor blades made for single sided cutting. I used all 3 types and found the simple razor blade to be the best. Blades will dull up and this project took three.
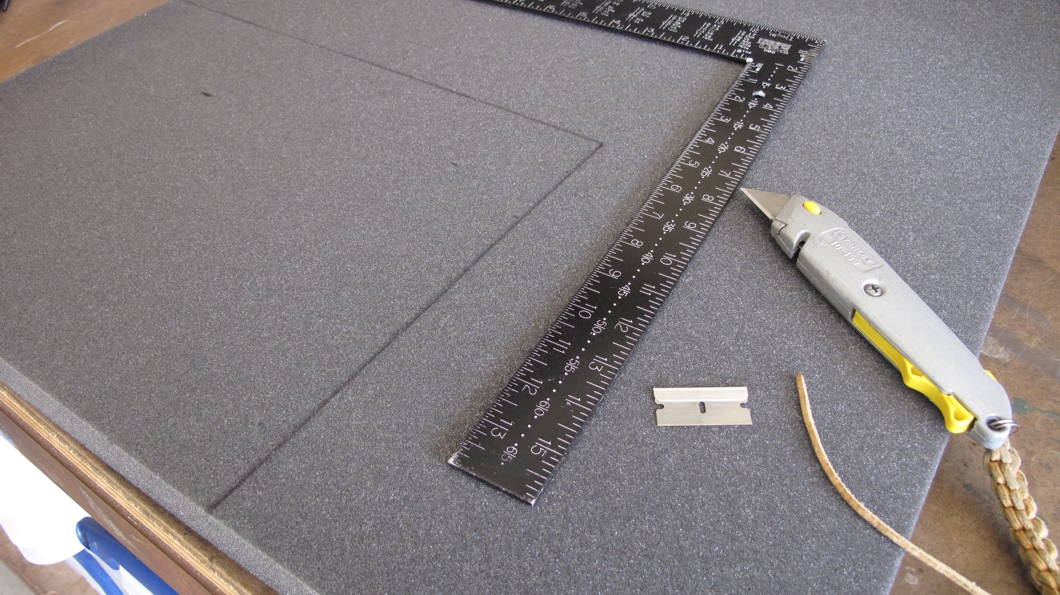
Measure the bottom of the box and cut a piece of foam to match. Make sure to get a tight fit. I cut a bit over size and then trim down. Next the buildings are laid out on it and using a fine tip permanent ink marker (this ink wont later rub off on buildings), one by one mark the buildings position on the foam. Turn on some music, take your time and cut out foam from where the buildings will sit. It’s important to make these cuts just right. Too tight and paint may rub off over time, to lose and your buildings will fall out. Take your time and watch your fingers.
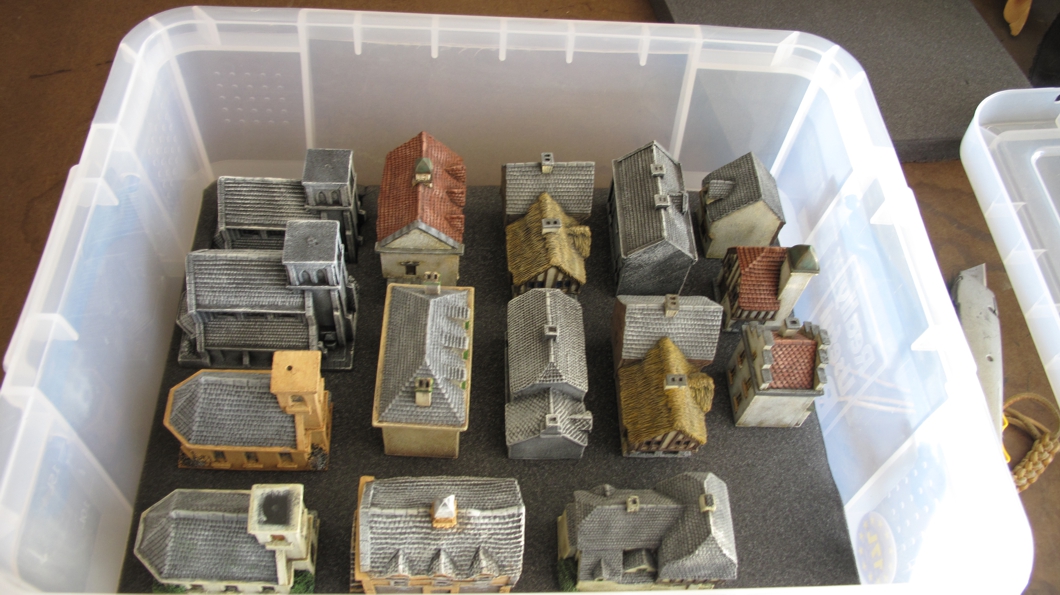
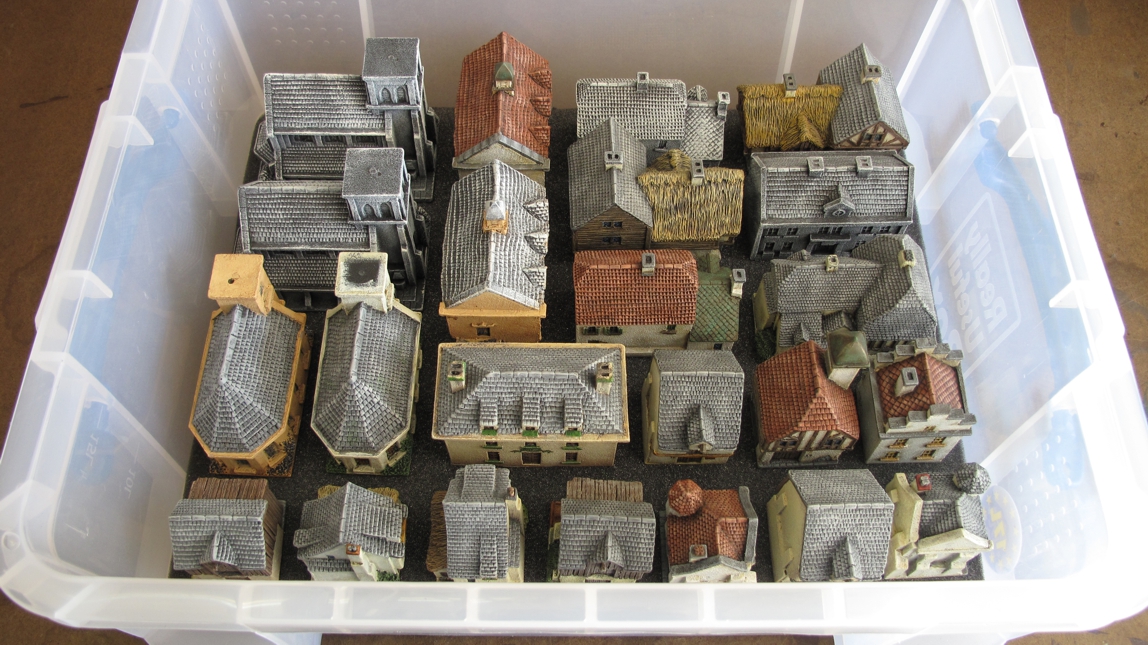 My first attempt at spacing was a bit to crowded and would have required the foam to be cut to thin and then lose needed strength so after a bit or rearranging the bottom layer looked like this.
Check your arrangement several times and when you are sure it works its time to mark the areas that will be cut out. Use a fine tip permanent ink sharpie for this if you have one, other markers may have cheap ink that wont really dry and rub off later on your buildings!
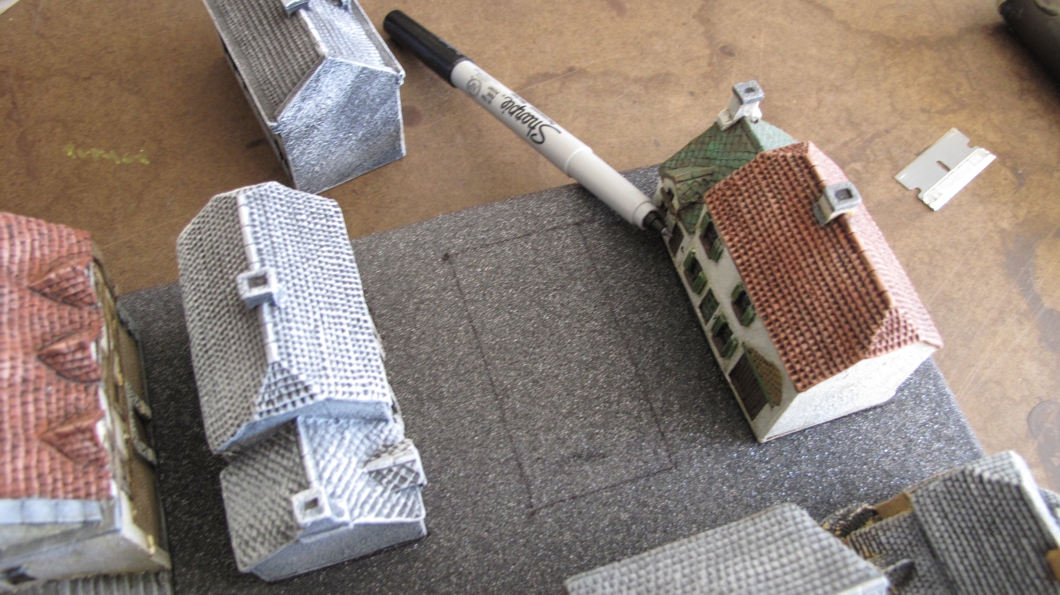 Cutting foam or anything else requires careful attention to what you’re doing! First to prevent injury to yourself and secondly to make sure you get the cuts right! Take your time! There is an old saying about cutting “measure twice cut once, measure once cut twice!” and its always possible to remove more material but once a cut is too big your in trouble. I did all this building cutting and fitting with a single sided razor and used 3-4 blades since even foam dulls the blades.
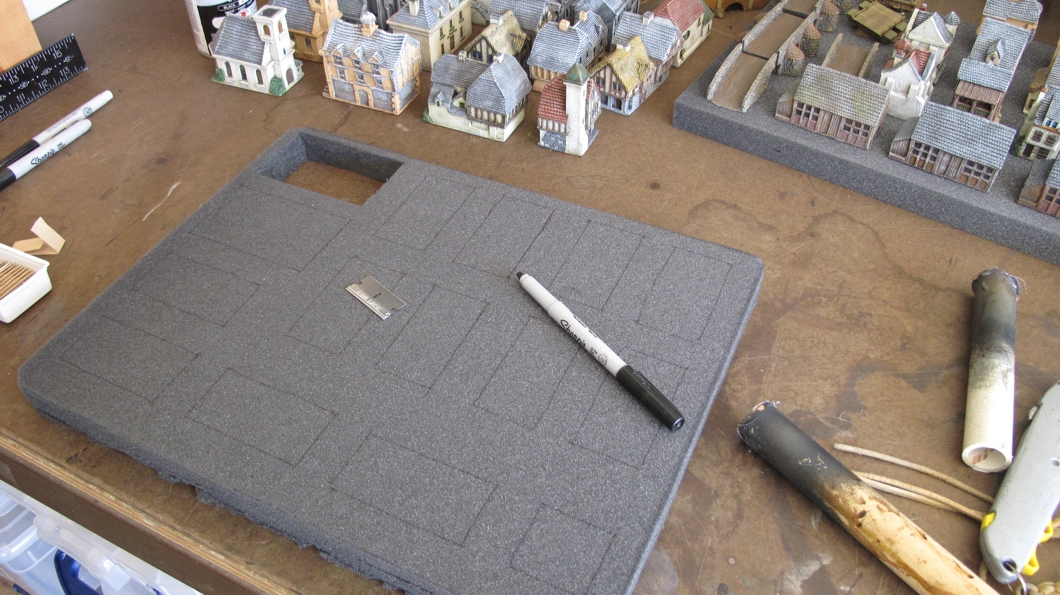 When cutting I made sure I cut slightly on the inside of the line ensuring a tight fit and remembering I could always take more off if I needed to. Switching to new blades after abut 5-6 buildings made sure the blade was always sharp enough to be able to cut by simply pushing straight down using a slight side to side motion.
As with most of my projects and articles at a certain point I get so wrapped up in it I start forgetting to take pictures! When I finished the bottom section and started work on the second level that was the case for this project.
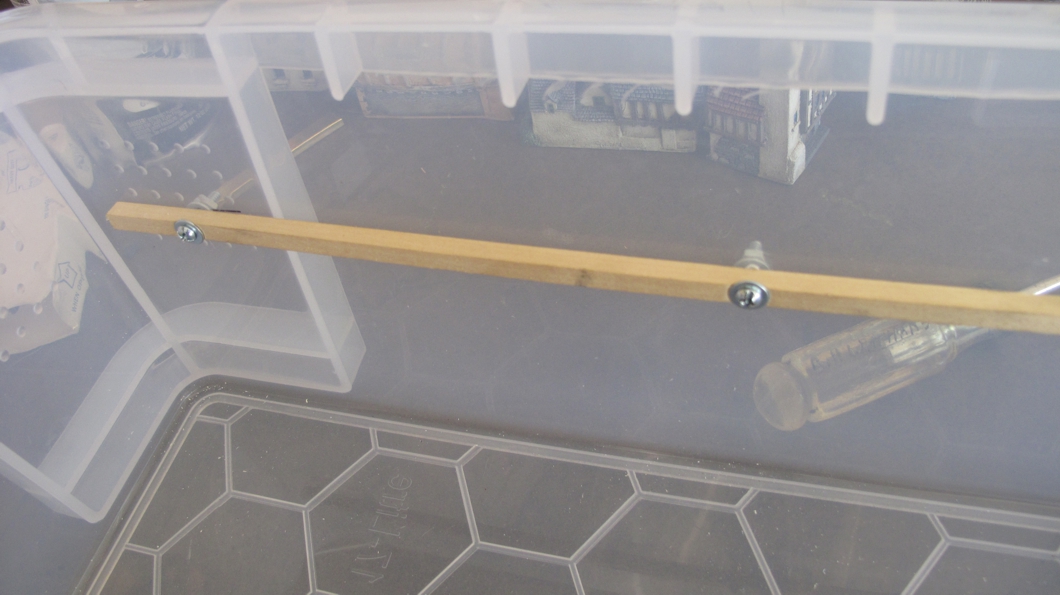 My top shelf will sit on these two wooden “runners” holding the top shelf just above the bottom buildings. For my project full length runners on each long side were strong enough to support the top shelf. Take care to make sure these are level and an equal distance off the box bottom on each side so the shelf sits correctly in the box.
The second level would be made of 1/8th inch plywood (luan) and sit JUST above the tops of the bottom level of buildings. The bottom level hold the biggest and tallest buildings, the top shelf the smaller buildings (height wise). Make sure you plan all this out at the beginning of the project!!! Be doubly sure that all the measurements and tolerances will work out!
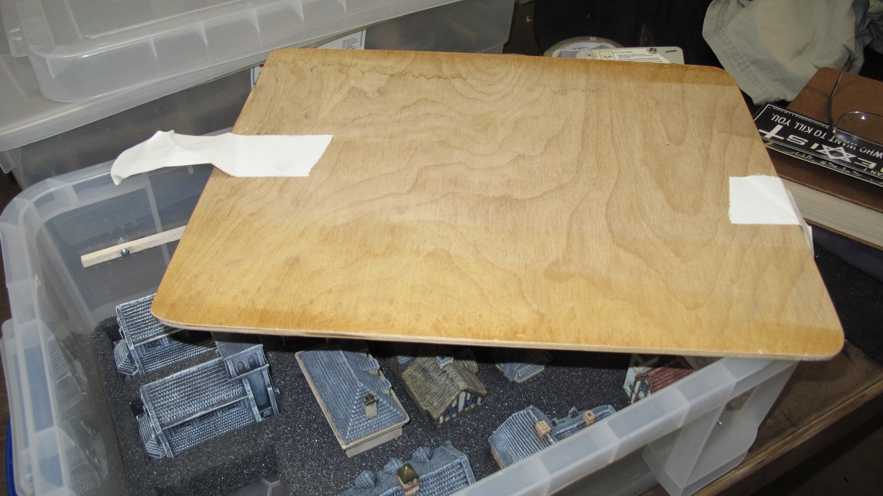 The top shelf being 1/8th inch is easy to cut using a small power or hand saw, again cut oversize and trim to fit. A second piece of foam is cut for it and the process of layout and cutting in the buildings happens just like the bottom shelf. I haven’t yet but I may use some spray contact cement (3M 77 spray) to bond the foam to the top shelf.
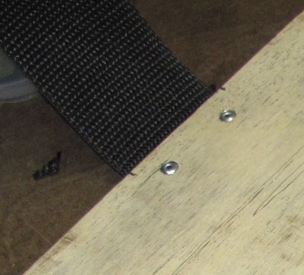
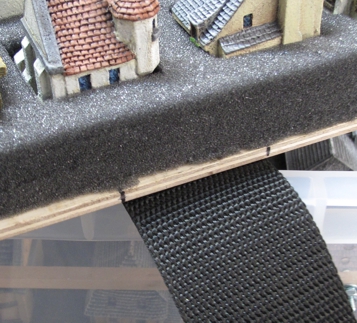
As a final step I put a couple of flexible “tabs” on each end of the top shelf so I could lift it out and get to the bottom section. I started with couple of temporary tape tabs to allow me to get the correct spacing and balance for the tabs. Later I used some 2 inch webbing material pop riveted in to create a strap for this purpose. Don’t complete this step until you have arranged and cut in your buildings since the weight may not be balanced meaning your straps may need to be off set so you get level lift out of the box! Find the balance and center of gravity and adjust the straps to match this ensuring a level lift. Pop Rivet guns are cheap and a really useful tool to have around the house! Holes are drilled in the shelf insert and the strap where the rivets will go. I used a hot wood burning pen (a small heated nail will do!) to burn and seal holes in web strapping and a lighter to melt and seal edges of strapping after cutting.
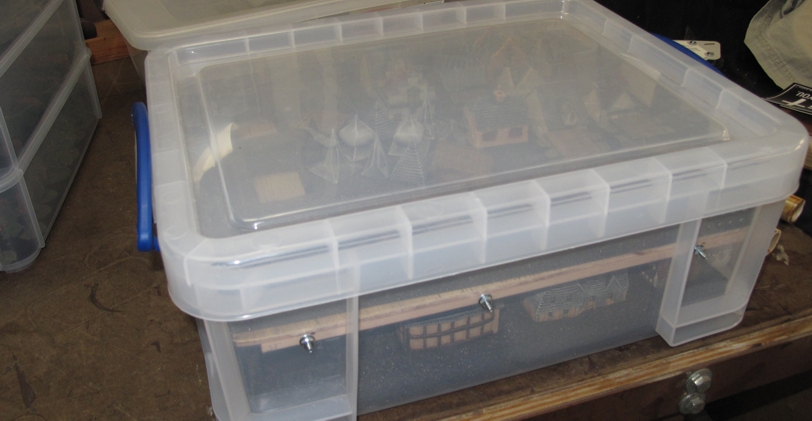
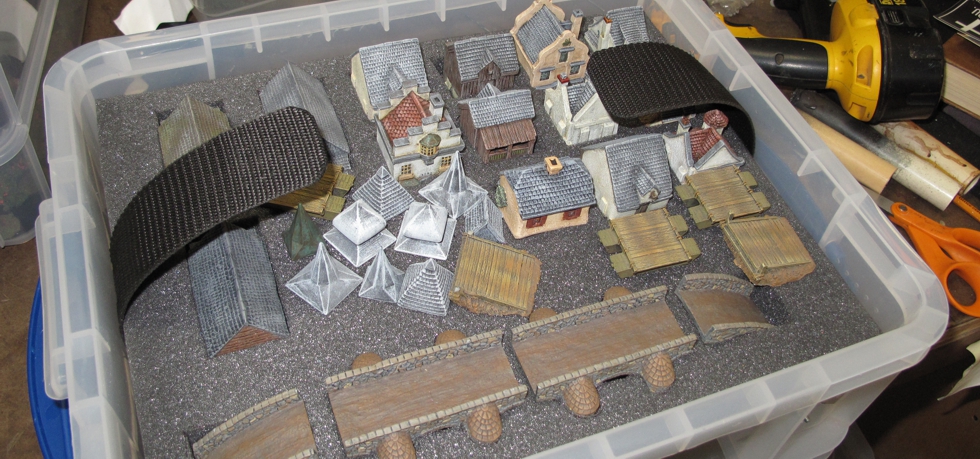
Finished box. You could drop this setup from several feet and have no damage to the buildings! the box may be damaged but the mini’s will not be.
All in all I think this project came out very nice and made my hauling these buildings down to a game easy and safe from any damage. It’s also going to do a much better job of keeping my terrain looking good for years to come!
The only fault I could find with these boxes is they do not give dimensions on the box except to list capacity in liters. Their website does give the dimensions as well as a picture that does a fair job of letting you see which ones match for stacking.
I’m currently using:
64 L, 33L (both stack) Big
32L, 17L (both stack) Medium the 17L was the size used for the building box.
9L, 4L (both stack) Small

