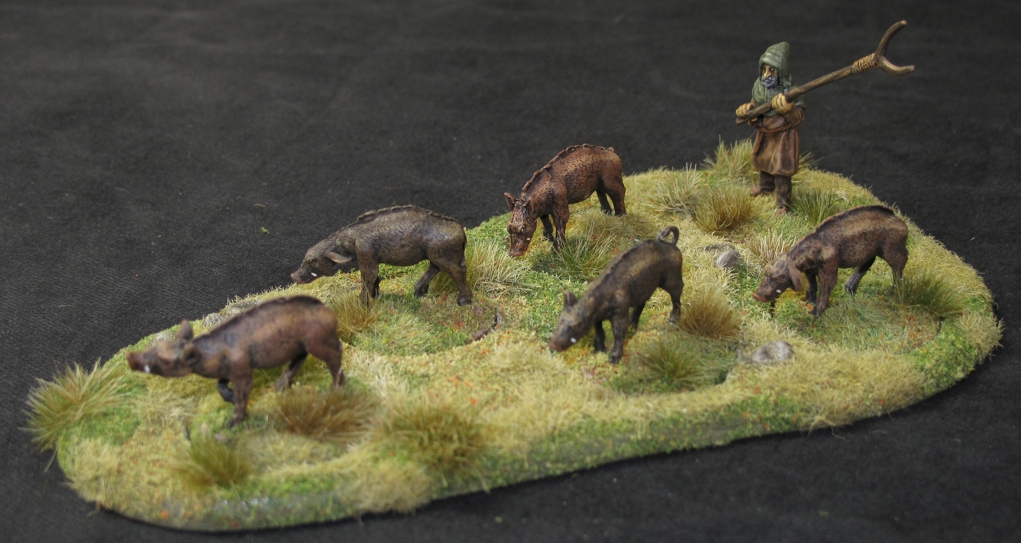
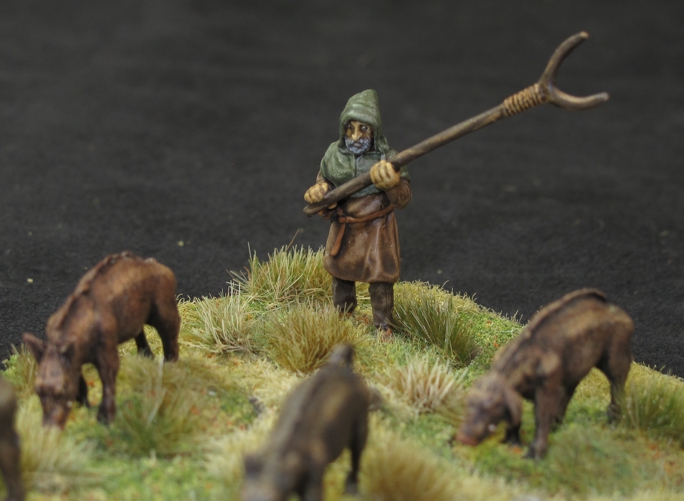
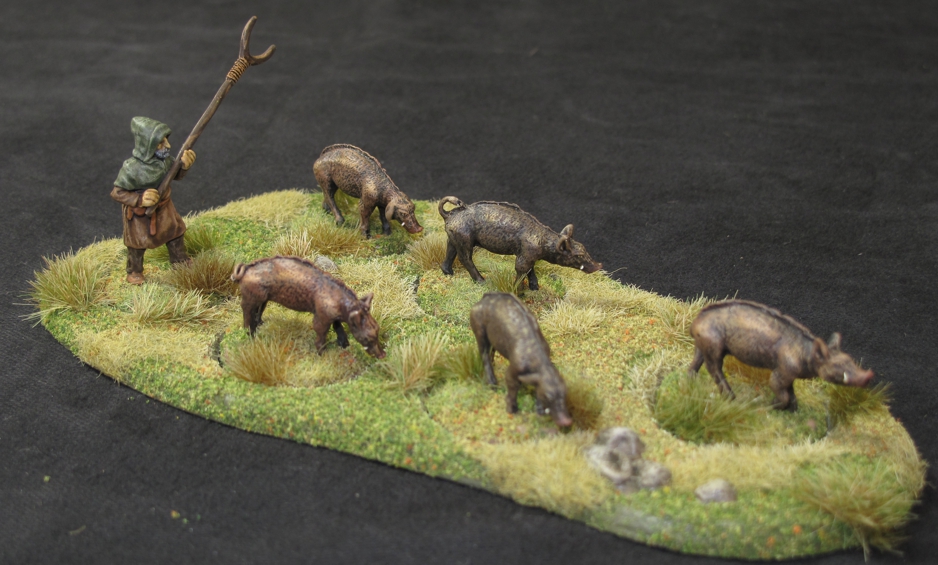
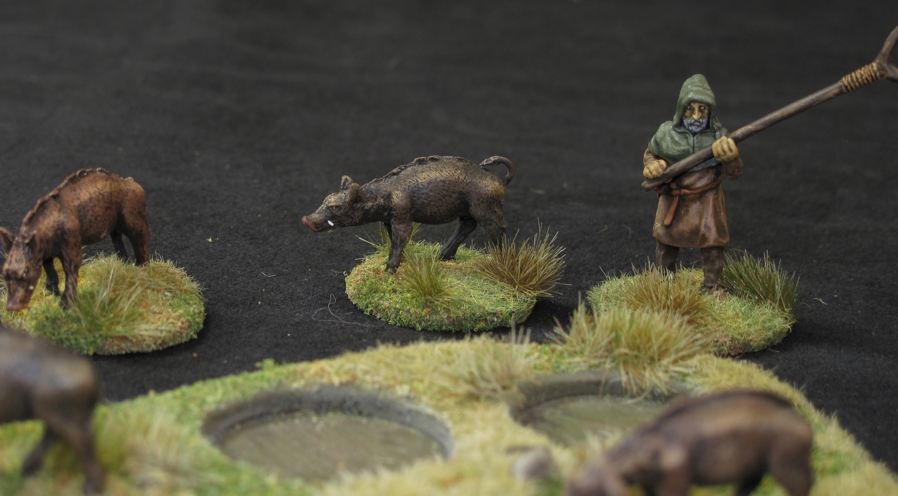
So for Part 2 of my “Escort Service” I finished up my pig herder and his swine. I also based these guys for ease of movement but tossed in a bit of a twist in that I did it like a movement tray. I did this because I wanted the ability to use these figure singly in other situations.
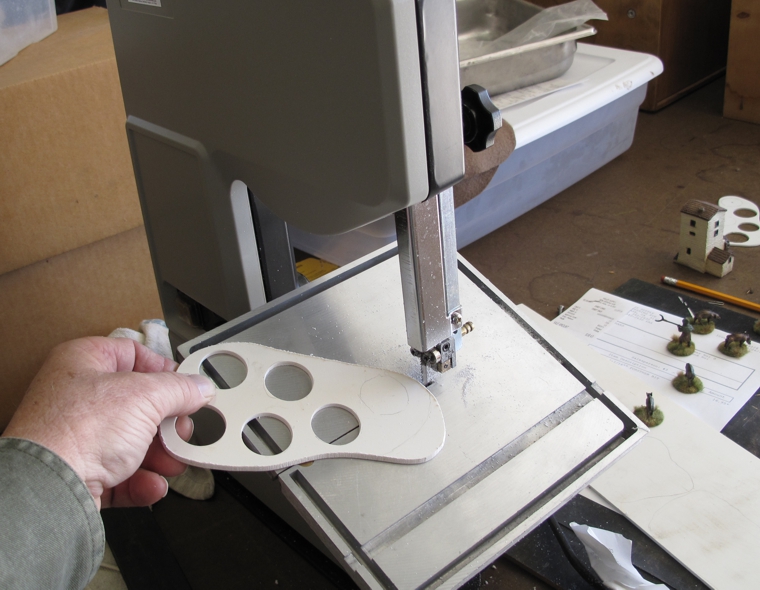
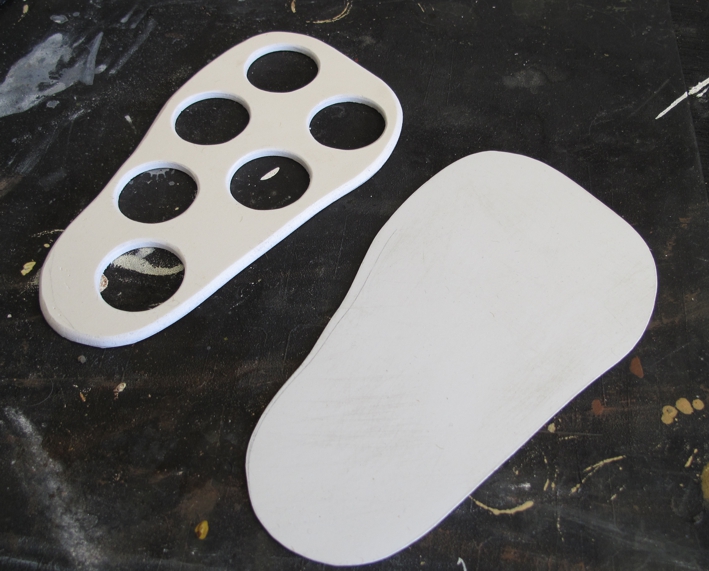
To make the base I used some sheet polystyrene the same thickness as my “LITKO” bases used for SAGA infantry, about 1/8 inch. I arranged the figures to my liking and then traced onto the polystyrene the area that would be the base. The base was cutout using a hobbyist sized band saw from Micro Mart.
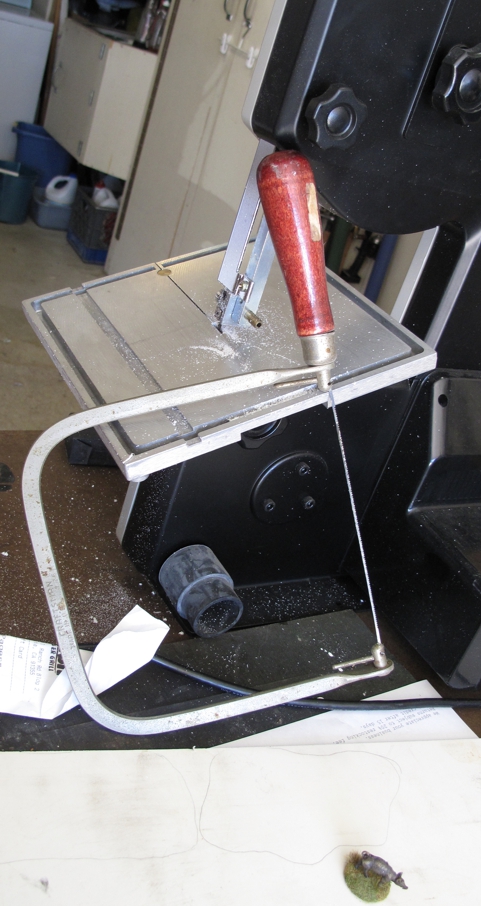
This is a great tool to have in anyone’s tool arsenal! If you do not have one a “cooping” saw will do the job as well, well almost as well! The cut was done with a sloping angle edge to make it blend better with the terrain.
Next a sheet of thin magnetic sheet stock was cut in the same shape. This will later be contact cemented to the styrene base to both hold it to the storage drawer’s metal lining and help hold the figures in because of their magnetic bases.
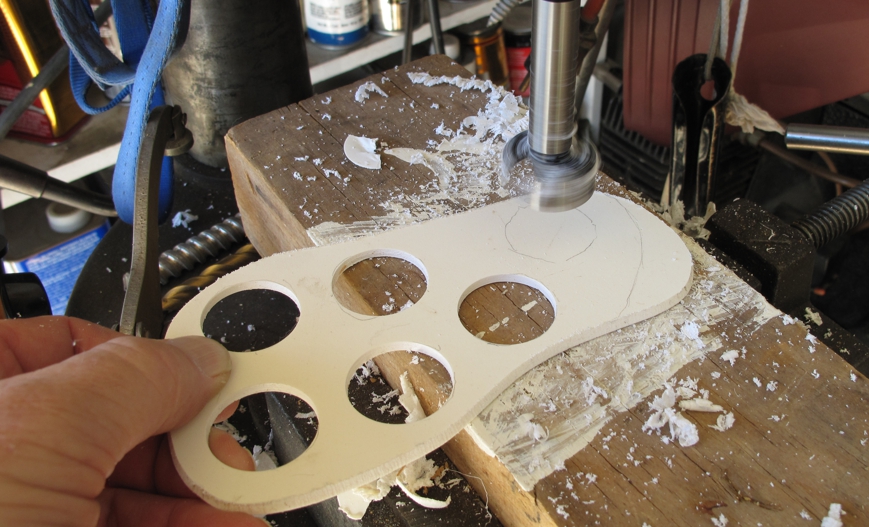
I arranged the figures on the base again and this time traced their out lines onto the styrene in preparation for cutting the holes the figure will sit into later. My figure bases are round and 1 inch or 25mm. I used a 1 ¼” “Fostner” bit in my drill press to cut the holes. A “Fostner” bit cuts perfect round holes not possible with a regular drill bit. Not cheap but you will only ever need one and used for cutting plastic will last your lifetime!
Once the holes are cut the pieces are assembled using contact cement and with a bit of finish sanding is ready for finish decoration. I use a recipe of Durham’s “Rock Hard” as a base material in landscaping and in 20 years found no problems. Mix it 80% with 15% white wood glue and 5% water. Just experiment with this formula until you get it right. It should be the consistency of porridge, easily spread on and a bit flowing. As it dries u can push it around for a natural unevenness. The glue is important since without it the “Durham’s” may chip or flake with table use.
Even though the individual figures are removable with a little effort you can make it blend very well and hardly noticeable in the base.
Once again I get wrapped up in the building and forget the pictures but I think you get the idea and feel free to ask question in the comments. I think it came out great and this now finishes 2/3rds or the “Escort Project” so see you soon for the last installment!

Fantastic, I appreciate the step by step! Your flocking is excellent as well. I’d love to hear the recipe or how you approach flocking. Hope you’re all enjoying v2 Saga!