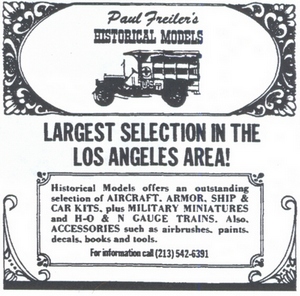
Places like Paul Freilers (Torrance, California) were magic and I could spend hours there just dreaming among the oh so cool treasures!
Back in the beginning (early 1980’s) when I first started to collect and paint miniatures it was only a hobby to relieve stress from work, an outlet for my creative/collecting desires. I didn’t play games with them, I simply bought figures I liked, painted them and stuck them in a small cabinet I had. Most of the first figures were from the Dungeons & Dragons world since that was the rage at the time, for me Historical’s would come later but it was fantasy first.
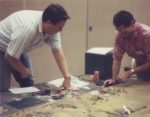
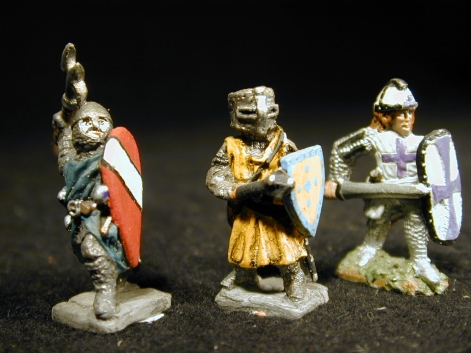
Like most folks I painted the “good guys” to start with, some Wizards, Elves, a few Human hero’s, my collection grew. One day while in a shop looking at figures, I noticed a rack of books with small rule books allowing you to play games with these miniatures, sort of a way to bringing them to life. I now became interested in playing with these miniatures, found a group in Santa Monica’s Aero hobbies (sadly closed) that played and I signed up for a Saturday session. I was hooked, my minis now had a purpose in life!
Back in the day painted mini’s were not always that common in games, well painted was rare, and basing…whats basing?
I painted, I played, but after only a few sessions the Game master of our little group failed to show up for our Saturday adventure. In his place I was nominated to run an adventure (perhaps because in of all the group my minis were actually painted in more than two colors!) so letting my imagination go I winged the group through a made up on the spot adventure. Afterwards I figured I had done so poorly that they would never have me as a GM again but to my surprise the players said it was one of the best sessions yet and could I do it next week! I agreed but without telling them that I had no idea what I was doing, that most of my die rolls had nothing to do with actual rules, I just rolled dice and then interpreted results, balanced with what I thought should have happened for FUN! Most players back then had little knowledge of the rules anyway…thank God for those GM screens!
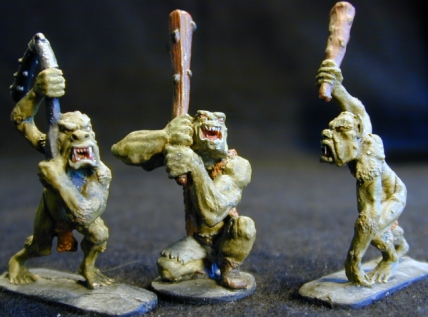
Sure I read the “Hobbit” and had to have three trolls for under the bridge!
I realized that as a GM, players relied on me to bring the “bad guys”, the monsters, NPC’s, the things in the game they had to fight, out think, and overcome. I started painting Goblins, Orcs, and the various things one finds in D&D dungeons. Remember Kobolds? Lots of those! I would go down each week to the hobby shop to see what new treasures had come in, yes, remember when you had to “go to the shop” to see figures!
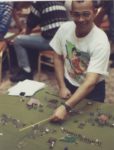
Fast forward to 2018, D & D is long behind me, I’ve been playing “historical games” for many years and with many different groups. One of the groups I have played with the longest is the “Dogs of War” in Los Angeles, they had gotten deep into a game called SAGA by Studio Tomahawk, dark age battles involving warbands instead of full armies. I was never a big fan of Ancients, Dark Ages, or the Medieval period although I had painted several large “Tactica” armies, Romans, Huns, and played that for a while. Still this new SAGA “Dark Ages” period interested me, especially since it had “Vikings”. Several of the movies from my youth involved Vikings and had left strong impressions on my young mind, adventure, gold, sex, and hacking apart your fellow man to get them! What’s not to like?
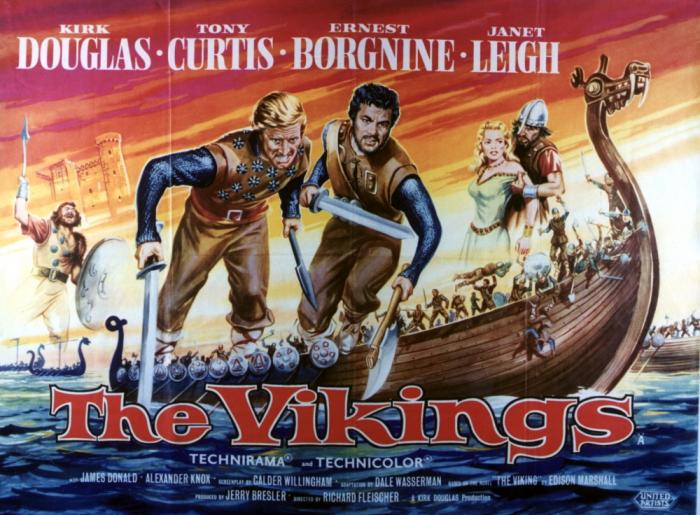
Who better than Kirk Douglas to play a Viking!
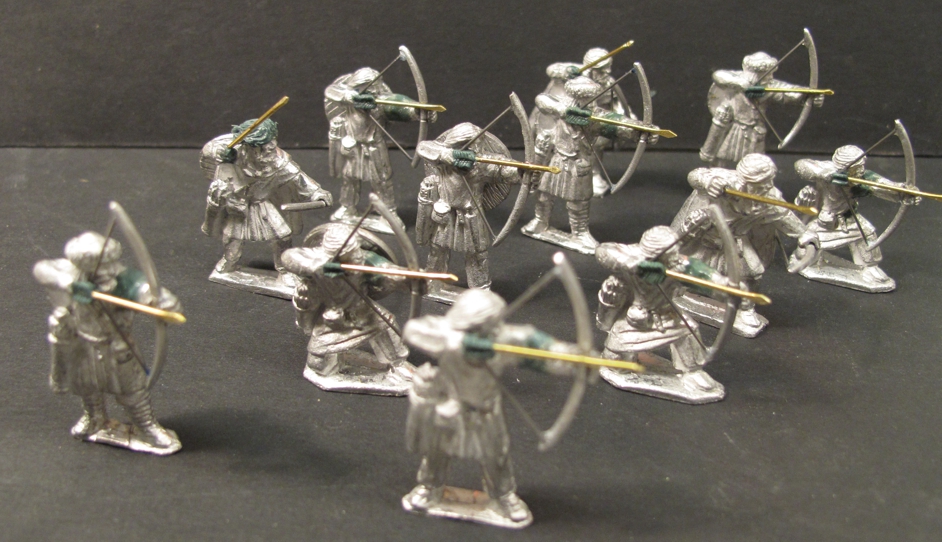
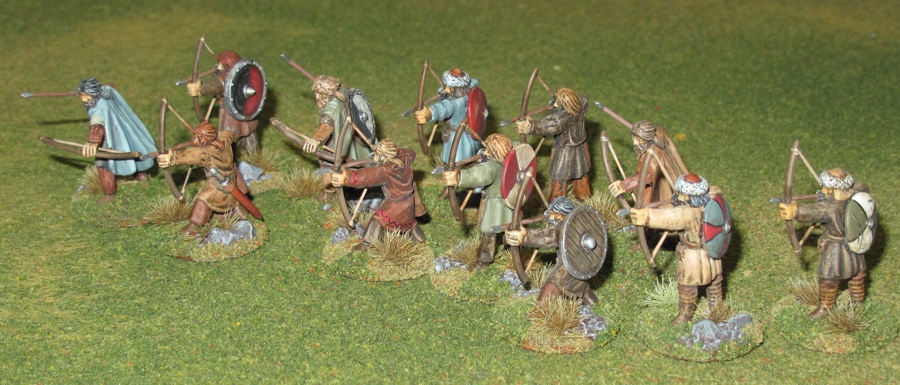
Yes, my dad and his buddies had a habit of taking me to all those movies their wives were not interested in, Goldfinger, Fantastic Voyage, The Longest Day, etc.… (thanks dad!). I’m sure my mom was not thrilled about me going either but go I did (thanks Mom!). Movies like “The Vikings” staring Kirk Douglas. Tony Curtis, and Ernst Borgnine as well as “The 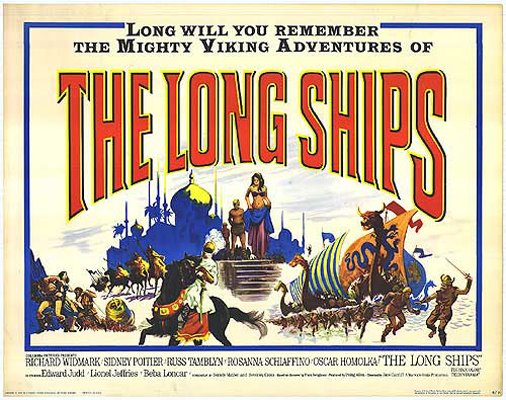 Long Ships” with Richard Widmark and Sydney Poitier were what SAGA was about! I got roped into a few SAGA games with a “lender” Viking warband and was hooked! Soon boxes of “all the Vikings in the world” were headed to my house (I bought almost the entire line of Foundry Vikings). Warbands of Vikings, Saxons, Normans, Teutonic Knights, and Moorish hordes poured off my workbench! I painted, played and enjoyed SAGA for several years but then like many other popular games it grew and produced an updated version SAGA II
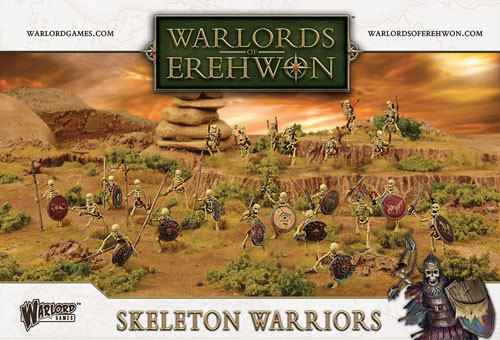
It was the move from SAGA into SAGA II that worried me. Now SAGA II changed a few things around (for the good) but it introduced “Fantasy” warbands and “magic” as an option, yet another peroid, and one I was not interested in starting, my lead pile is big enough! . As we moved into SAGA II some of the group leaned towards creating some “fantasy” warbands, in fact they fairly quickly built them! Ha! “Not me” I said “NEVER, not going to happen” I told them, over and over, right up to the point while watching one of their silly Saga Magic games I picked up the “Age of Magic” supplement book to help look up a rule. While looking through the heavily illustrated book I saw a skeleton warband in 28mm and felt faint….my head started to spin…..I spun straight back to my youth once again, I’m sitting in a darkened movie palace, gobbling down popcorn, and watching “Jason and the Argonauts”.
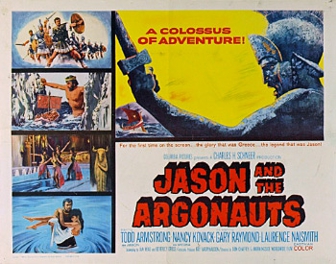
Burned into my memory was one of the last scenes where after Jason kills the Hydra and steals the fleece the local king cuts out the Hydras teeth and scatters them on the ground to release long dead victims, “Children of the Hydra”, only skeletons now to catch and kill Jason and his band. The Ray Harryhausen’s master piece of animation that brought the “children of the Hydra” to life was when I fell in love with skeleton figures.

What young boy was not inspired to create his own adventures after seeing this!
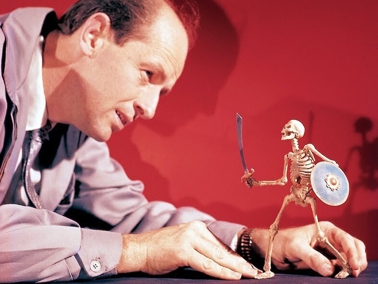
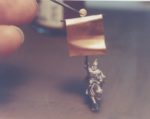
The “Master” of stop motion Ray Harryhausen works with one of his skeletons on the set!
Now this photo in the SAGA II Age of Magic book was not the first time I felt that pull from my past as far as skeletons are concerned, it was years ago on one of those trips to the hobby shop for some new D&D figures that I first saw skeleton mini’s! They were quite possibly the first skeleton minis ever made in 25mm, and knocked me over, I had to have them! They were modeled in the style of Hans Holbein’s Dance of Death, or “Totentanz” renaissance wood block prints from the 1500’s. As I recall the sets were produced by Minifigs in 25mm and the range was called “Valley of the Four Winds” or “VFW” for short. I bought perhaps 30-40 figures in the range and had them on display in my miniature’s cabinet for years, even after becoming mostly “historical only gamer”. Yes I did some Victorian Science Fiction, Battle Tech, even Starship Troopers. As the years passed, I started to sell off most of my unused fantasy figures to create space and cash for the historical figures. The cherished VFW skeletons went to greener pastures, but I never forgot them….
Pretty impressive for the early 80’s….many of the GW crowd who might think they came up with this stuff were still learning to walk.
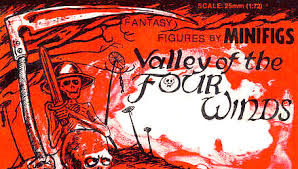
Original packaging from the still popular among collectors line. (out of production)
It was after returning home from that game at the “Dogs” clubhouse that I felt the urge to see those old skeleton figures and what was produced in 28mm Skeletons nowadays, heck just “looking” wouldn’t hurt… Little did I know that like a fish below the boat looking at the bait, I was in dangerous water.
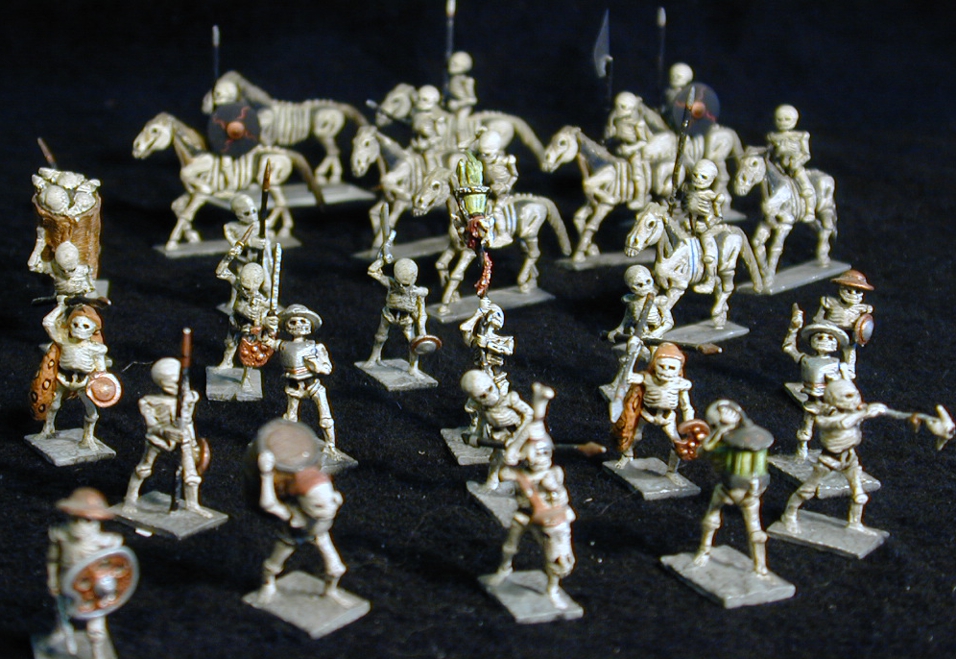
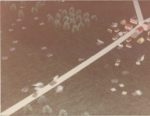
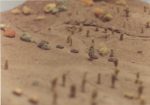
Wow! found an old picture of my painted VFW skely’s! Painted Circa 1981
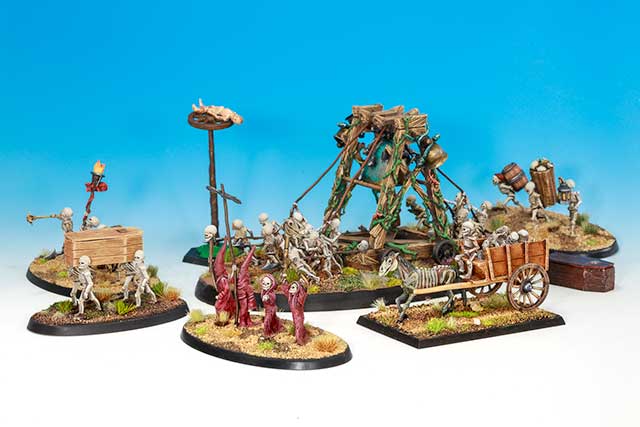
Wow, there are tons of skeletons out there nowadays!!! A dozen or more manufacture’s, different period’s, styles, historical and total fantasy to choose from. Now being a very “traditional” type I was not impressed with the many times overblown sculpts popular with some gaming systems and manufactures, I yearned for the style I remembered from my younger days. I wanted Skeletons from “Jason and the Argonauts”! Well it was not long using the power of the internet that I found what I was looking for. The bait was looking good!
I couldn’t believe how close these figures looked to the figures in “Jason and the Argonauts” and then I read the box that proclaimed “Children of the Hydra” doh!
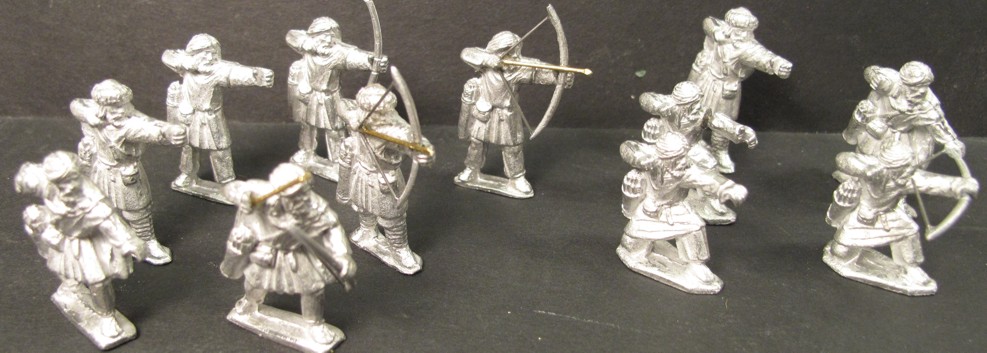
There it was, a box of 24 Skeletons looking as if they came right off the silver screen! They were pretty bare “bones” (pun intended) and had only options for spear, sword, or bow, and a few Greek style shields. I figured I’d just take a look at prices and availability but before I knew it my shaking finger hit the “buy it now” button… the hook was set, and I was into the net called “Age of Magic”
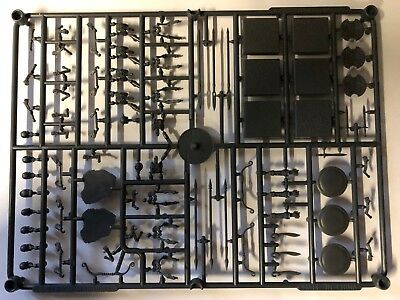 The figures arrived and while unboxing them I remembered they were plastic, I had to assemble them and oh boy what a lot of parts, small parts, fiddly parts! This was going to take time. The good news was that there was little flash, and mold lines were not bad at all. Yes, there are a lot of parts but with some proper glue and a bit of patience I built the first one and he (?) looked great! I soon got the hang of assembly and could churn out 5-6 of them in about an hour. You get plenty of options for body parts, and since they are plastic the posing possibilities are nearly endless! They even have options for a few coming out of the earth which is really cool and something I definitely wanted. I actually really enjoyed building these! The box says you get 24 figures but if you want you can use extra pieces to make partial skeletons emerging out of the ground, or as casualties, and increase that number. I think I got 28 figures all told with a few casualty markers (pile of bones) to boot!
Now normally I have a habit of not revealing my new projects until they hit the table, it’s fun that way, the big reveal. Now with the Corona Virus, Sheltering at Home, and social distancing get togethers are done for a bit so I have decided to just share my build of this warband here.
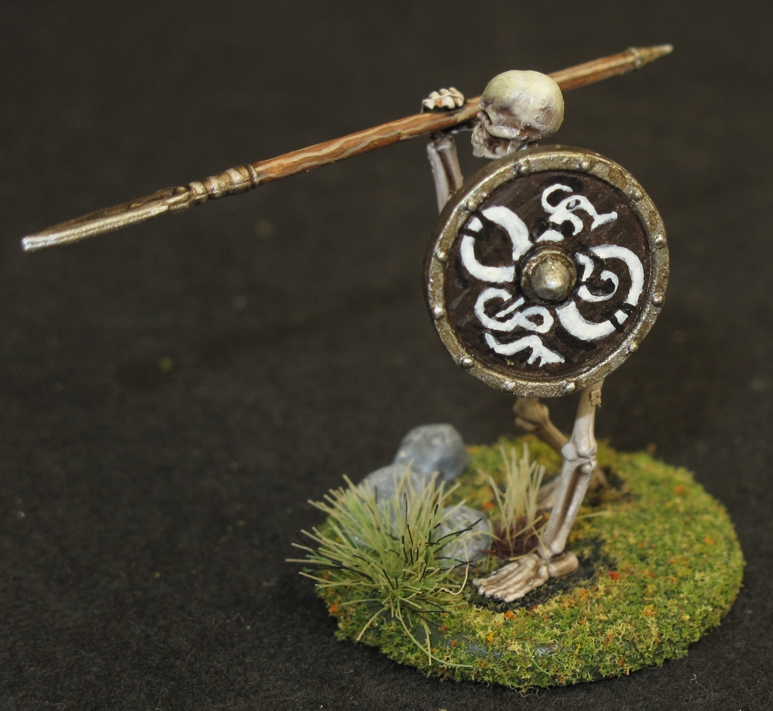
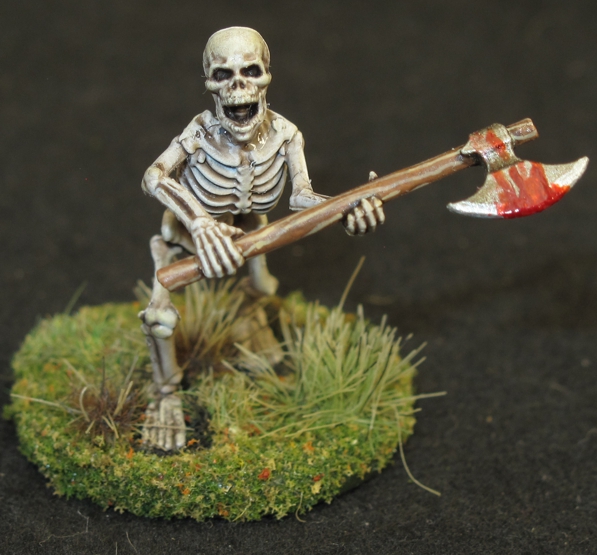
Ok, enough! Let’s see the figures!
REMEMBER “clicking” on the picture will give you a larger version.

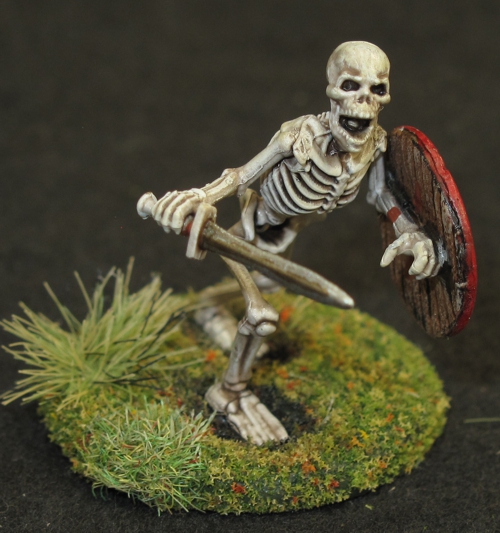 Some might question the basing choice since I went with a “fairly” simple flocked base instead of a more intricate “undead looking” base that many people use. Well several reasons,
- I didn’t want the base distracting from the mini, sometimes “skeletons” are a bit plain.
- We play mostly on “grass” covered mats (and see above)
- Skeletons, even with their armor, weapons, and dressing, can be a bit monotone so the green color really helps off set this.
- There was going to be a lot of skeletons and simple is faster!
- I had a plan to “tie” in the basing with the figure! (see further down)
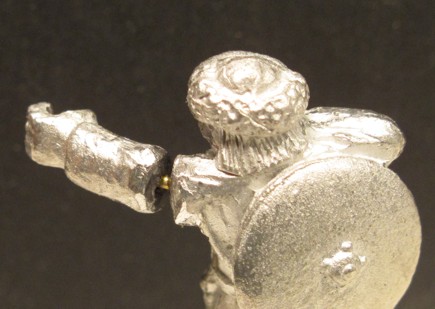
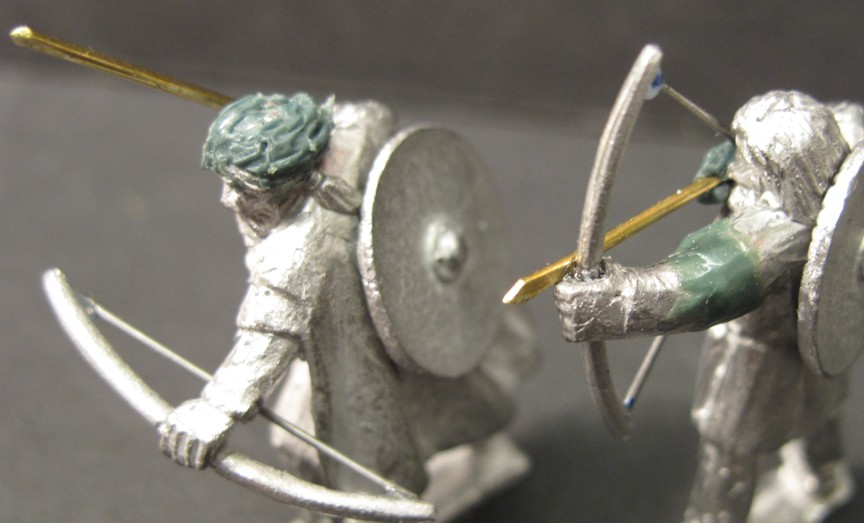
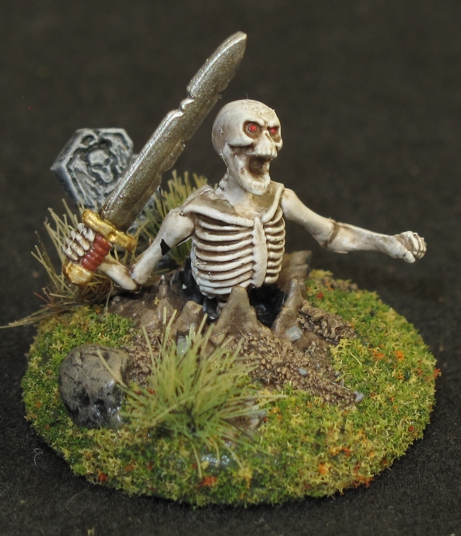 While there are a few bases designed for “clawing out of the earth” poses its very easy to take spare parts and create your own. I actually found creating varied poses was a lot of fun and pretty easy given the thin plastic. In part two of this series on the “Undead Warband” I’ll talk more about the nuts & bolts of building and modifying.
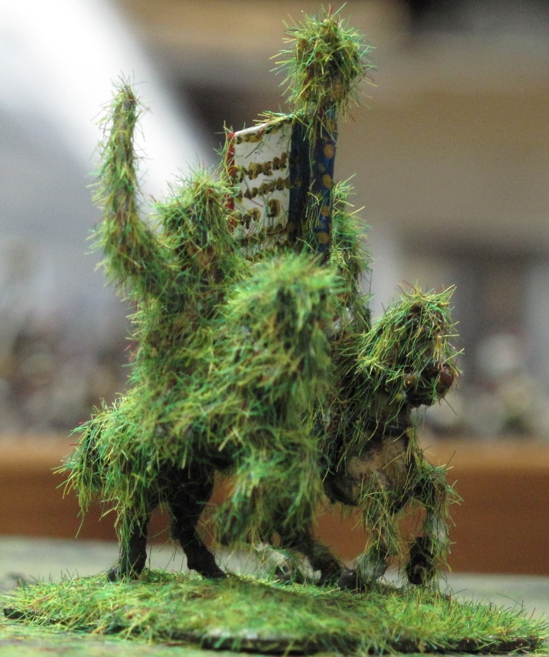
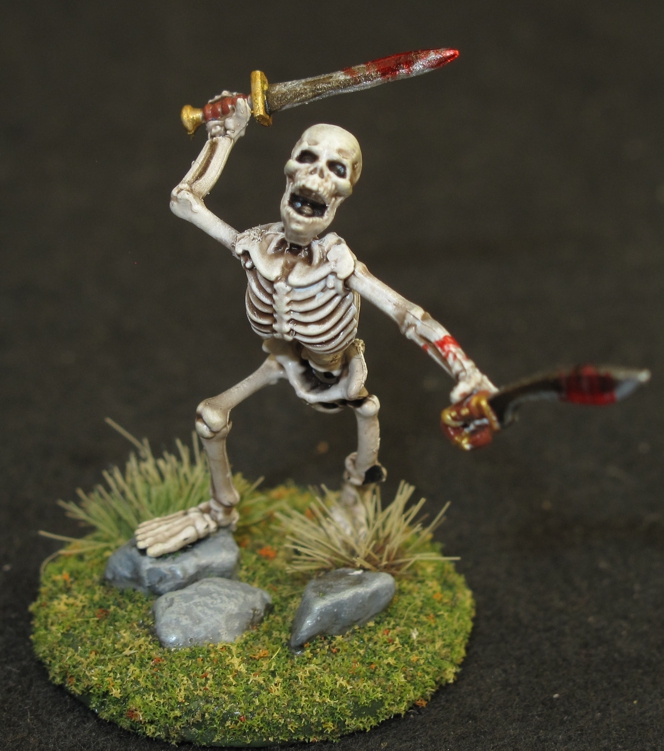
 My crazy brain like to analyze figures before I paint them, what are they doing, why are they doing it, what are they thinking, etc. I find it helps me in selecting how to paint and pose them. With the “skeletons” I started thinking, “well their frekkin dead so what keeps them going?” and thought “ok, dead equals no “life force” so to reanimate them the Necromancer gives them a magical shot of “life force” but how can he keep this up for a whole army?” well he doesn’t! Once they are brought to life and sent off they have the ability to steal “life force” from any living organism they contact.
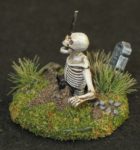
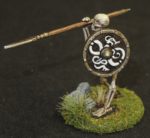
So if you look at my bases you see that the grass where the skeletons walk is black or brown, wilted and destroyed as the “life force” is pulled away. Yea, I sometimes go down the “Rabbit Hole”……
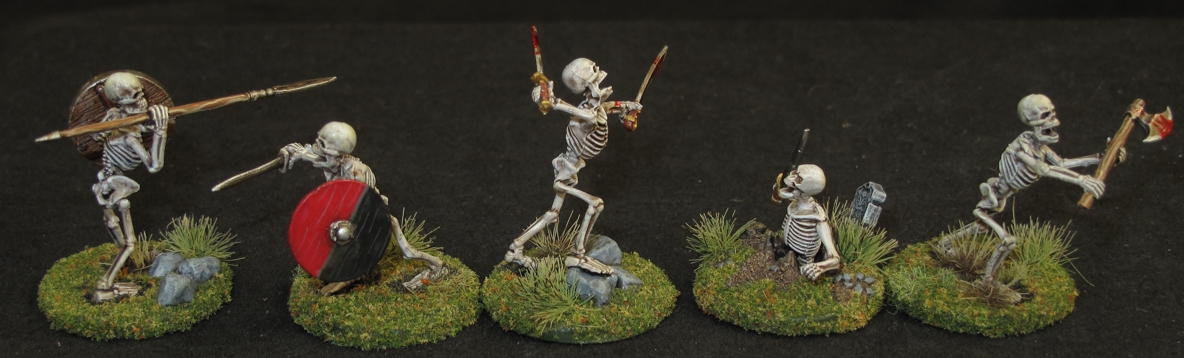
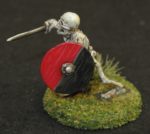
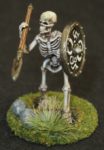
These are just the first five of 30 that I’ve done already, they are fairly simple as I was using them to develop a style and paint selection for the rest of the army. I will post picks of the others soon. There are also quite a few other components to this army to be revealed in future post!

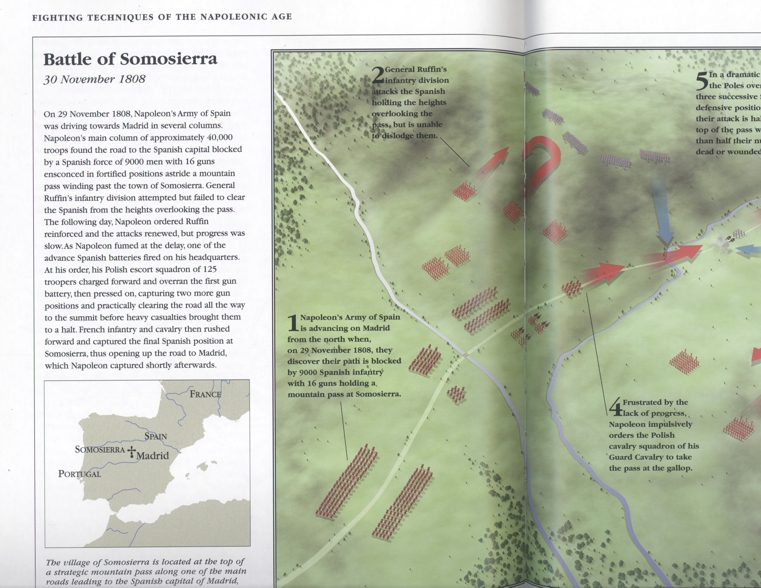
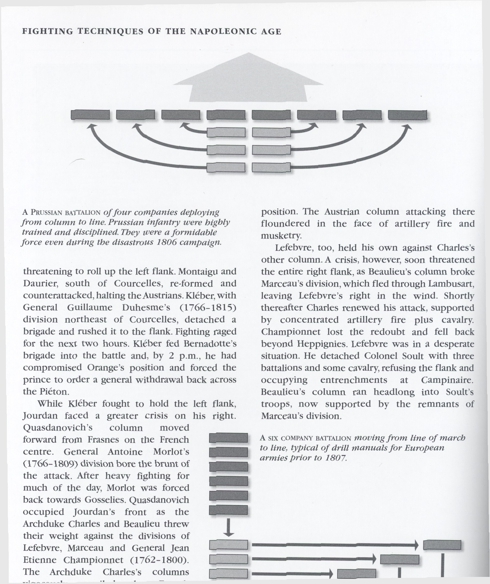
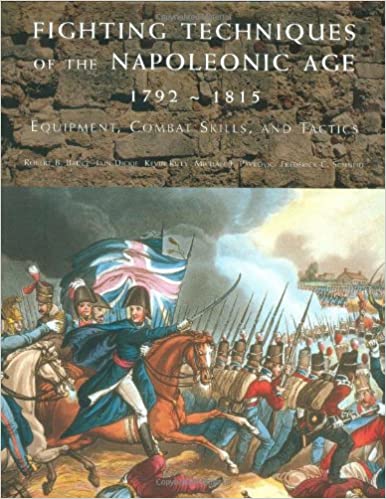 The book is a very easy read unlike many books of this type, and presents the information in a very clear and understandable way. There are lots of great pictures, maps, and illustrations to augment the text when explaining the how, why, and evolution of warfare and tactics in the Napoleonic Age. The book goes into wonderful explanations as to how the different nations armies fought and why some battles were won or lost based on this. I highly recommend the book to anyone gaming or interested in warfare in the period. It goes a long way in explaining or making sense why rule sets give an edge or penalty to various forces in Napoleonic rule sets.