
Well this Saturday saw it happen, Lord Bluster and the Normans finally caught up with the Skraelings led by the legendary Chief Half-baked and his fearsome band of Indian warriors. The battle was one of the hardest yet for yours truly against Joe N. a master wargamer whos reputation on the battlefield and dice rolling is well known throughout the area. I myself am considered by many to be pretty good and roll well especially when “cornered” so I was confident of giving a good account of myself but still figured to end up one more “head on a stick” outside of Chief Half-baked’s lodge!
The battle was intense and therefore I devoted all my energy to the game and none to pictures or notes on the battle so the report will be sort of brief and of course seen from the Norman perspective….Joe can post his rebuttal in comments below…
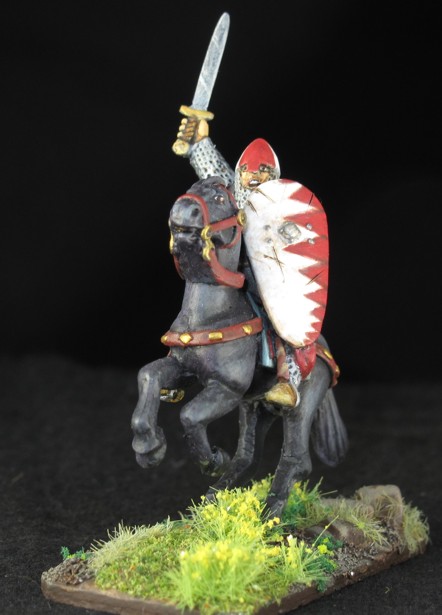
My Normans were led by Lord Bluster.
We started with terrain, of course the Indians wanted as much as possible and the Normans as little as possible, so we ended up with 3 pieces, 2 woods and a marsh. I picked a marsh, a mistake that I would suffer with all through the game as it plugged up the center for quicker movement of my troops. Good for my normal Norman strategy of delay and counter attack but this time I was forming a “Panzer Wedge” of armor and attacking. I hoped this would throw Joe off his game a bit and figured that a quick closing with his warlord was my only hope.
The Skraelings have the ability to mimic your battle board in SAGA and can be much like fighting a mirror image of your own army. They also regenerate units (some say like zombies) from their dead pile but this is really to represent other near by villages joining the fight. On my side I felt the Normans would be a tough fight for the Indians since my mounted troops could outdistance them (if they could stay out of the woods!) and quickly exploit opportunities as they appeared. I also realized that much of my battle board would be useless to them since the battle board abilities were tailored to mounted troops and could not be used by them at all. I also decided to not use the usual “levy bowmen” as I figured the Skraelings could out shoot me easily and a rapid close into hand to hand where my superior armor and weapons would quickly tell on his lightly clothed warriors was best. Instead of the levies I brought out the “Flemish Mercenaries” a fun unit that is much like an armored tank for the Dark Ages. Hard to kill, painfully slow, but if you can close packs a punch in melee!
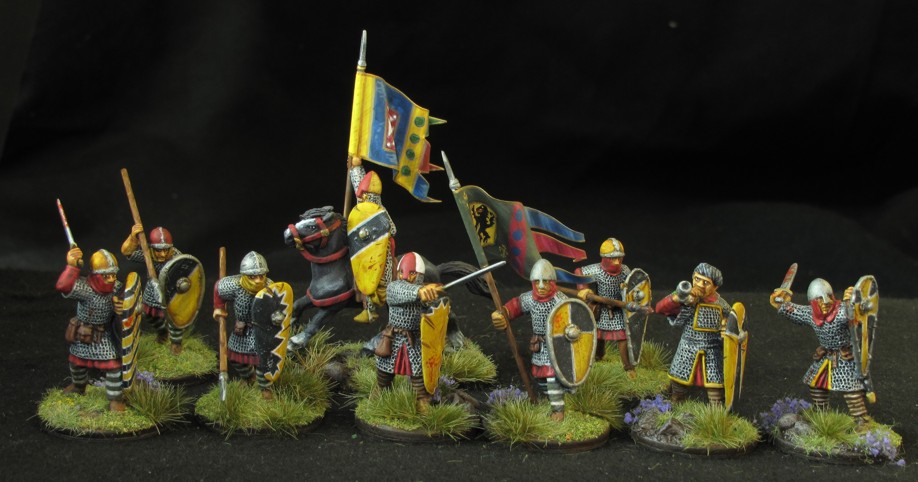
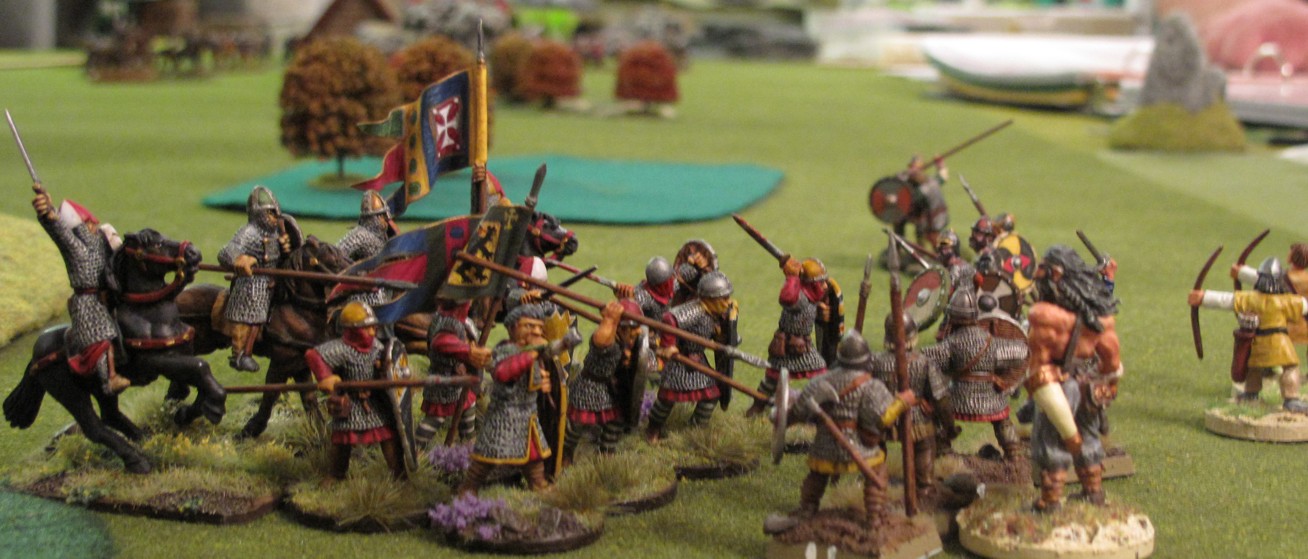
The complete unit of “Flemish Mercinaries” for SAGA. I painted the group using a limited color palette to create a sense of a professional unit for hire.
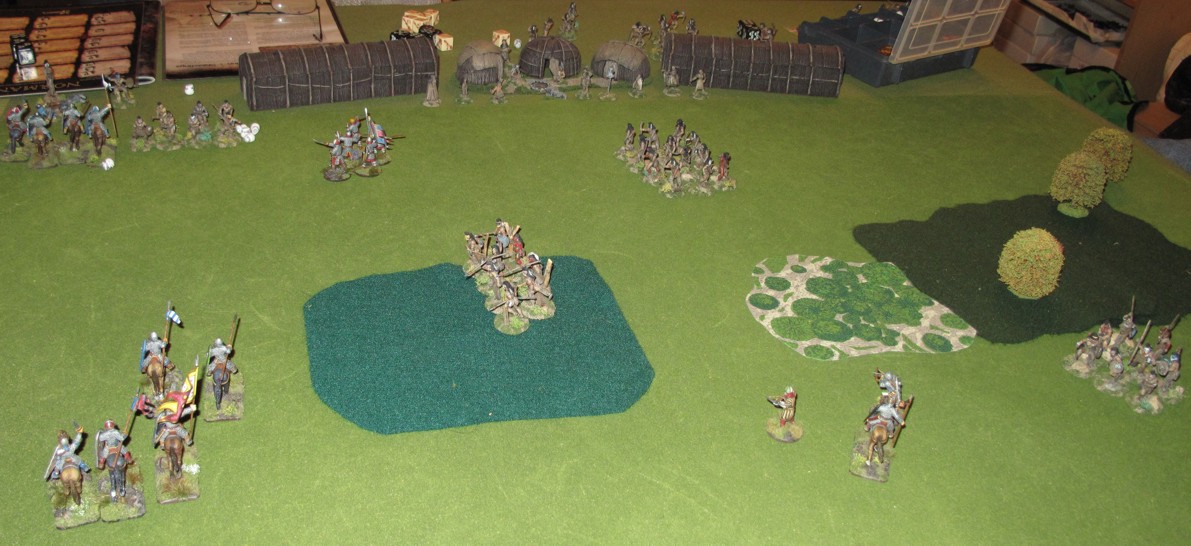
The game started with me winning the setup roll and placing my Warlord in the center, and followed with my force of 12 Hearth guard (1 x 8, 2×4), 8 Warrior crossbow men, and 8 Flemish Warrior Mercenaries. All in a sort of wedge formation in the center aimed at the marsh between the woods. Infantry forward with cavalry in the rear.
Joe setup in typical Indian fashion Javelin armed warriors to the sides behind the woods with 2 huge bands of bowmen covering the center, his warlord to the rear with the women and children…ohh I mean he was protecting the helpless ones.
From the start of the game I pushed forward just a bit at first, Joe and the Skraelings also moved forward into the woods on either flank. I had led with my crossbow men which proved to be a mistake as they died under a hail of Indian arrows but kept the Skraelings busy. I had forgotten how SLOW the dammed Flemish were and had to rethink my plans for them. I pulled them out of the marsh and funneled them up the center towards the Skraeling bowmen. If I remember this was the point that Joe pulled his bowmen and his Warlord back to the left behind his warriors. I pushed up the middle while feinting to the right with a small hearth guard unit to keep his warriors grouped there interested and away from the left. My second Hearth Guard unit had ventured into the woods, immediately being brought under attack by Joes Warriors javelins there but some good saving rolls by me kept them together long enough to Melee with them, succeeding in pushing them back with heavy losses. My Normans were closing the ring on the Indians and if I could just move fast enough.
Most of the battle it was interesting that I never really rolled that well with the SAGA dice to get a lot of ability board use and found myself just using activations to rest and move as fast as possible before the Skraelings could re deploy. My 8 man Hearth Guard unit was making the end run up the open land left of the woods on the left.
The fight was intense and Joe played hard, he didn’t get any better dice then I did and when he did I managed to counter with great saving roles, once my Normans closed into close combat it was pretty much decided but Joe once again showed his ability by bringing a fresh unit onto the board just as I was about to close with his Warlord. This last fight was on the edge of the Skraeling rear board and showed how important and chess like the rules can be. After meleeing the “fresh” unit Joe’s unit having “lost” should have retreated but given that in the rules that if a defeated unit cant because of enemy troops or terrain be pushed back the winning unit moves back. This had the effect of allowing me to move out of his units zone of control therefore not forcing me to attack him but being able in my last move swing over attack and defeat his Warlord! Pheewww! What a game, well fought and a nail biter to the end. Many have fought Joe and his “Skraelings” and nearly all have fallen to them. I’m lucky to have won…I was happy midway to just have pushed him back and caused some concern never thinking I would carry the Chiefs “beads” back to Normandy. Thanks Joe! A great battle with a great warlord!
My “hero” bowmen up left and the woods they cleared of Welsh warriors!
The evening was coming on but I stayed for one more battle with Dave D. and his Welsh! The Welsh are a real tough fight and Dave knows how to use them! Fortunately my levy Bowmen got their range and nearly wiped out some of his units!. Using nearly the same type of aggressive tactics coupled with good roles be me and poor ones by Dave the Welsh nearly went down but in the end, Warlord on Warlord I bit the dust……
It was a good day at the “Dog Pound” and “a good day to die!” thanks to all.
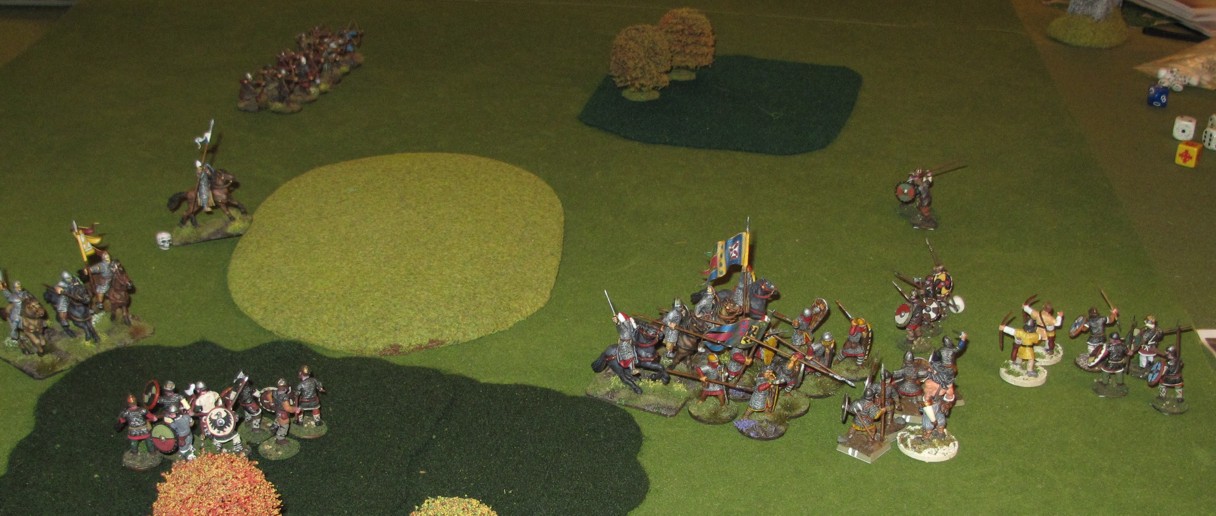
The last moments in the battle with the Welsh. I thought that with this force I could crush the Welsh warlord but he used his Hearth Guard block me and ran for cover behind some other troops. My band fought well but lack luster dice, time, and good shooting by the Welsh did them in. The point were even up until I lost my Warlord.