To ENLARGE pictures just click on them and use you browsers back button to return to the article.
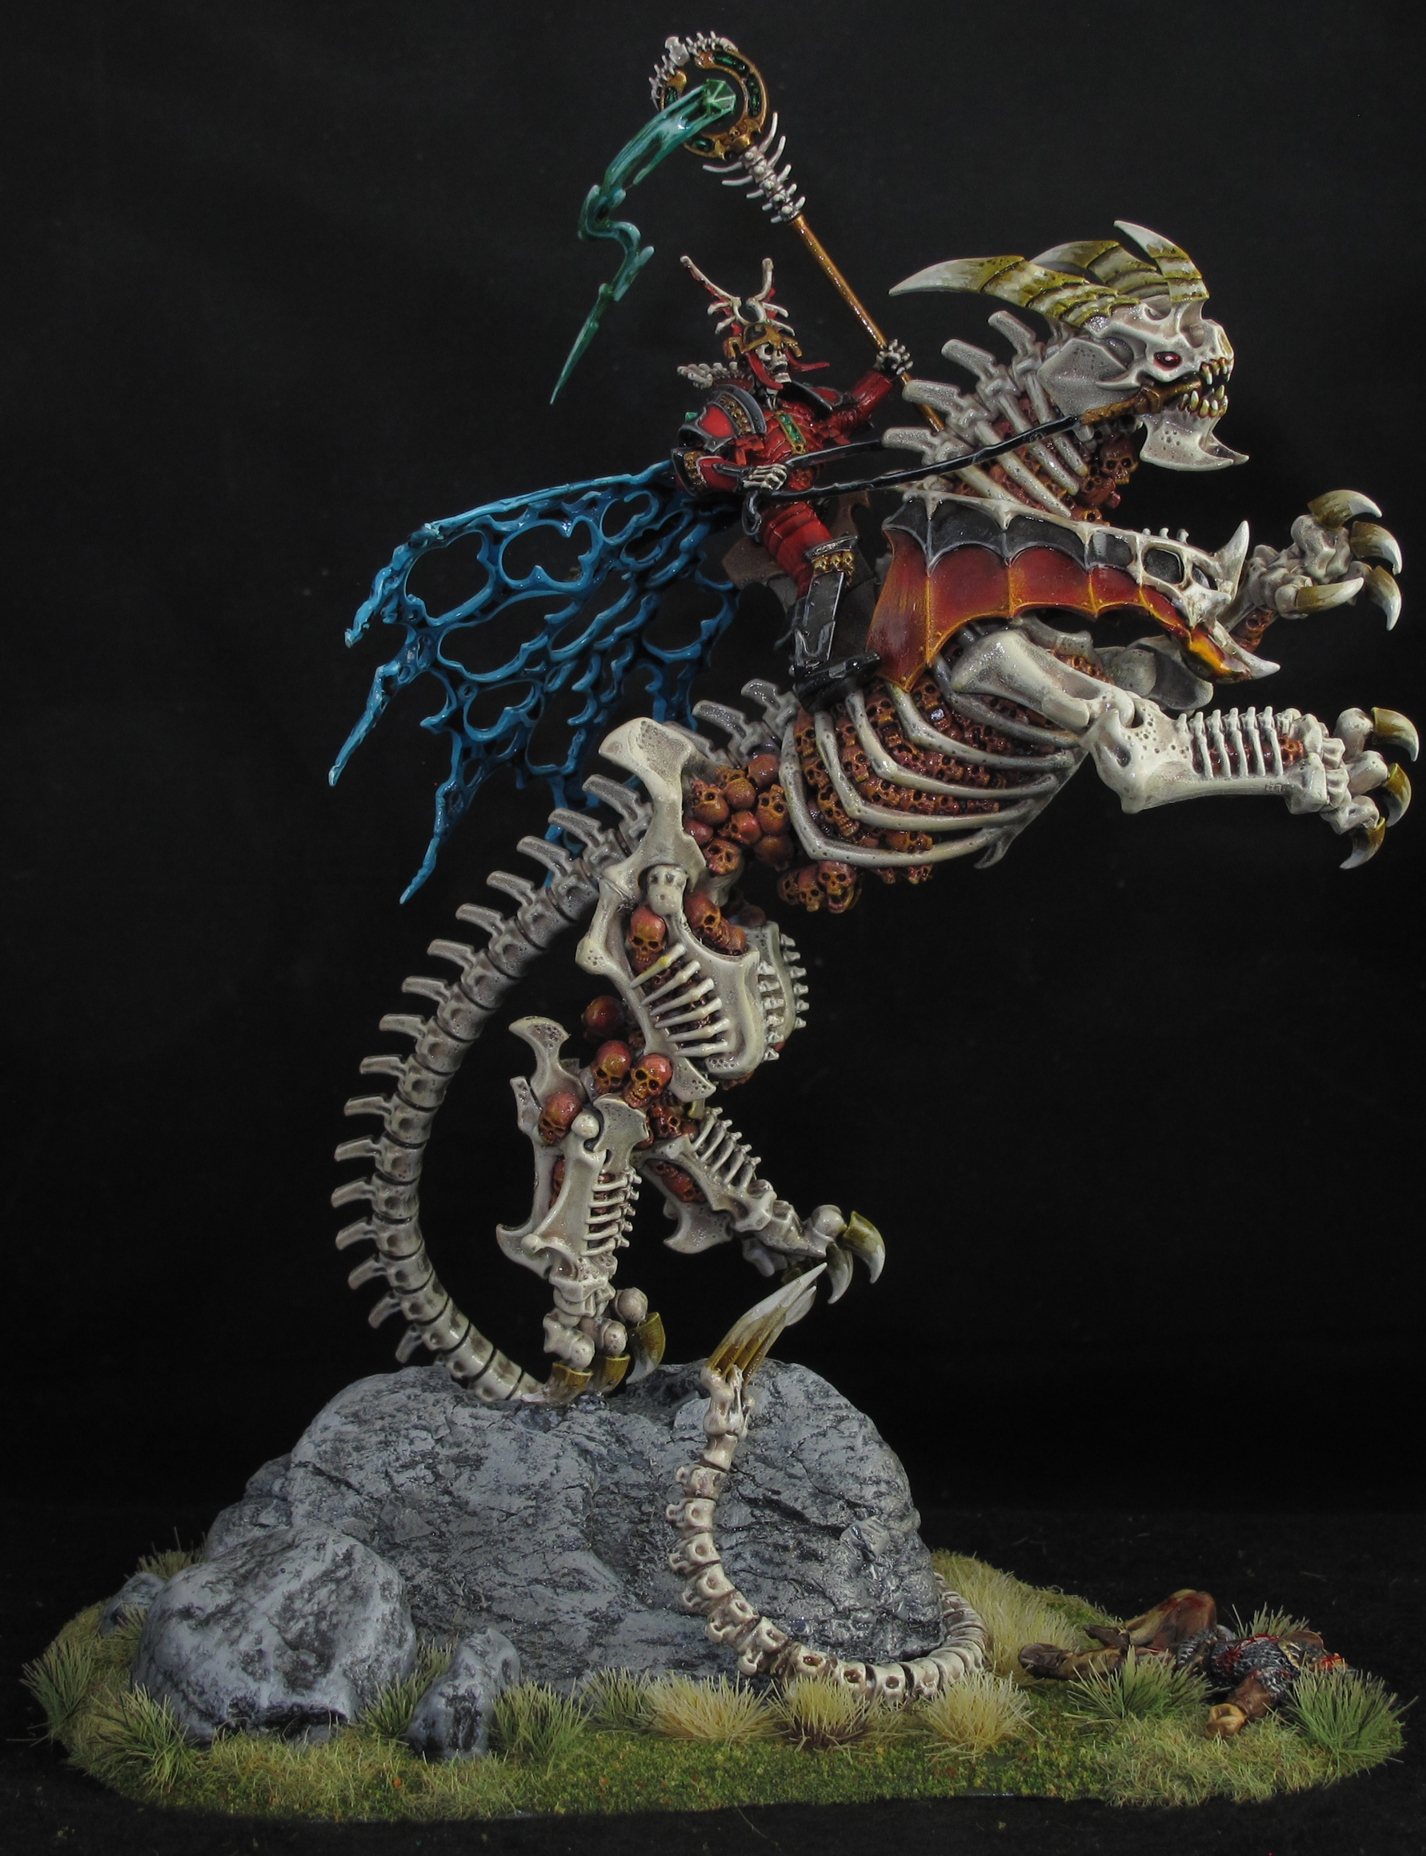
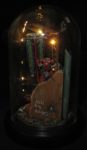
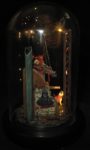
My take on the very popular “Arkhan the Black” figure from Games Workshop.
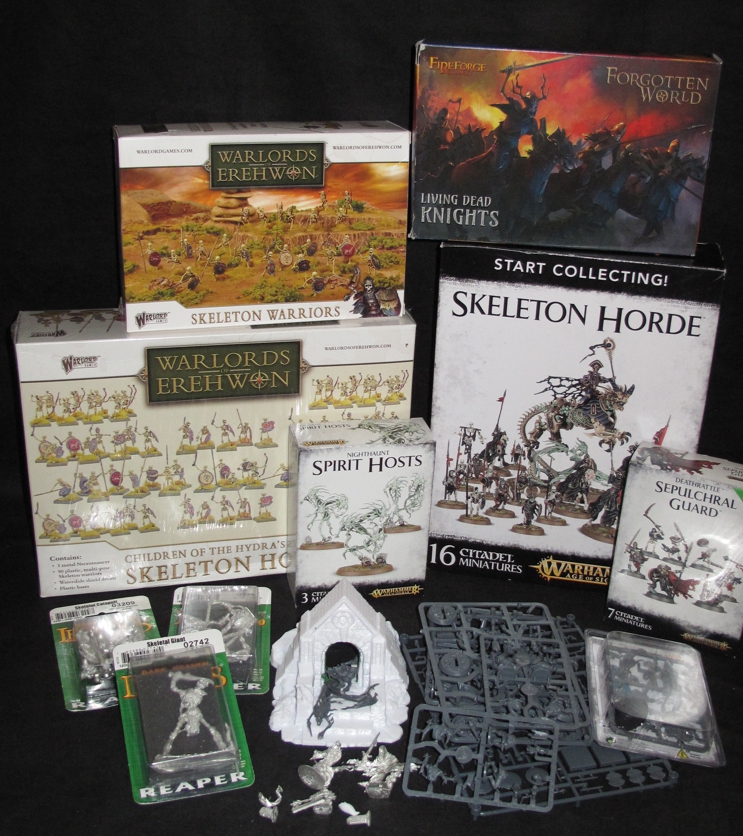
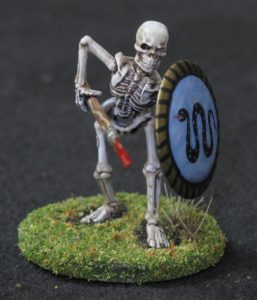
After I got me feet wet with the “basic” skeletons I was somewhat lost as to what to do next, Warriors, Cavalry, sacred ground? I had all the figures, a huge pile of bags and boxes. I was still unsure of the overall look I wanted for the un-dead army. I new I wanted it to be different and not just copy what was already done by others, I also wanted to use colors and techniques I had not done before, added to this I wanted the whole army to have a cohesive look and theme. I came to realize that instead of tackling another small element of my army that would possibly have only a few of the looks or techniques I wanted, I should go for the Warlord that would have them all. I figured the Warlord would set the tone for the rest of the army, easier to match the rest of the army to something that was already done than to something imagined. Yes it was a gamble as I had chosen for my warlord, Arkhan the Black out of the Games Workshop set for Age of Sigmar, the Skeleton Horde starter set. A beautiful figure in cool full plate armor sitting astride a very large skeletal beast, super impressive! One hell of a big, complicated figure, and one I knew I was going to modify as well!
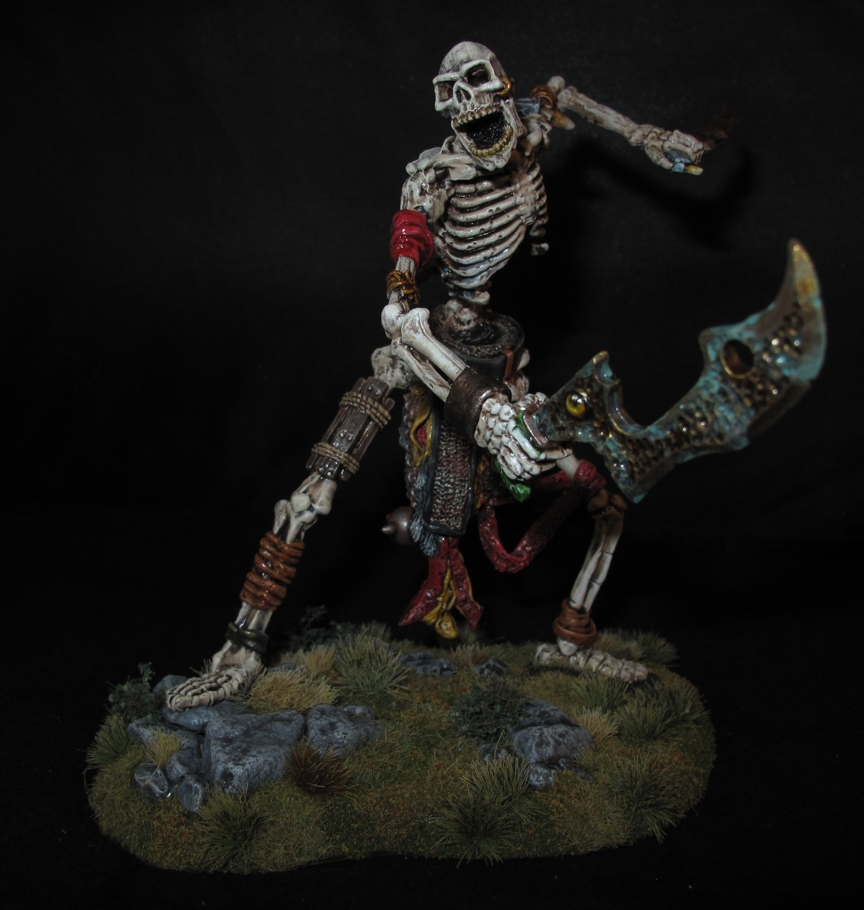
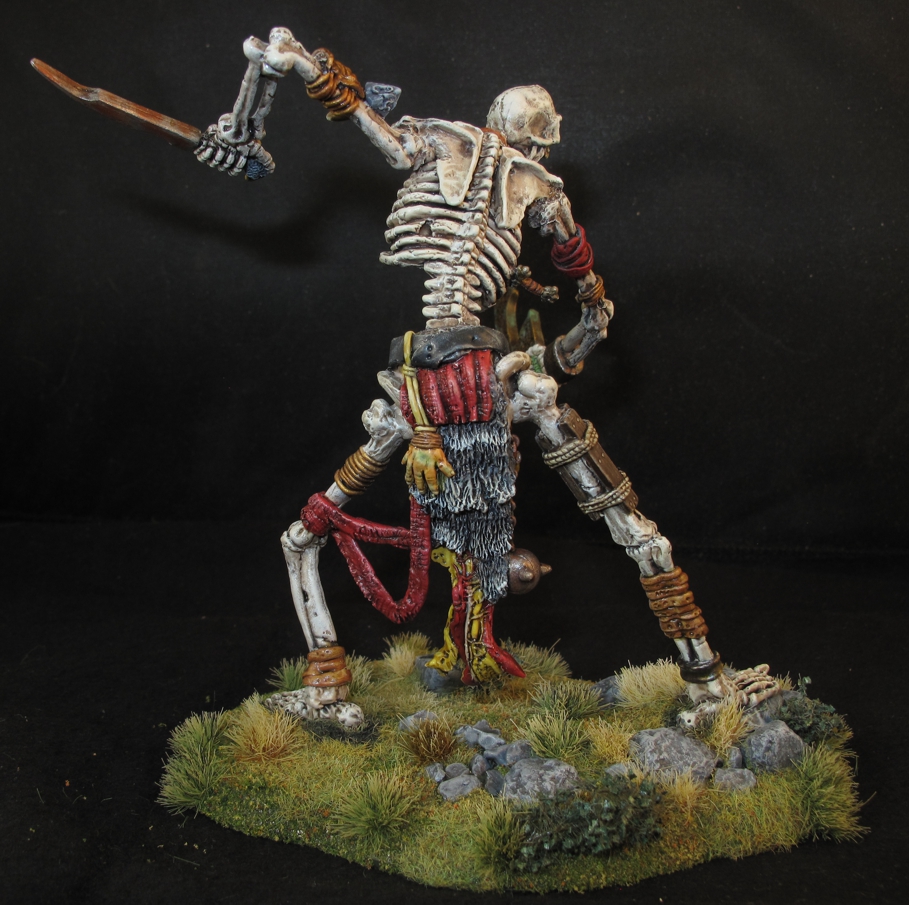
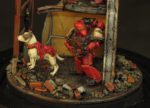
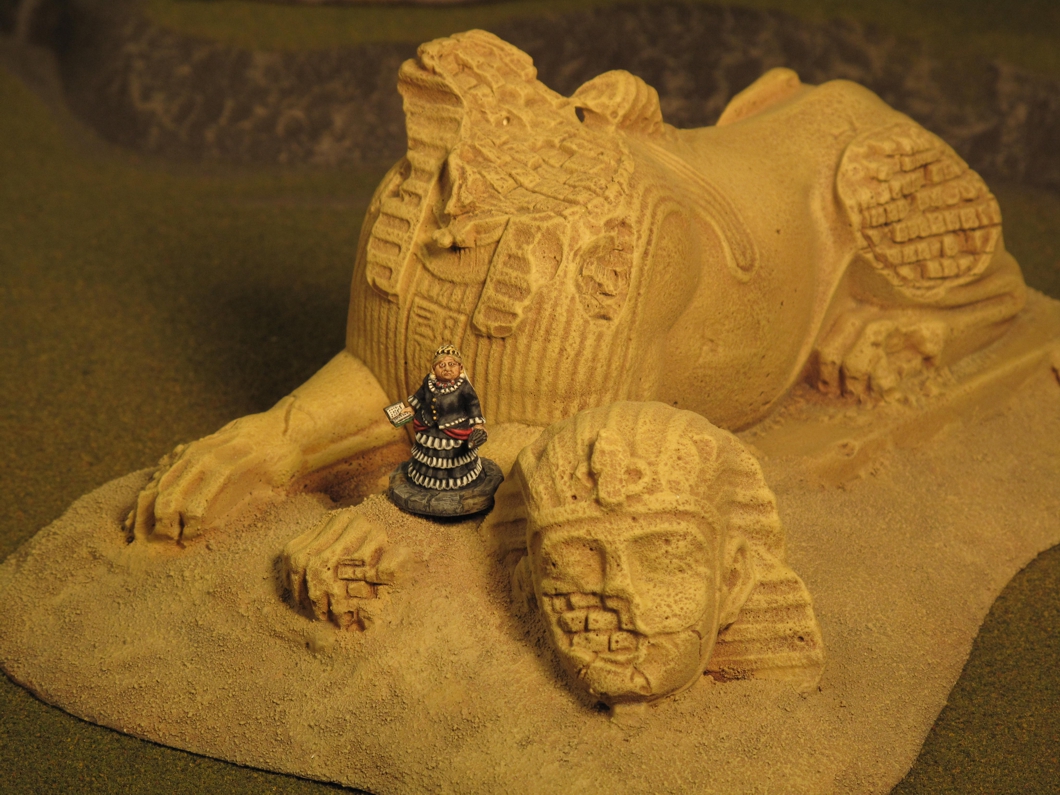
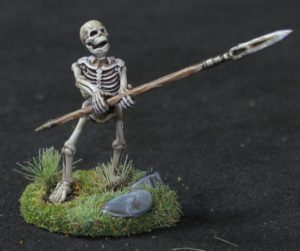
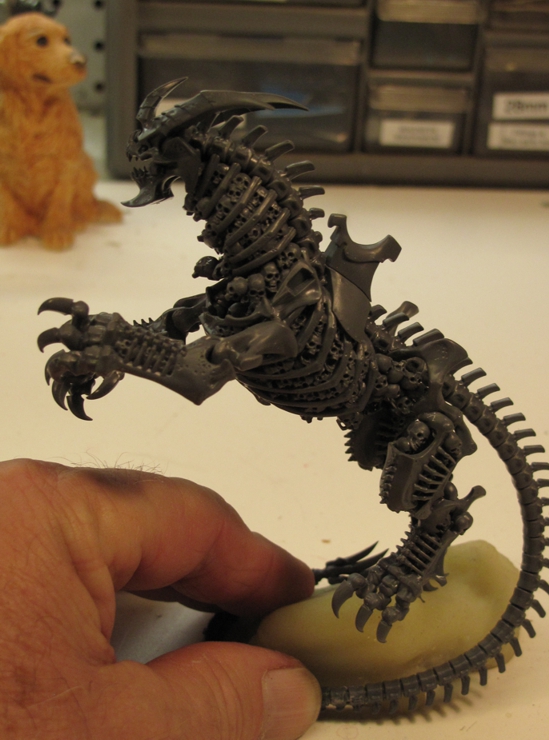
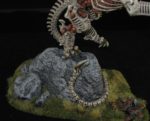
This is a truly large figure as you can see by the “dead” 28mm figure laying on the ground! I’m pretty happy with the project as fantasy is not my usual cup of tea.
Frankly I was daunted at the task as this would be the biggest fantasy figure I had ever done and if I didn’t get it right the rest of the army would be a flop no matter what. There were also things I disliked about the figure.
- To many skulls all over the beast, inside and hanging off.
- I thought the spectral “Spirits” wrapped around the beast were also distracting from Arkhan.
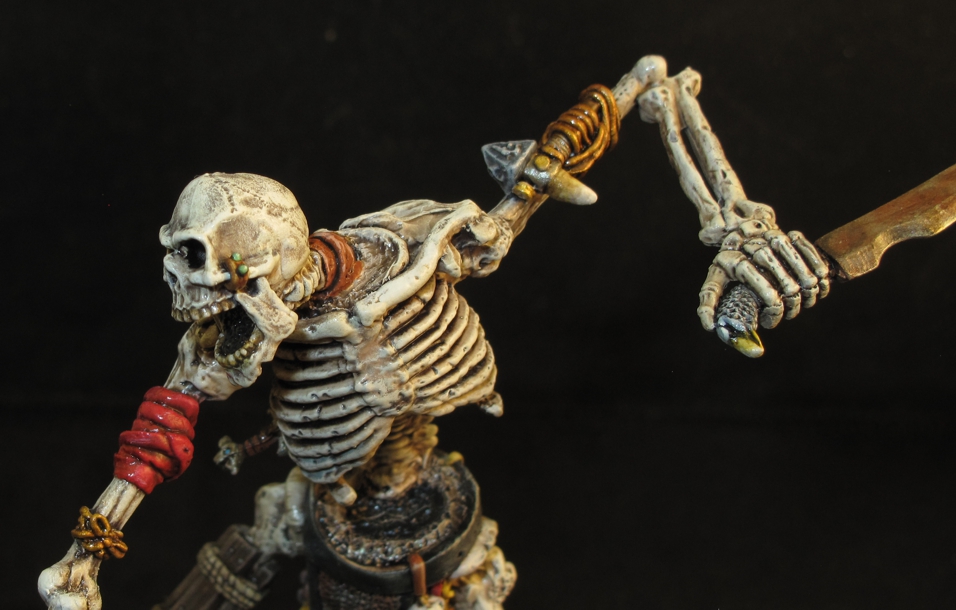
- I didn’t like the look of his head.
- The Beast pose was not right to me.
Never the less I started into the figure thinking that like most projects the problems will sort out as you go along and indeed, they did.

Here is a picture of another painter’s very nice version of the model for comparison. You can see the “Spirits” that I removed, many of the extra dangling skulls that were also removed. This model used the second optional set of armor that is indeed made to fit what I felt was correctly but the second set was designed opposite. This one also has the original “Arkhan” head that I felt reminded me of a baker’s hat or the Pope! Sorry but for me the proportions of that tiny skull in that giant hat were just off.
The first solution I came up with was to tackle the figure in three sections, the Arkhon figure, the Beast, and the Base. This would solve several problems.
- Priming and painting would be easier as separate pieces. Less troublesome than trying to work with the large assembled figure.
- I could work with the individual sections to modify the pose, much easier.
- A complete new base had to be done to better support the modified figure and meet the requirements on base size for SAGA.
Building the figure was relatively easy and went together smoothly with little flash or filling required. I built Arkhan without his head (I was searching for a replacement head) and also left off his cape. He comes with two cape choices and I was unsure if I was even going to use a cape. Either way attaching the cape now would make painting the figure extremely difficult. (I ended up painting the cape as a fourth piece and attaching last)
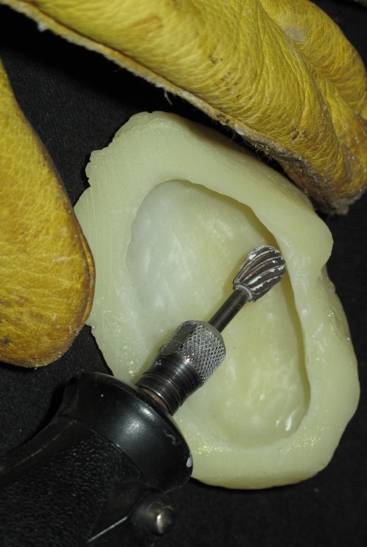
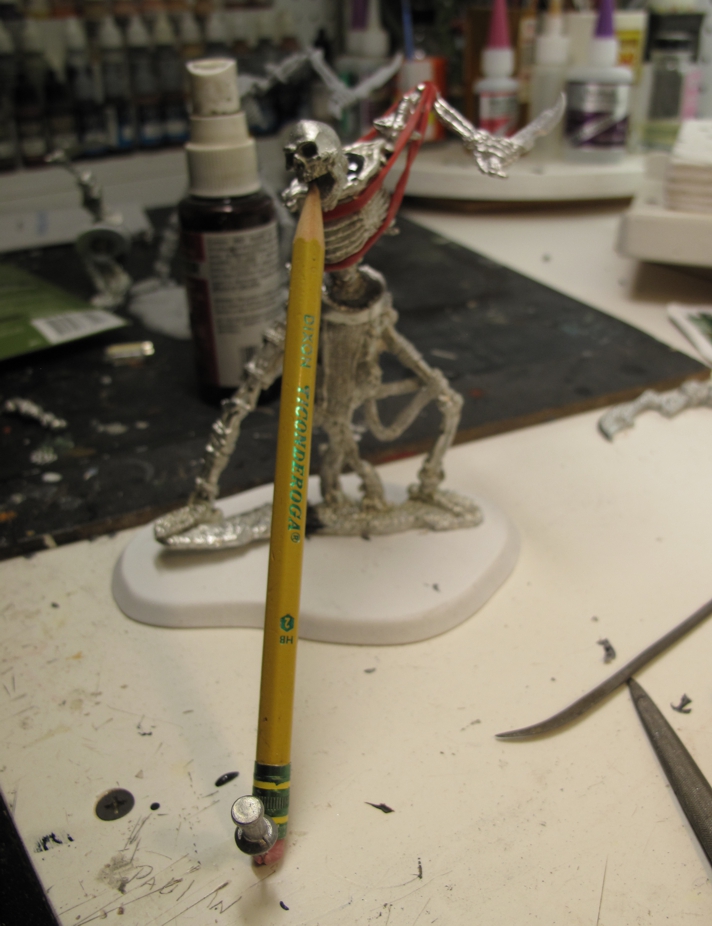
I dremeled out the underneath of the resin rock and filled it with lead shot for weight. Wear a mask!
I thought I had taken more pictures while assembling and painting Arkhan but it seems like always I get caught up in the build and forget!
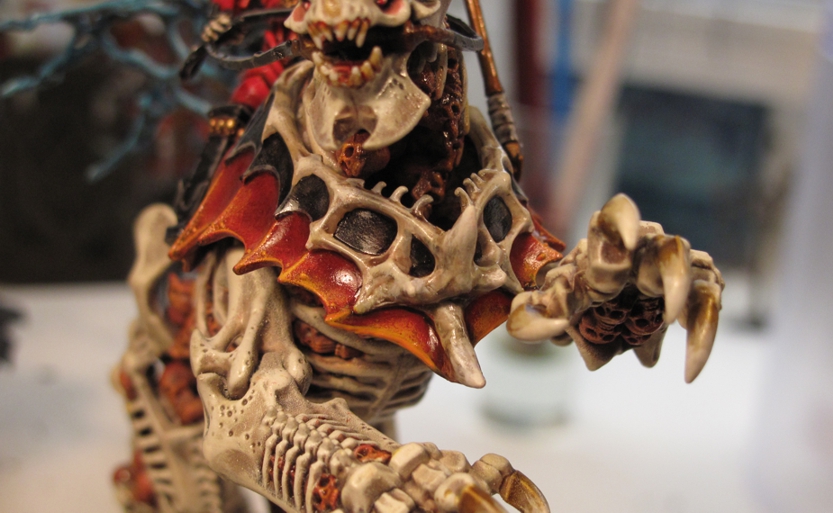
During the build I removed the supporting “spirit” figures and put them away for later use. I also began to clip off or amputate as many of the dangling sculls as I could off the beast figure. Truthfully, I thought about trying to Dremel out or putty over them as I thought they were a bit over the top for me but to much work! I would much rather have had some rotting muscles or sinew in between the bones. My solution was to under paint them in a way that from a distance it looks like muscle/sinew and as you look closer you see their skulls, works for me!
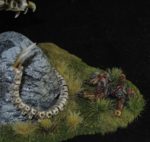
Before painting I worked out the basing situation by using a left-over resin rock I cast off a stone in the yard for a terrain project. Being sort of small and resin I knew it would be prone to tipping over with the large 7 ½ inch Arkhan figure on it so I Dremeled out the bottom and filled it with lead shot and resin bringing the weight up from 1oz to near 5oz and added a wider base-plate later on for even more stability.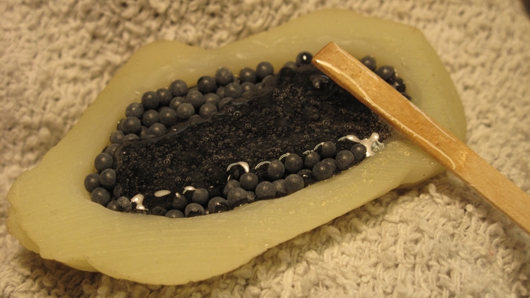
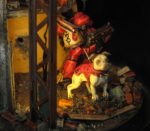
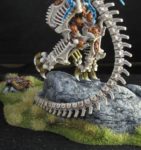
It was time now to fit the “beast” to the rock. I wanted the “beast” to look as if he was leaping off the rock after perching there, more like a leopard than a horse. I used his tail and one foot barely attached to the rock base giving the figure a nice sense of force and movement. This required some strong pinning with hidden brass rods to make it strong enough. The tail also required bending by heating with a hair dryer as well as a few cuts and repositioning so the tail curled perfectly around the rock and minimal contact with one foots claw.
I’m always amazed on how items that kick around in the “bits” box that you think you’ll never use suddenly “are just the thing I need” like this resin rock!
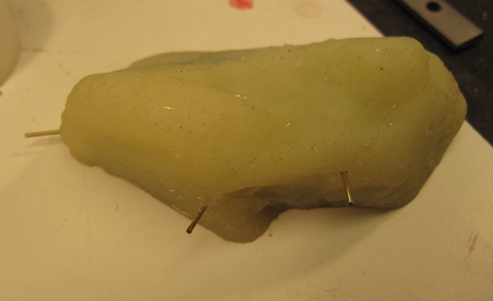
The three pins and the final pin in through the beast claw create a very strong “triangle” structure and really give stability to the model while still giving the impression of not really being connected. I was also very happy with the decision to remove the spirits as I felt they distracted from the main focus “Arkhan” on the “Beast”
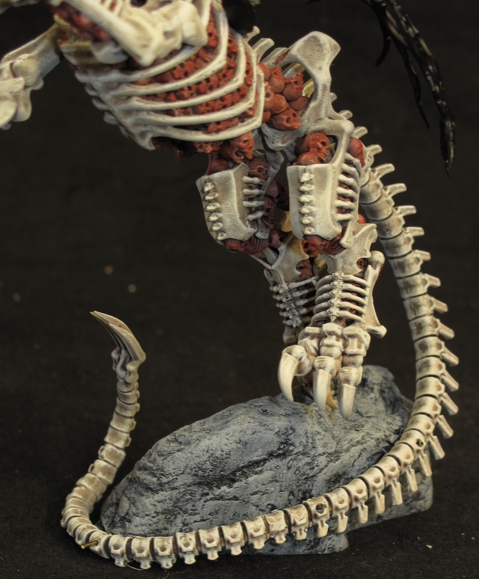
You can see the ends of the brass pins that will be trimmed and glued becoming invisible with a bit of paint.

I used a small pin drill to pin the claw to the rock.
The beast was finished first to make painting easier and mounted so that positioning of Arkhan could happen. The position of the rider had to be modified since now the beast was up in a more rearing / jumping upright position and mounting as originally posed would have made Arkhan appear too laid back in the saddle! A bit of cutting, grinding, and filing to both figures soon had him looking good! I also positioned the cape and found a new head more to my liking. The new head was actually just one of the unused optional heads that comes in the same set for the horse mounted skeletal knights, worked out well!
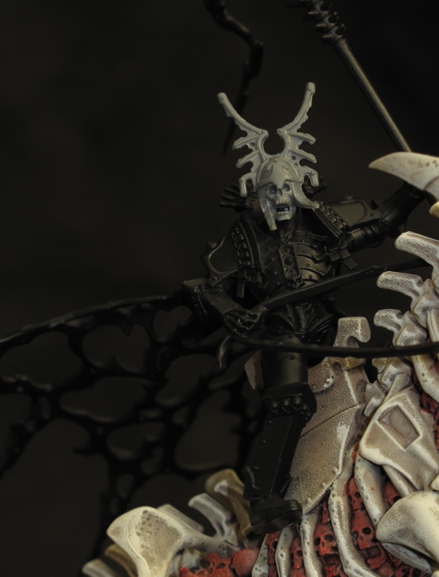
The “new” face of Arkhan the Black, well I guess soon to be “the Red”. At this stage I was working on refitting him to the saddle based on the beasts new pose.
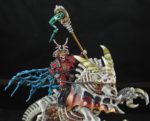
I love the plate armor on Arkhan and while black/metal may have looked good I was using bits of red through out the units to tie them together and I thought “hey Red armor” yep full red armor, the only one, signifying his importance in the warband. I did use black armor trim and for his armored boots to give some contrast.
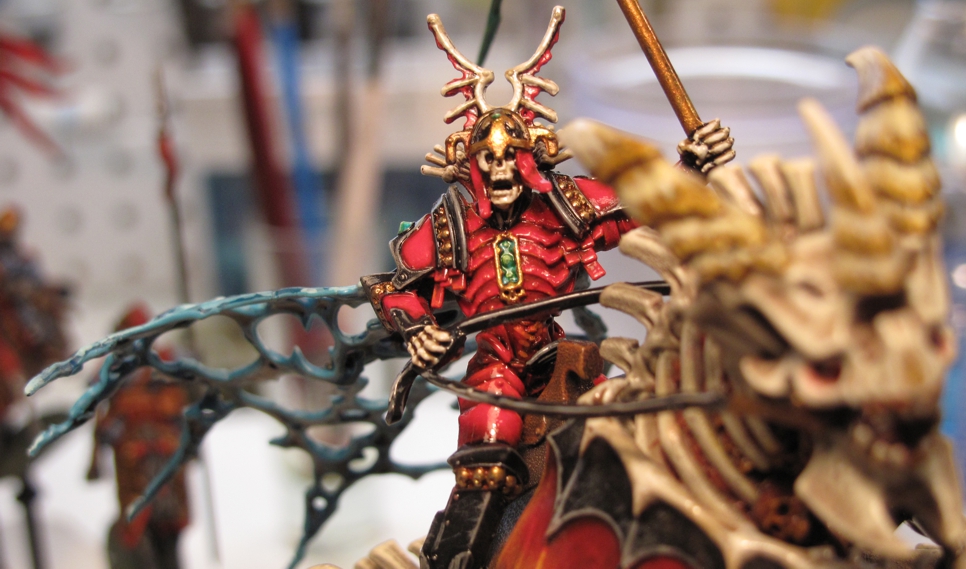
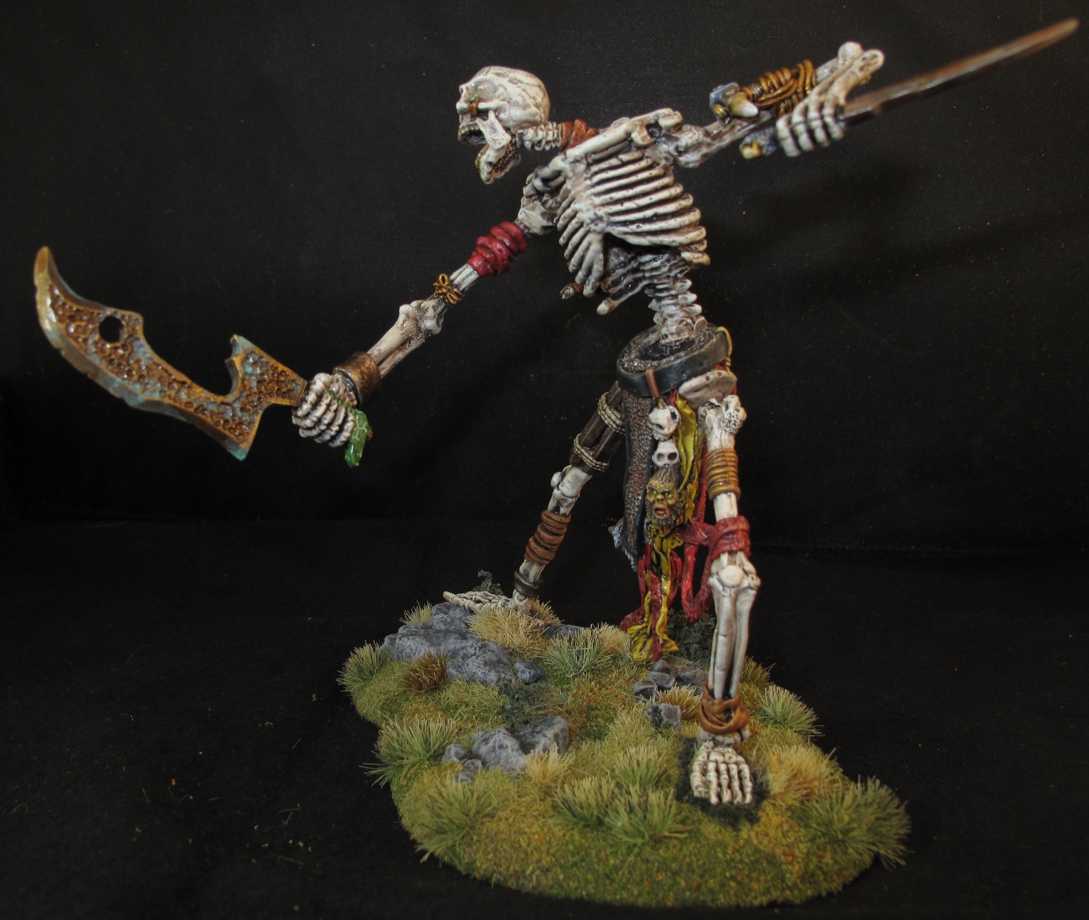
Arkhan the Black all painted up and now Arkhan the Red!
At this point things were going well and I felt good about the build and pushing the envelope a bit with my painting skills when I hit a snag. I had picked out some armor the kit gives you for the beast and choose some the matched Arkhans style. Without pre-fitting (mistake!) I primed and painted it. On trying to fit it on I found that it was designed to go on exactly opposite of what I thought and wanted it to be.
This is how it was designed to fit, looks terrible! Probably why on 99% of the pictures of finished models on the internet use the other armor option!
I thought that this looked well frankly, stupid and silly, the plates going up like that but oh well, I guess someone liked it . I used a bit of picture tack to reposition the armor as I wanted it (upside down) and to my relief found it would fit (with a bit of cutting).
Checking position I found the front bone had to be trimmed to make it fit. I should have pre-fitted this before painting! I know better!
However, there was now a large gap in the front because of the mismatch caused by reversing the pieces. This was one of those times when a modeler needs to set the project down for a day or two and think it out. I was too mad at myself and the piece to do good work. After calming down for a day and thinking it out I came to the conclusion, I hated the armor installed as designed but hated the gap caused by installing upside down. Ok, out comes the plastic sheet, epoxy, and some greenstuff (kneadite). The extra few hours work get filed under “lesson learned, again!”

The gap was bloody awful! I thought about taking the cowards way out and just touch up the paint, most would never notice, but I would, forever!
I put the armor on using “picture tack” to temporally hold it in place and then a bit of glue up front to bond the two halves. I took a few pictures and a few measurements to insure it went back exactly where I wanted it. The measurements were also used to make sure that I had it right for the next step. I carefully removed the armor. The solution was to create a small triangle backup piece to fill the gap, bond the pieces together, and serve as a backing plate for the additional greenstuff bone horns and armor.
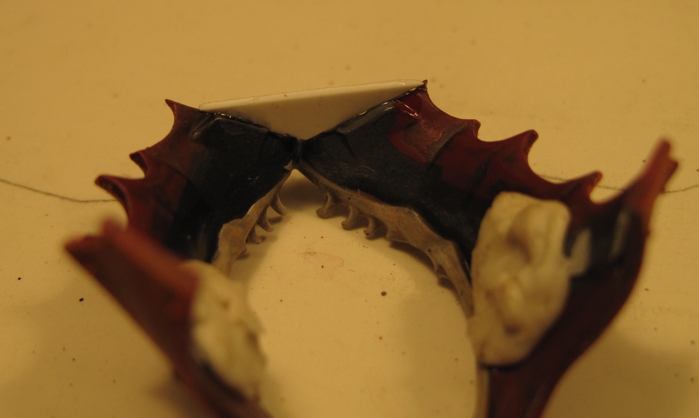
Polystyrene plate cut to form base and bridge gap.
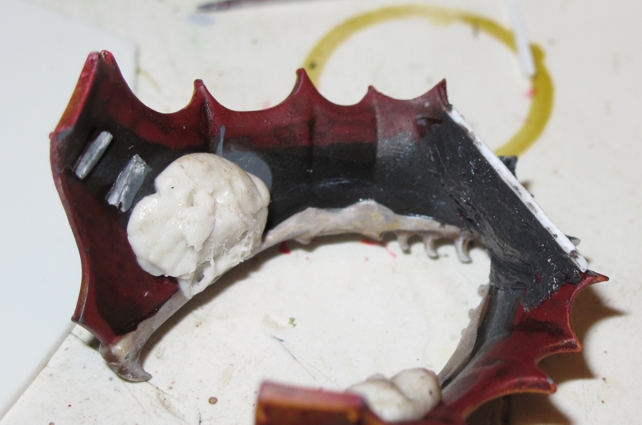
Reinforcing 2 part epoxy added (the grey stuff on the right)
This plastic “plate” was super glued in and given a thick backing of strong two part epoxy (JB-Kwick Weld) for added strength. A bit of work with the greenstuff and my modeling tools and I had a very acceptable fix!
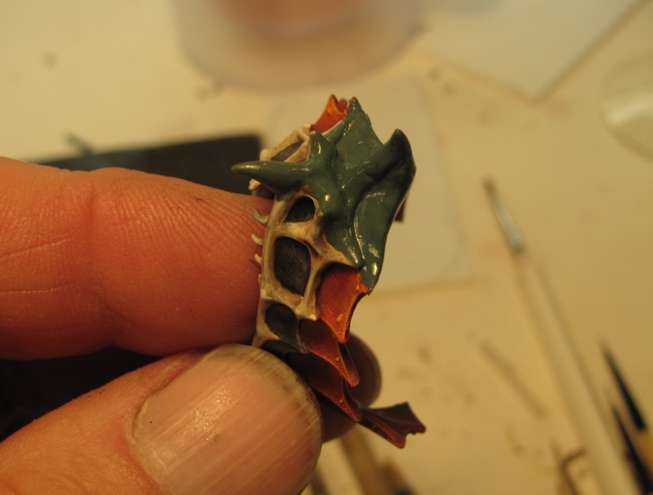
Bone and armor plate sculpted to taste!
A bit of paint and I can just hear people saying “wait my kit didn’t come with that option?” Putting it back on the model was a bit tough as it had to be stretched to near breaking. That’s why I used the two-part epoxy as superglue is brittle and would have given way.
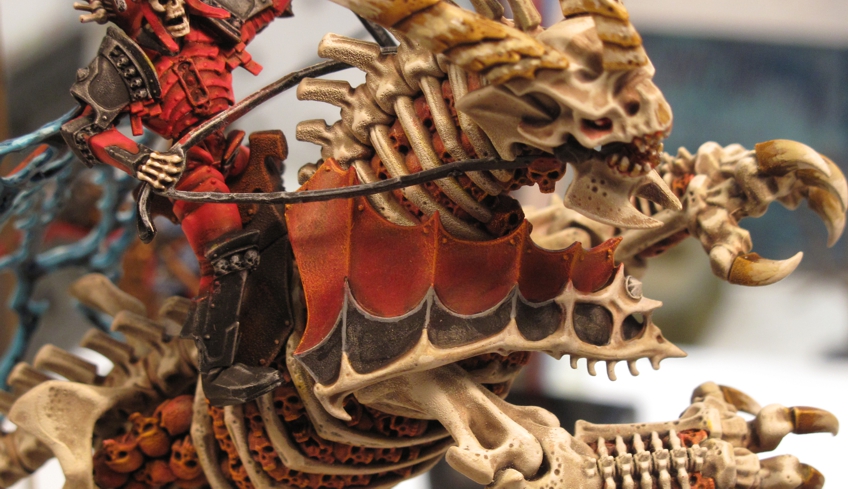
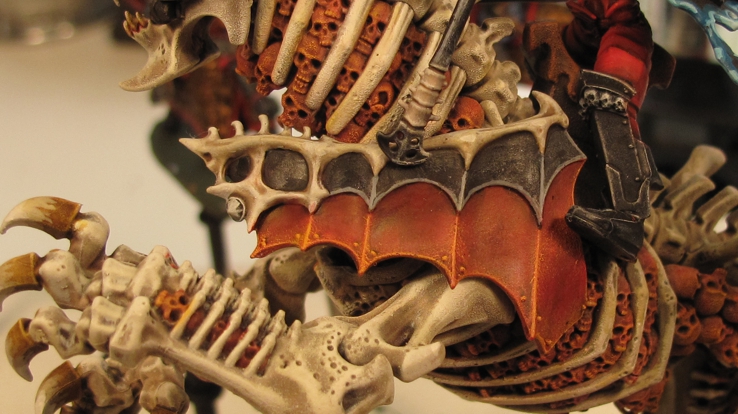
In place and looking much better. I really love it now as it looks very form fitted and flows down the beast sides
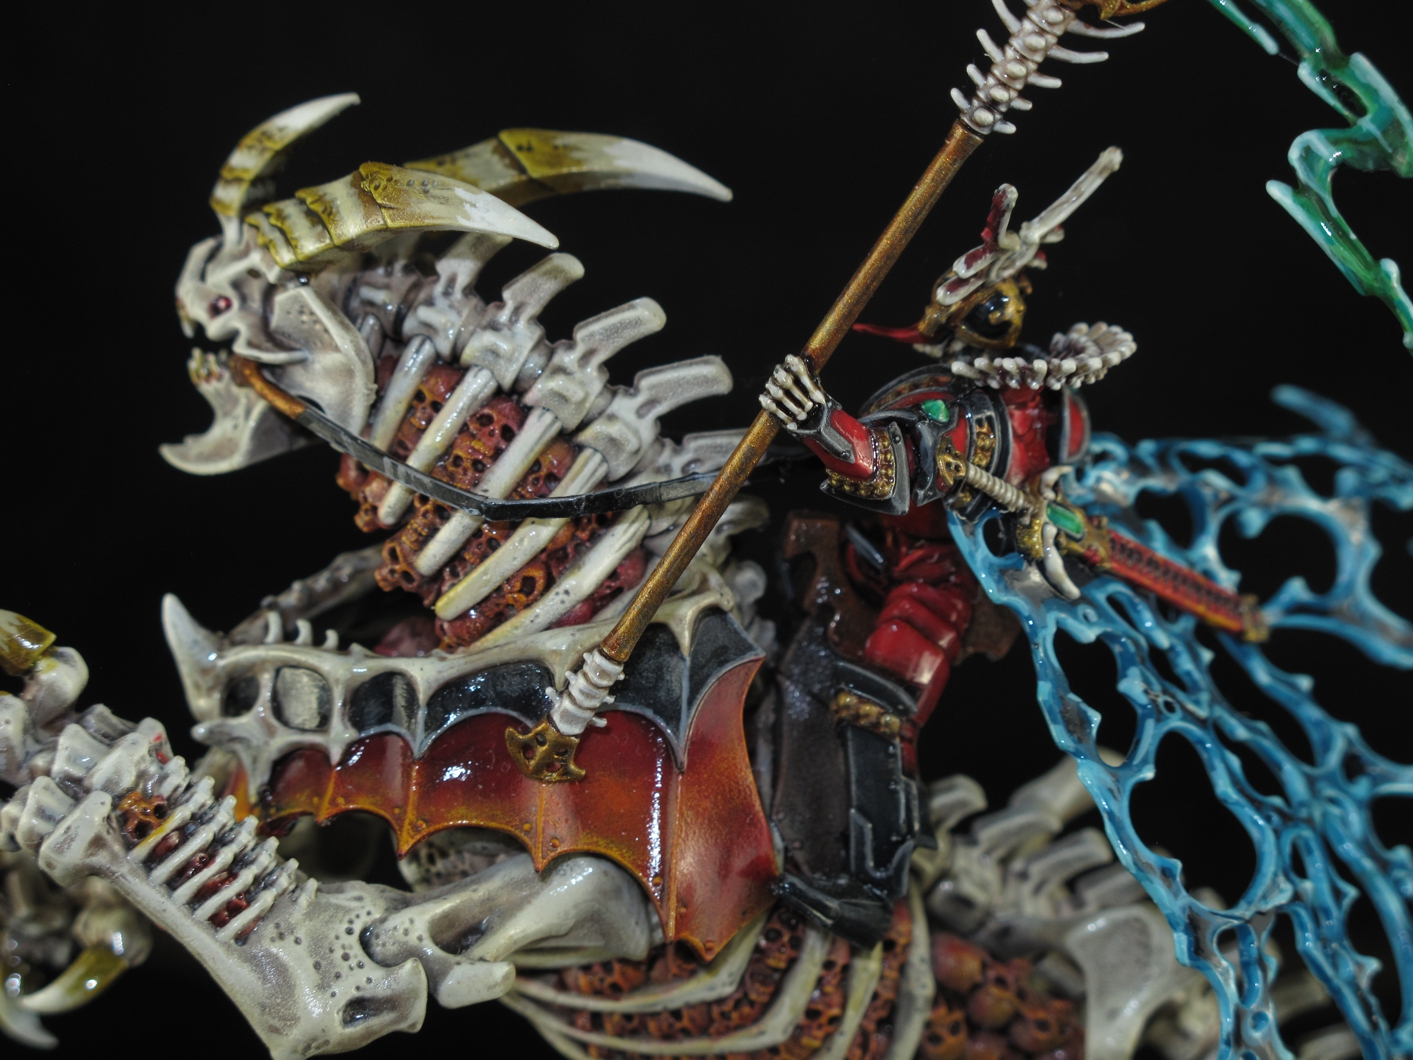
I love how the armor seems to be custom fitted over the beast shoulders.
I was unsure of what I wanted the armor to look like paint wise and almost went with the same blood red color as on Arkhan. Once again not wanting to draw attention away from Arkhan I went with a different look but still in keeping with the style. I really like how it came out but don’t ask me how I did it…. The model is coated with a combination of Testor’s clear lacquer coatings ranging from semi-dull to near gloss, applied with and airbrush at around 15-20 PSI. Over the years I have started using different blends of clear coats to enhance the look of figures and I think it works well here to deepen the colors.
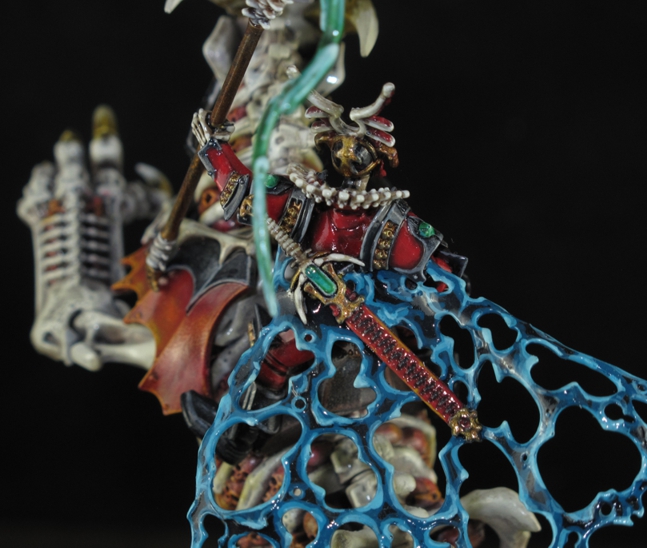
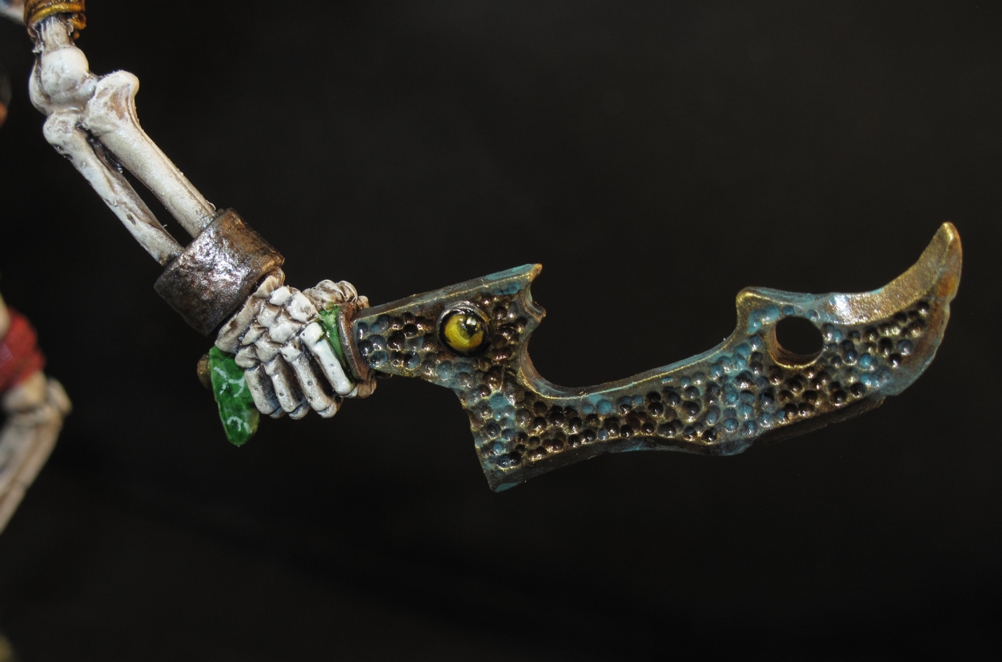
Gems in the sword and on his armor were done as Jade and emeralds.
I have never been good at doing precious stones or gems, mostly because there are few opportunities when painting 1812 French or WWII Panzer Grenadiers but I tried to improve my game while doing the un-dead as several figures have them. There are other effects on the figure that challenged me with new looks like the ghostly spectral force cape and the flowing magical whatever it is off the gem… yep certainly none of that on a Panzer Grenadier! Fun none the less!
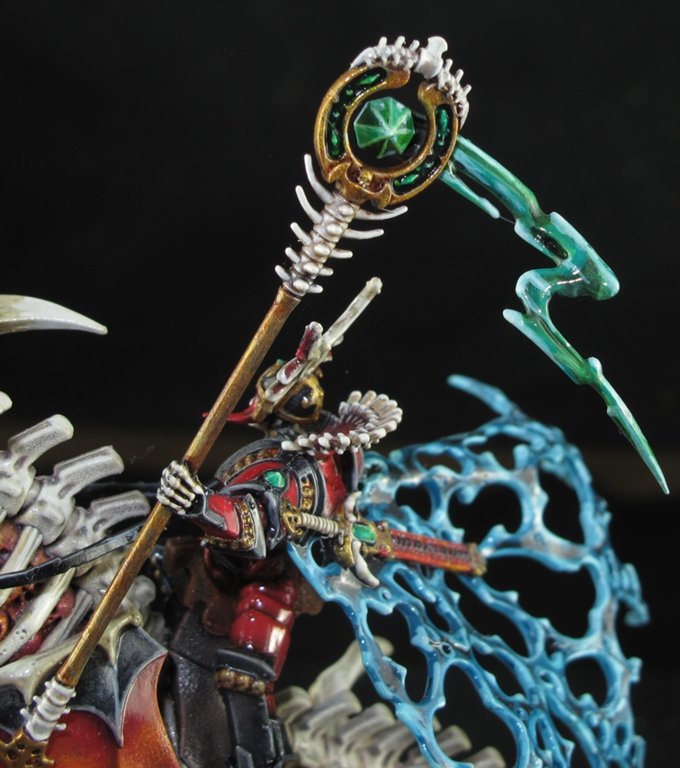
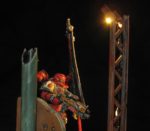
Frankly I almost took the cowards way out and switched out the “magical power staff?” for a sword but I’m glad I did not as it ads height and looks good with the figure. It also helps to create the sense of movement I wanted.
Well If you made it this far thanks for reading it and I hope you enjoyed it I know I enjoyed the project immensely. I will leave you with a few gallery pictures and some comments. There should be some more of the Un-Dead up soon as I have paint most of it already, painting is fun, writing is too, just not as much. This website in the beginning was about reaching to others in the hobby, but over time I have come to realize it is more for me, a diary of “My Journey in the World of Wargaming”
-

-
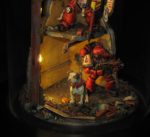
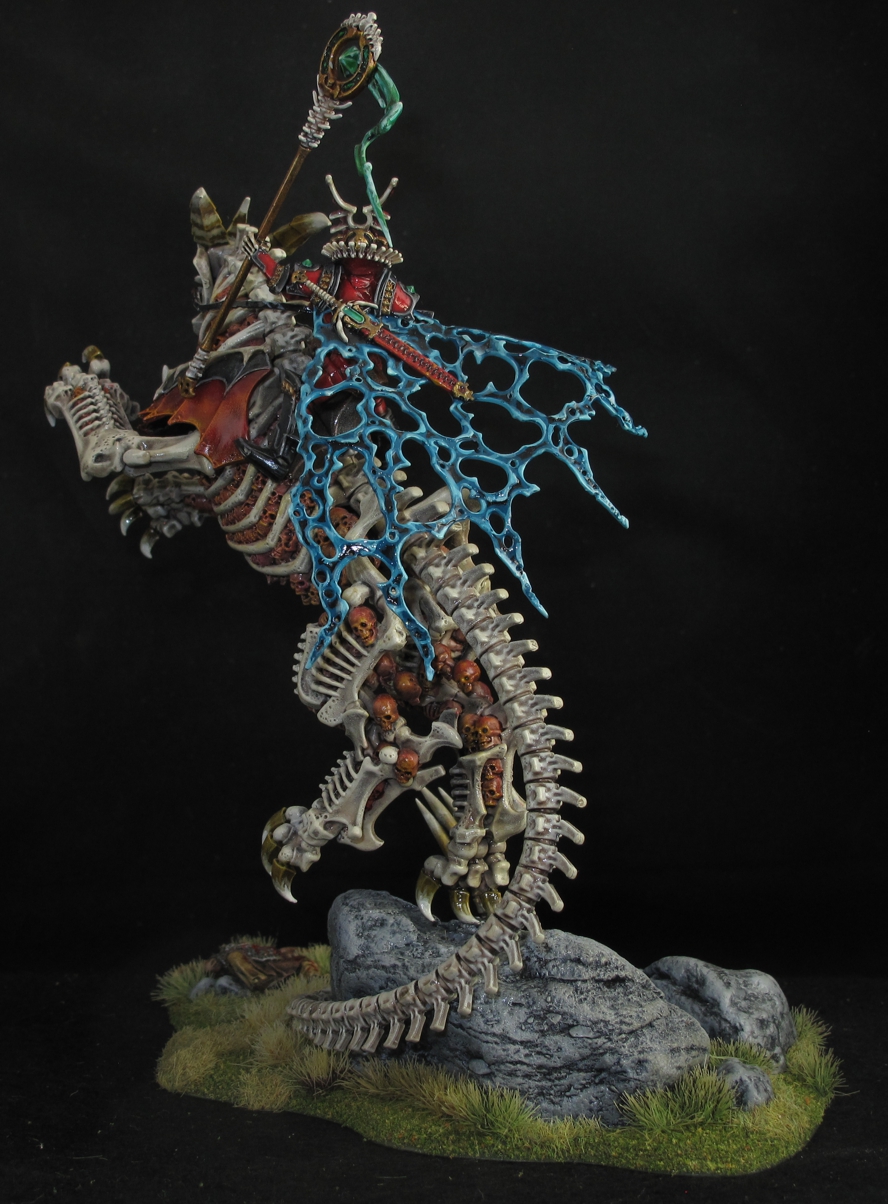
The figure is a treat from all directions and was painted to have intereting details to find. Sometime I look at it and think ohh look what I did there…lol!
-
-
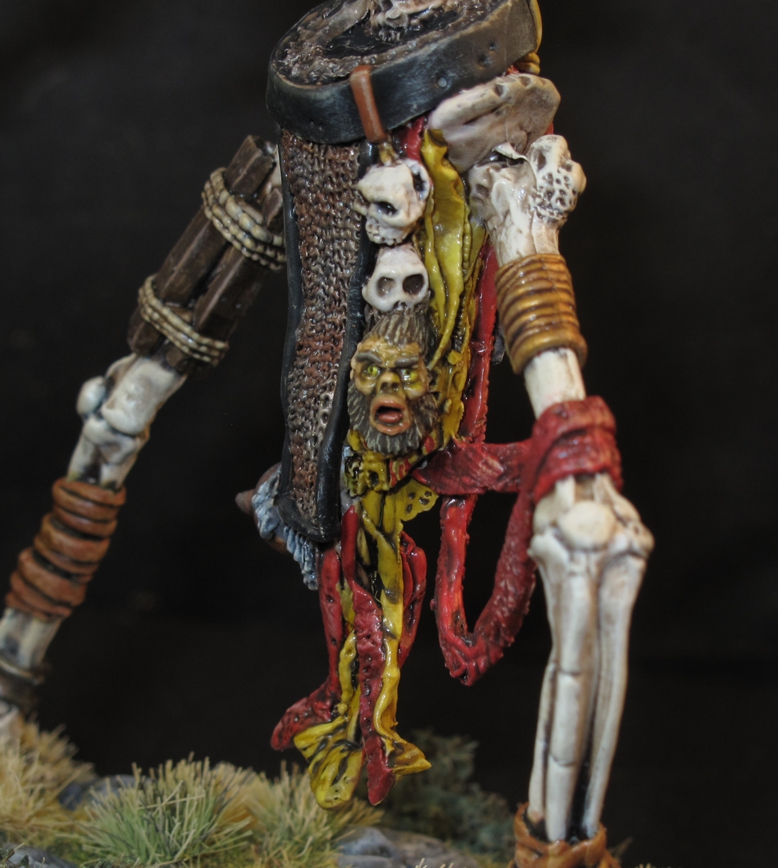
I felt the my base was good but lacked somthing. While pehaps a bit to bloddy for some I think the victim od the beast claw really ads life and scale to the piece.
-
-
The pins worked out well and are undetectable.
-
-
It’s sort of amazing how well the base came together as you really get the feeling the beast is leaping over the boulder and there is so little of the figure touching the rock, just the tips of two claws on on rear foot. The 3 pins in the tail and one in the claw made this work.!
-

-
I messed witht the bone on the horns and like the effect.
-
-
I was relieved at the finish that It looked fairly good but sort of sad that it was done.